For those who love to customize their wardrobe, removing old stitching from a hat can be a great way to make it look new. Whether you want to restyle the original design with something of your own creation or put in some vintage flair, removing the stitching is usually one of the fastest ways to refresh an item of clothing.
In this blog post, we’ll walk through everything you need to know about how to take stitching off a hat and other kinds of stitching—from selecting the correct tools and setting up your workspace properly all the way down to methods for removing various types of thread quickly and safely. So let’s get started!
Tools and Materials You Will Need to Take Stitching Off a Hat
- Needle nose pliers
- Seam ripper
- Fabric scissors
- Thread snips
- Magnifying glass
- Pen or marker (for marking where you will be removing stitching)
Some of the Best Methods on How to Take Stitching Off a Hat
1. Pliers:
Pliers are the most efficient and cost-effective tool for taking stitching off hats, but they can be unwieldy and difficult to use without practice. Start by using the needle nose pliers to gently pull one side of the stitch out of the fabric. Once this is done, you may need to use scissors to remove the excess thread.
2. Seam Ripper:
A seam ripper is an extremely useful tool for quickly removing stitches from any piece of clothing, and hats are no exception. To use a seam ripper, start by sliding the small hook underneath one side of the stitch you want to remove. Gently pull up on the fabric until the stitch pops free. You may need to use scissors to remove any excess thread.
3. Fabric Scissors:
Using fabric scissors is a great way to take stitches out of hats. Start by snipping one side of the stitch, then slowly and carefully tugging on the thread until all of the stitching has been removed. It is important to be careful not to accidentally cut into the fabric itself when doing this, as this can cause permanent damage.
4. Thread Snips:
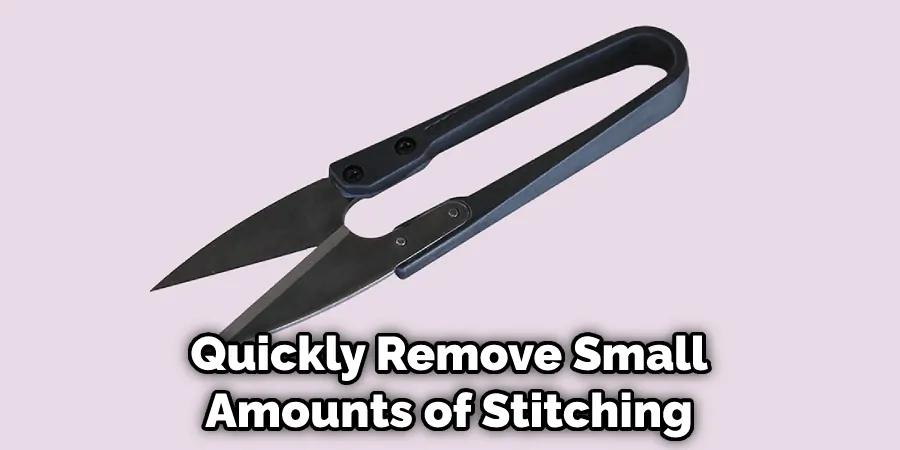
Thread snips are a great way to quickly remove small amounts of stitching from hats and other clothing items. Start by snipping one side of the stitch with the thread snips, then gently tug the threads until they are completely removed. This method is great for those who don’t want to remove each stitch with a needle and thread carefully.
These are the four methods we recommend for removing stitching from a hat. It is often best to use a combination of these techniques for larger or more complex stitching to ensure that all stitching is removed safely and securely. Before you begin, make sure you have marked exactly where you are going to be taking out the stitches so that there are no mistakes.
Tips and Tricks to Take Stitching Off a Hat
- Use a seam ripper or small pair of scissors to cut off loose ends and stitch gently. This will help make the process easier.
- Put your hat on a flat surface like a table or countertop, then use a sharp needle to poke the stitching out from the fabric carefully. Be sure not to puncture the fabric.
- Use a pair of tweezers to pull out any loose threads or pieces of stitching gently. This will help get rid of any stray stitches that may have come off during the process.
- Once the stitching has been removed, you can use a damp cloth to clean away any excess glue and dirt.
- Once the hat is clean and dry, use a fabric pen to mark any areas that need to be re-stitched. This will ensure that everything looks even after it’s been replaced.
- Finally, you can use the same type of thread or embroidery floss as the original stitching to put everything back together. Make sure to use a strong enough needle and not too blunt so it won’t snag or tear the fabric.
Following these tips and tricks will help you remove your hat’s stitching without damaging the fabric or ruining the design. With some patience and careful attention, you should be able to remove any stitching without too much difficulty easily. Good luck!
Things you need to consider while taking stitching off a hat
- Use a stitch ripper or scissors to remove the stitches from the fabric of the hat carefully, being careful not to cut too deep into the material.
- Try your best to avoid snagging any other parts of the hat when taking off stitching, as this could cause damage or make future repairs more difficult.
- If the stitches are too tight to come off, use a sewing needle to carefully pry them apart before removing them.
- Be aware that some hats may have more delicate fabrics and stitching than others, so you should check with the manufacturer or read any care instructions on the hat before proceeding.
- If the hat is made from a delicate material, such as silk or velvet, use caution to avoid damaging it when removing the stitching.
- Don’t forget to remove any tags that are attached to the hat with stitching before you begin your project.
- When all of the stitches have been removed, it is important to finish the project by pressing and straightening the fabric of the hat. This will ensure that the shape and form are maintained when you wear them.
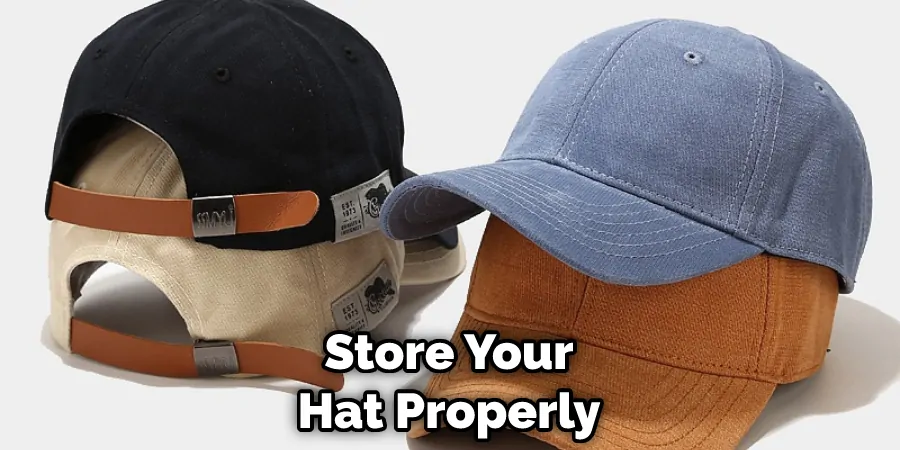
- Finally, remember to store your hat properly so that it stays in good condition for many years to come!
With these considerations in mind, you can rest assured that taking stitching off a hat will be an easy and successful project. Good luck!
Frequently Asked Questions
What Will Stitching Remover Be Best for Removing Stitching?
When it comes to choosing a stitching remover for your project, there are several factors to consider. If you’re working with an older hat, you may opt for a solvent-based product such as Goo Gone or rubbing alcohol. Lighter solutions, such as a de-stitching tool or tweezers, can be used for newer hats.
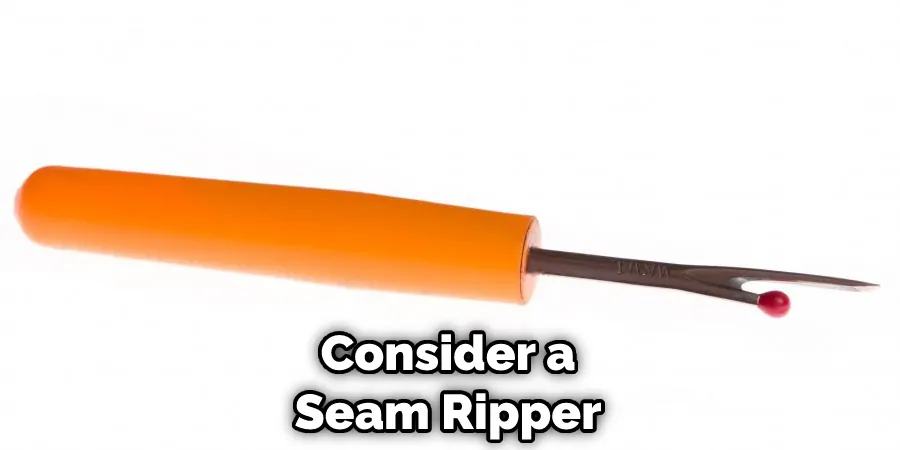
You may also want to consider a seam ripper for larger stitches or tougher fabrics. No matter what type of stitching remover you choose, it’s important to test any removal method on an inconspicuous area first to ensure that there won’t be any damage.
Additionally, make sure to read the manufacturer’s instructions for the best results. Removing stitching from a hat can be a delicate process, so it’s important to take your time and work slowly to ensure the desired outcome.
What Is the Best Way to Remove Stitching From a Hat?
The best way to remove any type of stitching from a hat is to start by carefully cutting the thread with a pair of scissors, then gently pulling on the threads to remove them from the hat. If this method does not work, you may need to use a stitching remover, such as a de-stitching tool or seam ripper. For tougher fabrics and larger stitches, you will want to opt for an abrasive solvent such as Goo Gone or rubbing alcohol.
Before using any removal method, it is important to test the product on an inconspicuous hat area first to ensure there won’t be any damage. Additionally, make sure to read the manufacturer’s instructions for the best results. Removing stitching from a hat can be a delicate process, so it’s important to take your time and work slowly to ensure the desired outcome.
Do All Hats Require Stitching Removal?
Not all hats require stitching removal. Some hats, such as baseball caps and bucket hats, feature an adjustable strap in the back that allows you to adjust the size of the hat without having to take out any stitches.
In these cases, removing any stitching from the hat is unnecessary. However, if you want to make a custom or vintage-style hat, then it may be necessary to remove the existing stitching and replace it with a new thread.
No matter what type of stitching remover you choose, it’s important to test any removal method on an inconspicuous area first to ensure that there won’t be any damage. Additionally, make sure to read the manufacturer’s instructions for the best results. Removing stitching from a hat can be a delicate process, so it’s important to take your time and work slowly to ensure the desired outcome.
Conclusion
Taking stitching off a hat is simple and can be done with a few tools. Whether you’re restoring an old hat or customizing one for a new look, it’s important to take your time and be methodical about the process. Don’t rush it, as you don’t want any snags – especially if your hat is particularly fragile.
There’s nothing quite like making something your own and re-stitching a hat can give you an even greater appreciation of it. The accomplishment that comes from creating something with your two hands is incomparable! So make sure to follow these steps carefully to understand clearly how to take stitching off a hat. With the right materials and a little bit of patience, you can easily customize or restore your hat in no time.

