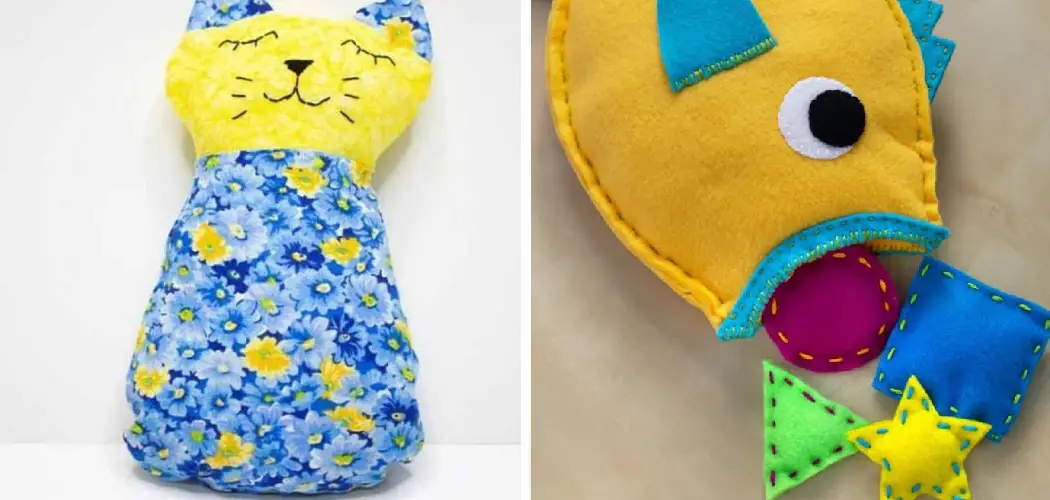
If you’ve been wondering how to neatly sew up the final touches on a stuffed animal, look no further! Sewing can seem like an intimidating task at first, but having the right materials and following some simple steps makes it possible for everyone.
This blog post on how to sew a stuffed animal closed will provide step-by-step instructions on how to use your sewing machine or needle and thread to sew a stuffed animal closed so that you can give it as a gift or simply keep it as an adorable addition to any room in your home.
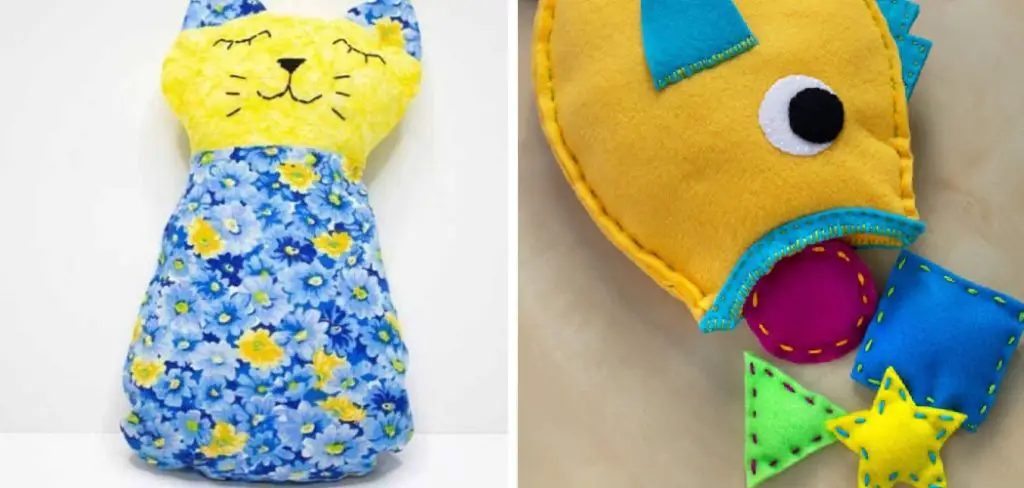
In addition, this tutorial will explain different techniques used when dealing with multiple fabric layers of various sizes and shapes. Get ready – it’s time to learn the art of stuffing and sewing!
11 Step-by-step Guidelines on How to Sew a Stuffed Animal Closed
Step 1: Gather Your Materials
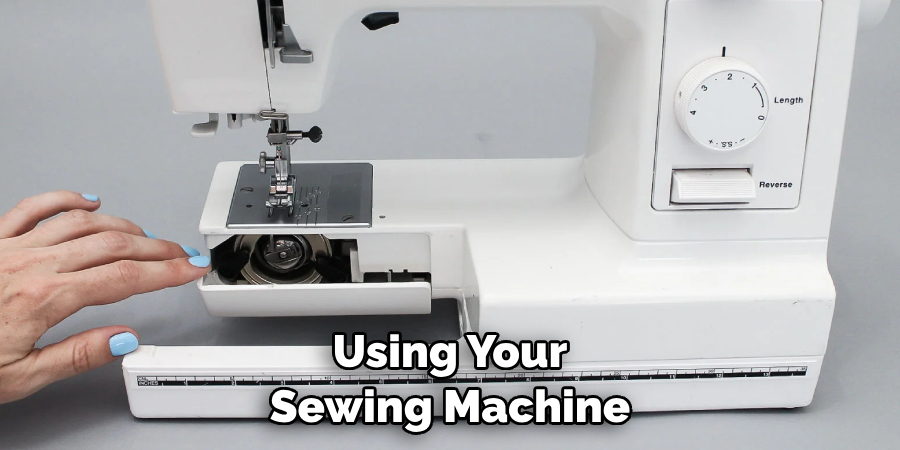
To sew a stuffed animal, you’ll need thread, scissors, pins, needles and stuffing. It’s important to choose the right type of thread for your project. The best type of thread to use is a strong, durable polyester or nylon thread. If you’re using a sewing machine, make sure to adjust the tension and stitch length.
This will ensure a neat, even stitch. It’s also a good idea to have some extra pins on hand in case you need to make any adjustments.
Step 2: Decide on Your Design
The first step when sewing a stuffed animal is deciding on the design. You can find free patterns online or create your own by sketching out ideas on paper. Once you’re happy with your design, it’s time to move on to the next step.
It’s also a good idea to practice stitching on scrap fabric before you begin your project. If you’re using a sewing machine, practice stitching the fabric with different stitch lengths and tensions until you find the right settings.
Step 3: Cut Out Your Pieces
Using a pair of scissors, cut out the different pieces that will make up your stuffed animal. Make sure to use precision when cutting out the fabric and pay attention to details such as eye placement, mouth shape, etc. But don’t worry if you make a mistake – it’s always easier to fix the problem now rather than later. When you’re finished cutting out the pieces, it’s time to move on to the next step.
Step 4: Pin Pieces Together
Once all the pieces are cut out, take two adjacent pieces and place them right side together (RST). Securely pin these two pieces together using sewing pins so they don’t shift while sewing. Continue this process with the remaining pieces until all of them are pinned together. This will ensure a neat, finished look to the stuffed animal.
Step 5: Sew Pieces Together
Using your sewing machine, sew each piece together following the edge of the pinned fabric. If you don’t have a sewing machine, you can hand stitch using a needle and thread. Make sure to use tight stitches when sewing so that the stuffing doesn’t leak out. But don’t make the stitches too tight – it should be loose enough so that you can move the fabric around when needed.
Step 6: Turn the Stuffed Animal Right Side Out
Once all the pieces have been sewn together, turn your stuffed animal right side out. You may need to use a pair of tweezers or another tool such as a chopstick to help push corners and other details into place. Although it may look a bit rough at this point, don’t worry – the finished product will be much neater. But it’s important to get all the details right before stuffing your stuffed animal.
Step 7: Stuff With Polyester Fiberfill
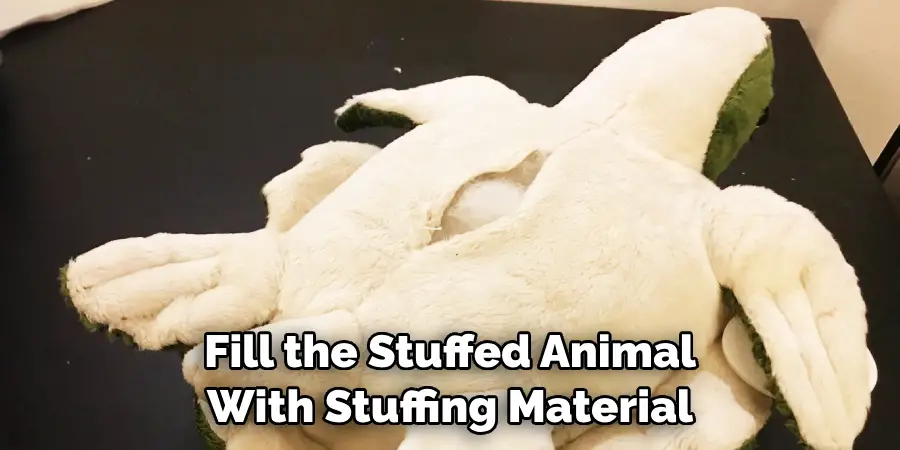
Using a bag of polyester fiberfill, stuff your stuffed animal until it is firm and full. It’s important to use the right type of stuffing as the wrong type can affect the overall look and feel of your finished product. It’s also important to not overstuff the stuffed animal as this can cause it to become lumpy and uneven. This will also make it more difficult to sew the stuffed animal closed.
Step 8: Hand Stitch Opening Closed
Once you’ve finished stuffing, take a needle and thread and hand stitch the opening closed. This will ensure that all the stuffing stays in place. Make sure to use tight stitches so that there are no gaps or openings where stuffing could escape.
If you’re using a sewing machine, adjust the tension and stitch length so that the stitches are even. But be careful not to make the stitches too tight as this will affect the overall look and feel of your finished product.
Step 9: Add Detailing
If desired, add any additional detailing such as eyes, nose, or other features using fabric paint or buttons. This step is entirely optional and can be skipped if you prefer a plain stuffed animal. It’s important to use the right type of fabric paint as some may damage the fabric or fade over time.
It’s also a good idea to test the paint on a scrap piece of fabric before applying it to your stuffed animal. It’s best to let the paint dry completely before proceeding.
Step 10: Secure or Embroider Name
If you’re creating this stuffed animal as a gift, take some embroidery thread and secure the name of the recipient onto the fabric. This is an optional step, but it’s a great way to personalize your gift even further!
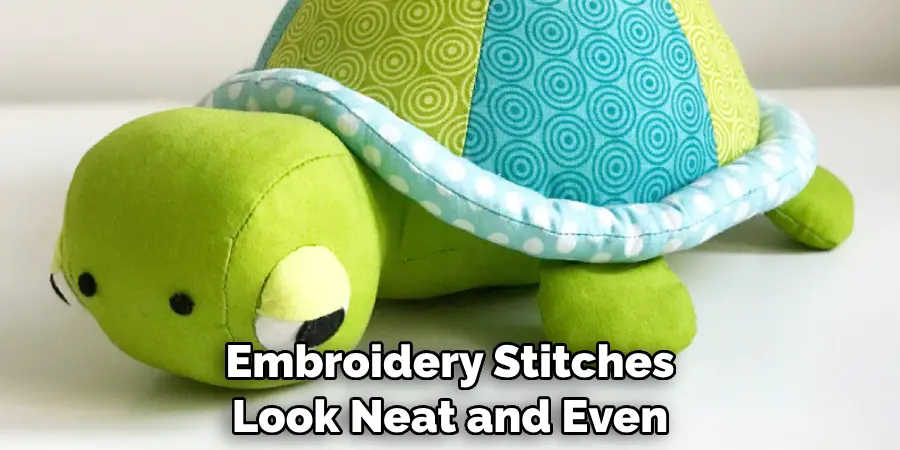
It is important to use a sharp needle so that the embroidery stitches look neat and even. Furthermore, try to limit the number of knots you use when securing the name as this can cause the fabric to become lumpy.
Step 11: Enjoy Your Finished Product!
Now that all the steps have been completed, you can proudly display your finished product in any room of your home or give it away as a thoughtful gift to someone special! Sewing a stuffed animal can seem daunting at first, but with these easy-to-follow instructions, anyone can do it!
Always remember to keep safety in mind when sewing and practice patience – the final product will be worth it in the end.
Following these steps on how to sew a stuffed animal closed will make sure that your stuffed animal is sewn securely and safely. Have fun creating a unique and special stuffed animal for someone to treasure for years to come! Good luck with your project!
How Much Will It Cost?
The cost of materials to sew a stuffed animal varies depending on the type and amount of fabric, thread, pins, needles, stuffing and other details used. It’s important to budget ahead of time so that you don’t have any surprises when it comes to purchasing supplies.
What Are Some Tips?
- Some Tips for Sewing a Stuffed Animal Include.
- Using Polyester or Nylon Thread for Strength.
- Using Sharp Scissors to Get Precise Cuts.
- Pinning Pieces Together Before Sewing.
- Filling Your Stuffed Animal With an Appropriate Stuffing Material.
- Hand Stitching Opening Closed Securely.
- Adding Personalization if Desired.
Frequently Asked Questions
Q: How Do I Sew a Stuffed Animal Closed?
A: To sew a stuffed animal closed, you’ll need thread, scissors, pins, needles and stuffing. Start by deciding on your design and cutting out the pieces. Next, pin the pieces together before sewing them together with a machine or hand stitching. Fill the stuffed animal with stuffing material before hand stitching the opening closed. Finally, add any additional details such as eyes, nose or name if desired.
Q: What Type of Thread is Best for Sewing a Stuffed Animal?
A: The best type of thread to use when sewing a stuffed animal is polyester or nylon thread, as it offers durability and strength. Be sure to avoid using cotton thread, as it won’t hold up against wear and tear.
Q: How Much Will It Cost to Sew a Stuffed Animal?
A: The cost of materials to sew a stuffed animal varies depending on the type and amount of fabric, thread, pins, needles, stuffing and other details used. It’s important to budget ahead of time so that you don’t have any surprises when it comes to purchasing supplies.
Q: What Are Some Tips for Sewing a Stuffed Animal?
A: Some tips for sewing a stuffed animal include: using polyester or nylon thread for strength; using sharp scissors to get precise cuts; pinning pieces together before sewing; filling your stuffed animal with an appropriate stuffing material; hand stitching opening closed securely; and adding personalization if desired.
Following these steps will make sure that your finished product looks professional and is long-lasting!
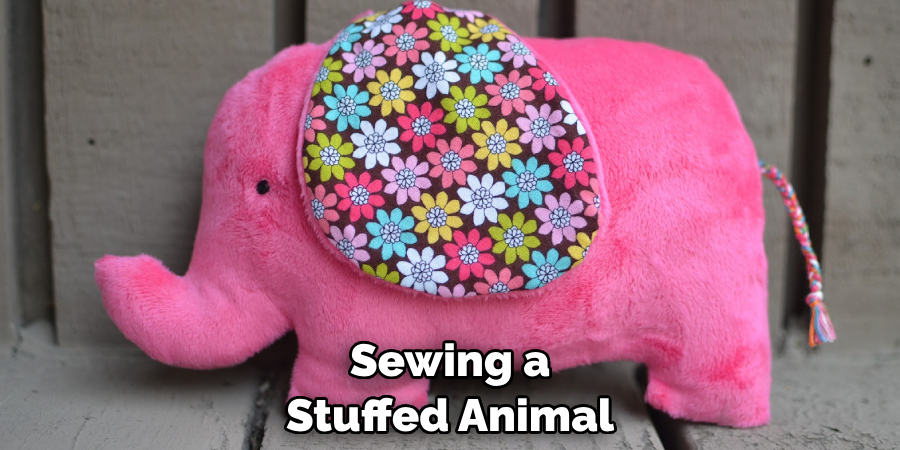
Sewing a stuffed animal is a great way to create something special for someone you care about. With these easy-to-follow instructions, anyone can do it! Be sure to take your time and have fun while creating your unique stuffed animal! Good luck with your project.
Conclusion
Now that you have learned the basics for how to sew a stuffed animal closed, why not take it one step further and learn how to craft an even more intricate creation? By developing your own skirt pattern, you can tailor the design of a garment to your own specifications and create a truly unique look.
This could be a great project to embark on after mastering the art of sewing stuffed animals. Not only will you gain valuable knowledge and experience in fashion design, but you will also be able to showcase your handcrafted creations with pride!
So what are you waiting for? You’ve got this whole world of sewing fun ahead of you – so grab your materials and get started! Who knows where your new-found skills will take you?

