
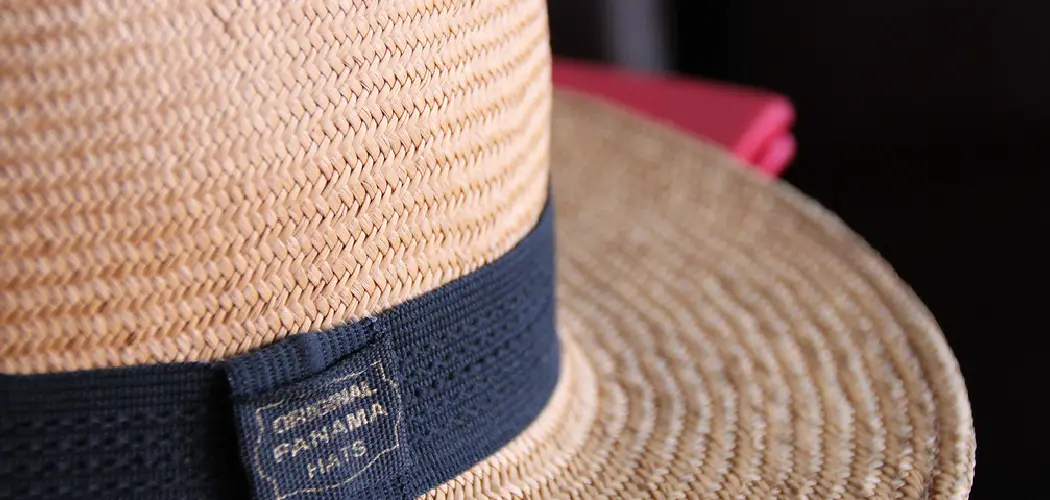
Are you looking to remove an embroidered design from a hat and freshen up your look? Whether you’ve grown tired of the design or just want to switch it out for something new, taking off embroidery from a hat is a relatively straightforward task that doesn’t require any special skills.

Putting art into everyday apparel is a great way to express yourself and show off your sense of style. Embroidery is an especially popular expression, with hats being one of the most common embroidered items. But what if you want to switch up your look or refresh a hat that’s become too worn? Removing embroidery from a hat may seem impossible, but it doesn’t have to be! Read on for our step-by-step guide, so you know exactly how to take embroidery off a hat!
What Will You Need?
To take embroidery off a hat, you will need the following:
- A hat with an embroidered design
- Needle nose pliers
- Tweezers
- An old toothbrush or cleaning brush
- Fabric glue (optional)
Once you have all the necessary items, you can begin.
10 Easy Steps on How to Take Embroidery Off a Hat
Step 1: Use the Pliers to Remove Stitches
Using the needle nose pliers, grip the stitches and pull them away from the hat. This can take some time, so it’s best to be gentle and careful when pulling out the stitches. If the thread appears stubborn, keep working at it until you can remove the embroidery.
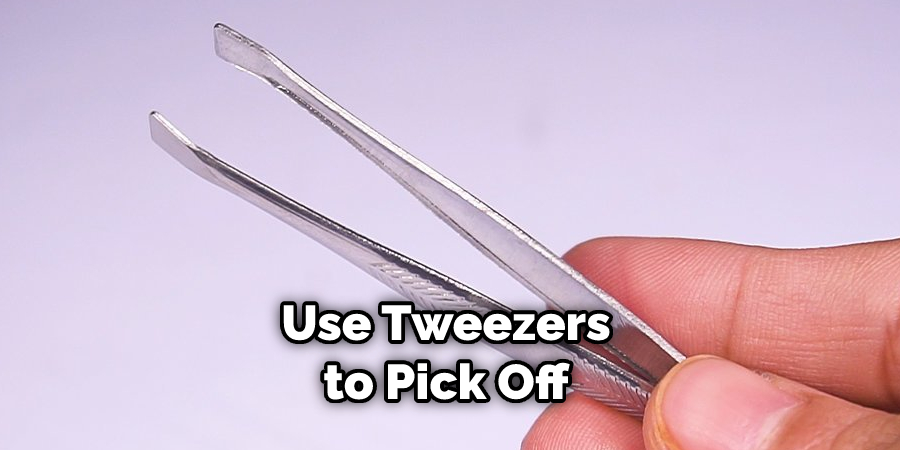
Step 2: Remove Any Stray Threads
Once you’ve removed all the visible stitches, use tweezers to pick off any remaining threads that may have been left behind. You can also use a cleaning brush to remove any excess thread. Don’t be too vigorous while brushing – you don’t want to damage the hat fabric.
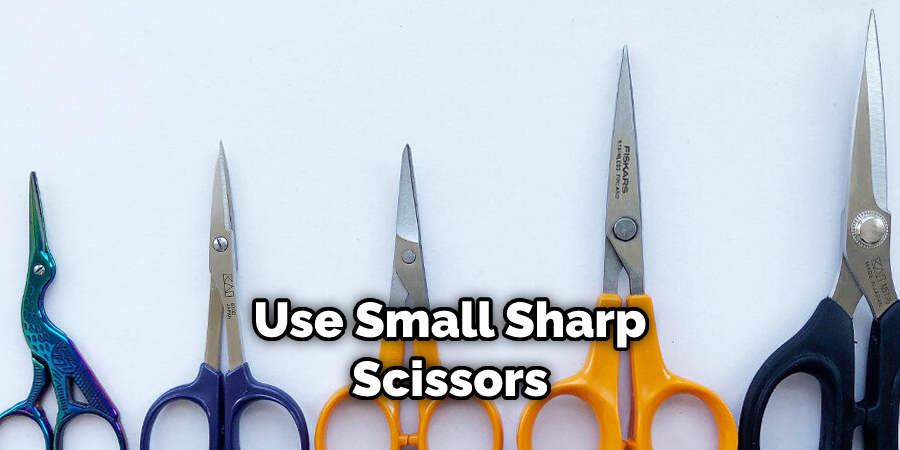
Step 3: Carefully Cut Away the Remaining Fabric
Once you’ve removed all the stitches, use a pair of scissors to cut away any remaining fabric from the hat carefully. Be sure not to accidentally snip any other fabrics or materials on your hat in the process! Otherwise, it could cause further damage.
Step 4: Check for any Other Embroidery
Check the hat to make sure there aren’t any other embroidery pieces that need to be removed. If there are, repeat the process outlined above until all embroidery has been removed from your hat. Remember to take your time and be careful not to damage the hat fabric.
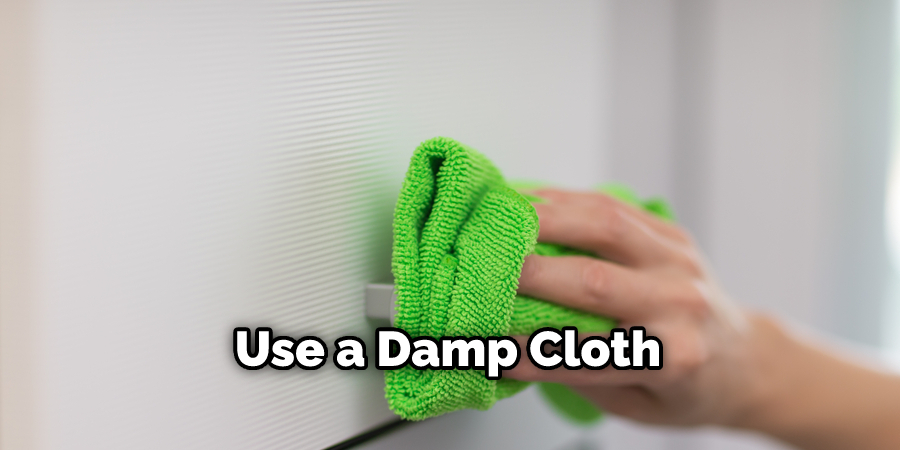
Step 5: Clean the Hat
Once all the embroidery is gone, use a damp cloth or cleaning brush to gently clean away any excess thread or fabric remnants left behind on your hat. Doing this will ensure that your hat looks as good as new and is ready for whatever design you choose next! If desired, you can also use fabric glue to re-secure any loose threads or fabrics that may have come off during the removal process.
Step 6: Let it Dry
Let your newly cleaned hat sit overnight so it can completely dry before you decorate it with a new design. This step is important to help prevent damage from occurring when you add any designs or decorations. Additionally, it will ensure that the hat stays in pristine condition.
Step 7: Add a New Design
Now it’s time to add your new design! Whether you use an embroidery machine, hand sew your design, or use fabric glue, follow all the instructions carefully. Doing so will ensure that your new design looks great and lasts for a long time.
Step 8: Let it Dry Again
Once you’ve added your new design, let the hat sit overnight again so it can dry completely before wearing it. This is especially important if you use fabric glue on any of the materials, as this will help prolong the life of your new design. Moreover, it will prevent any materials from coming off or wearing away.
Step 9: Iron It
Once everything is dry, iron over the area where you added the new design (or removed the old one) to set it in place and make sure it stays put. This step is especially important if you use fabric glue to re-secure any loose fabrics or threads during removal. Be Careful not to let the iron touch any other fabrics on the hat, as this can cause further damage.
Step 10: Enjoy Your New Hat
All done! Now it’s time to enjoy your newly updated hat with its new design. You can proudly wear it knowing that you took off the old embroidery correctly and added a stylish, new design. Have fun, and be confident that your hard work will pay off in how great your hat looks!
Following these steps, you’ll know how to take embroidery off a hat easily and safely. With patience, care, and attention to detail, you can remove any existing designs on your hat and add a beautiful new one of your choice. Enjoy wearing your newly updated hat!
5 Additional Tips and Tricks
- Use small sharp scissors to cut away the threads from the hat gently.
- Use tweezers for fiddly areas, such as tight corners, to remove the embroidery.
- If you are worried about snagging the fabric of your hat, use a razor blade instead for precision. Be careful not to cut too deeply into the material, though!
- Place a piece of cloth underneath the area you’re working on and press firmly with your fingers or a tool like blunt-ended scissors to remove any threads that may have been missed.
- After removing all of the visible threads, finish off by using an adhesive remover like Goo Gone or rubbing alcohol to make sure none remain behind. This will also help keep your hat looking good for longer!
With these tips in hand, you should be able to easily and safely remove any embroidery from your hat. Have fun creating new designs and showing off how fashionable you can be!
5 Things You Should Avoid
- Don’t attempt to pull the threads off by hand. This may damage or fray the embroidery and fabric, leaving holes in the hat.
- Don’t use scissors to cut off excess thread, as this will also damage the hat and mess up the design.
- Avoid using heat to remove the embroidery, as this can cause damage to both the fabric and the embroidery itself.
- Don’t soak your hat in hot water or harsh chemicals; these can also lead to the deterioration of both materials used for embroidery and the fabric on your hat.
- Never use an iron on your hat – this could burn through the material, making it impossible to salvage even with careful removal techniques.
If you need to remove embroidery from your hat, there are a few steps you can take to gently and safely do so. Be sure to use caution and patience throughout the process, and always test the procedure on a small piece of the same fabric first. Doing this will help prevent any unfortunate accidents or damage to your beloved hat!
What is the Best Embroidery Stitch Remover?
The best embroidery stitch remover for taking off embroidery from a hat is one that provides precision and control. This can be anything from small sharp scissors to tweezers and even razors carefully used without cutting too deeply into the material.
Other options include an adhesive remover such as Goo Gone or rubbing alcohol to make sure no threads remain behind. It’s important to use caution when using any of these tools so that you don’t cause any damage to your hat in the process.
With patience and care, you’ll easily remove all unwanted embroidery!
Is Embroidery Good for Mental Health?
Yes, embroidery can be an excellent way to help improve your mental health. It is a meditative and therapeutic activity that can relieve stress and help you relax. Working with color, shape, line, texture, pattern, and composition can all help boost creativity while also providing a soothing distraction from life’s daily stresses.
Embroidery can also be a great form of self-expression; the creative process of creating something unique using fabric and thread provides a sense of accomplishment and achievement. Working on embroidery projects also allows you to practice mindfulness techniques, such as focusing on each stitch, which can improve concentration levels.
Overall, engaging in embroidery has multiple benefits for mental health and can be a great way to practice self-care. So why not pick up some stitching of embroidery supplies and start away?
Conclusion
In conclusion, taking embroidery off a hat is not difficult if you have the right tools and instructions. It requires patience, but it can easily be done without damaging your hat when done correctly. All in all, the most important thing is to protect yourself and the fabric of your hat. Wear protective gloves and surface protection to avoid accidents.
Embroidery removal can be an art form if done with skillful hands, so practice makes perfect when it comes to mastering this task! Now that you understand the basics behind taking embroidery off a hat, you are ready to try it – go forth and let your inner artist shine through!
Hopefully, the article on how to take embroidery off a hat has been helpful for you. Remember, practice makes perfect! Good luck!