
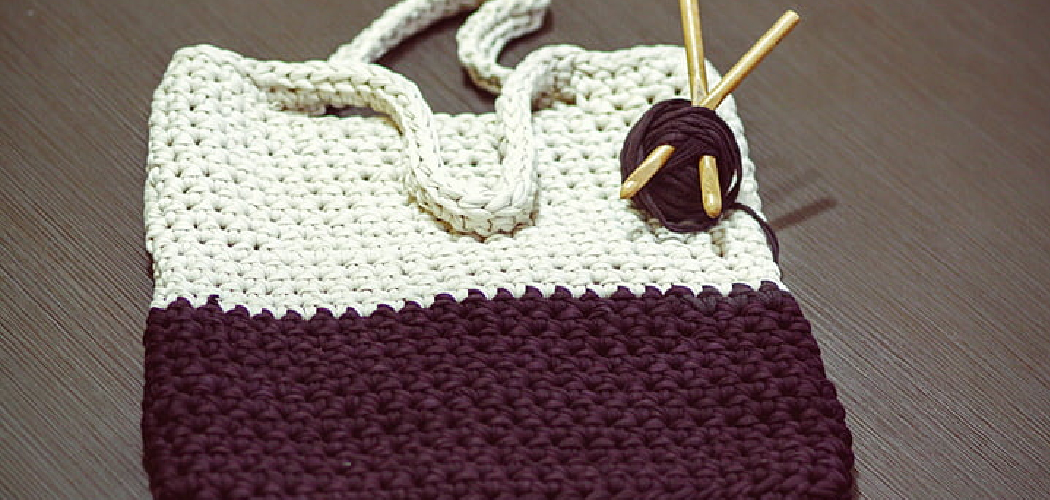
Are you looking to spice up a room with a handmade cone-shaped crocheted item? With the right tools, knowledge of stitches and patterns, and this guide on crocheting a cone, you too, will have your own unique design in no time.
Crochet is a wonderful craft that can be used to make all sorts of projects, from clothing and accessories to intricate decorations. Learning to crochet a cone is a great way to begin your journey into the art of crocheting. Whether you plan on using it as an artistic ornament or simply want something pretty to adorn any other item you have made, creating this simple shape requires just a few basic supplies and some patience.
In this blog post, we will provide detailed step-by-step instructions on how to crochet a cone so that you can successfully create your own beautiful crochet cones with ease!
What Will You Need?
Before you get started on your crochet cone, you will need to make sure that you have the following supplies:
- Crochet hook (size of your choice)
- Yarn in any color of your choice
- Scissors
- Measuring tape
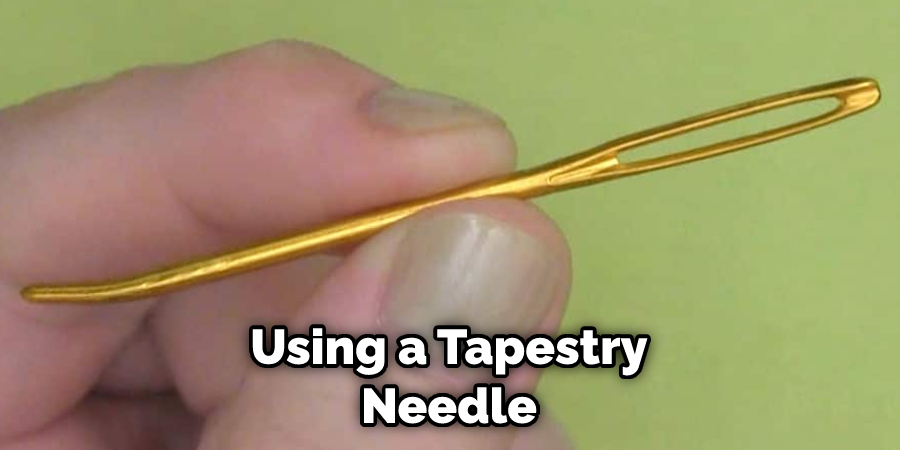
- Tapestry needle or stitch marker
Now that you have all of the necessary supplies, it’s time for the fun part—crocheting your cone! Follow the instructions below to get started.
10 Easy Steps on How to Crochet a Cone
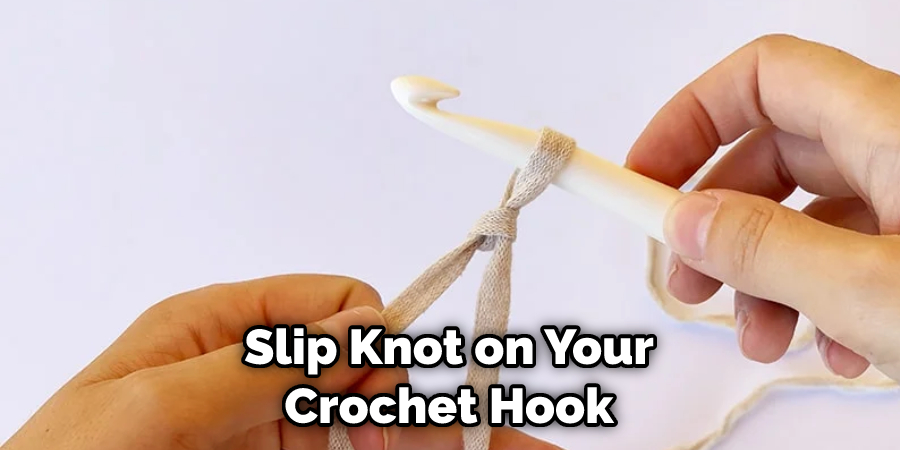
Step 1. Make a Slip Knot:
Begin by making a slip knot on your crochet hook. A slip knot is a basic knot used at the beginning of many crochet projects. It creates a loop on your hook that will be the starting point for crocheting your cone.
Step 2. Chain Stitches:
Chain (ch) 12 stitches and turn your work so you can work back along the chain. The number of chains you make will determine how big or small your cone is, so make sure to adjust it depending on how large or small you would like the end product to be. Be careful not to pull your chains too tight, as this can make your cone look misshapen.
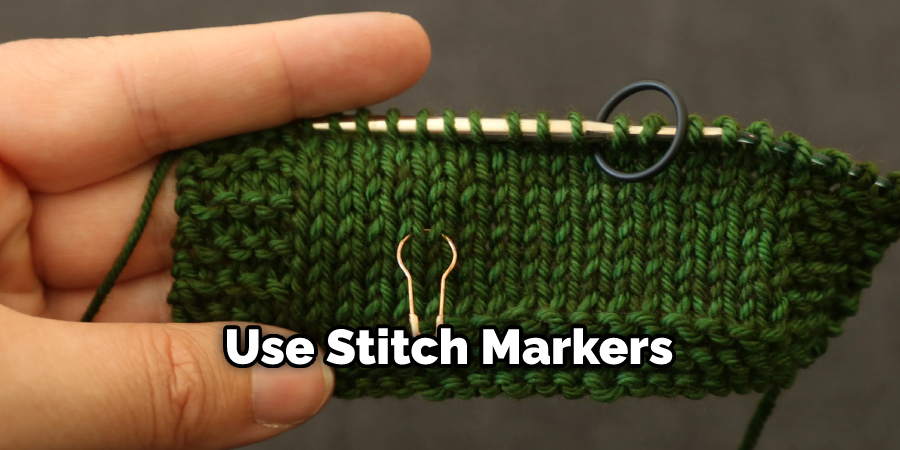
Step 3. Single Crochet Stitches:
Insert your hook into the second stitch from the hook and single crochet (sc). Repeat this step until you reach the last stitch on the chain, then turn your work again to start crocheting back along the chain. It will help to use stitch markers or a tapestry needle to keep track of how many stitches you have completed.
Step 4. Single Crochet into Chain:
Continue working single crochet stitches into each of the remaining chains until you reach the end of the chain again. Turn your work and repeat this step until you reach the desired length for your cone. Ensure that all of your stitches are even and tight so that your cone will have a neat, uniform shape when finished.
Step 5. Decrease Row:
Once you have reached the desired height for your cone, it’s time to begin decreasing rows. To do this, insert your hook into two stitches at once and single crochet them together (sc2tog). Continue doing this in every other stitch until you reach the end of the row.
Step 6: Fasten Off:
Once you have reached the desired size, fasten off by cutting the yarn and pulling it through the last loop on the hook with a tapestry needle or stitch marker. Weave in any loose ends and trim any excess yarn. You can use a darning needle to help hide any loose ends.
Step 7: Sew the Seam:
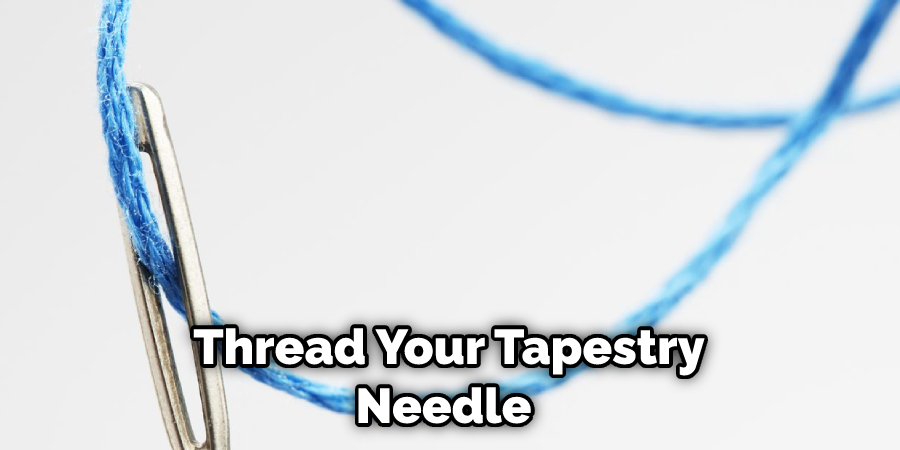
Once you have fastened off, it’s time to sew the seam together. To do this, thread your tapestry needle with yarn and begin sewing the two ends of the cone together by inserting your needle through both loops of each stitch. Pull tight and repeat until you reach the end of the row. Tie off your yarn when you are done.
Step 8: Stuff Your Cone:
Once you have sewn the seam together, begin stuffing your cone with any type of filling that you would like. You can use Poly-fil or cotton balls to give it a nice cushiony feel, or even small pieces of fabric if desired. Stuff as much or as little as you would like depending on how firm or soft you want the final product to be.
Step 9: Close the Opening:
After you have stuffed your cone, it’s time to close the opening at the top. To do this, thread your tapestry needle with yarn and begin sewing along the open edge of the cone. Pull tight and repeat until you reach the end of the row. Tie off your yarn when you are done.
Step 10: Add Finishing Touches:
The last step is to add the finishing touches! This can include anything from adding tassels or pom-poms to crocheting around the edges in a contrasting color or attaching a drawstring cord at the top for a fun closure. Get creative and have fun with it!
Following these steps, you are ready to crochet a cone for any project! Be sure to take your time and adjust the size of the cone as desired. With practice, you’ll be able to create beautiful cones quickly! Enjoy!
5 Additional Tips and Tricks
- Make sure to use tight tension when crocheting the cone. This will help keep it from getting too loose and deforming as you crochet.
- Before you start, measure how tall or how wide your cone needs to be so that you know how much yarn to buy.
- When crocheting in rounds, count each stitch every time so that everything is even and consistent throughout the entire project.
- Use sturdy but lightweight materials like cotton for making cones if you need a sturdier structure, such as for display pieces or cosplay costumes.
- To ensure your cone holds its shape after crocheting, use starch or craft glue on the outer edge of the cone. This will also help it to last longer.
- With these tips and tricks, you’ll be able to crochet a cone with ease! Have fun experimenting with different sizes, yarns, and colors – you never know how creative you can be until you try!
5 Things You Should Avoid
- Don’t use the wrong stitch to crochet a cone. To create a seamless cone shape, it is important to use single crochet stitches.
- Don’t pull too tightly when crocheting your stitches. Make sure you don’t make your stitches too tight, or your cone will be distorted and won’t hold its shape.
- Don’t try to rush through the process of making your cone. Take your time with each stitch in order to ensure that the project turns out how you want it to look.
- Avoid using too much yarn when starting off your project—you’ll end up with an overly large top portion of the cone if you do this!
- Don’t forget to count how many stitches you make—this will help ensure that both sides of your cone are even. Keeping track of how many stitches you’ve made is key for creating the perfect shape!
- Following these tips will help you make a beautiful crochet cone that you can use for many crafting projects. Have fun with it, and enjoy the creative process!
What is the Easiest Way to Make a Cone?
The easiest way to make a cone is by using a single crochet stitch. This stitch is simple and fast since it only requires one loop on the hook at a time.
To begin, you’ll need to chain stitches in multiples of four until you reach the desired length for your cone. Then, do single crochets into each chain space until you reach the other side of your initial chains. From there, increase or decrease the number of stitches in each round depending on how wide or tall you want your cone to be.
Once done with that, join both sides together by sewing them together using a tapestry needle and yarn. Finally, stuff your cone with any desired filling before tying off and closing the opening at the top.
Following these steps, you’ll have a beautiful cone that can be used for whatever project you have in mind. Don’t forget to add any finishing touches you desire! With some practice, you’ll soon become an expert at how to crochet a cone!
Conclusion
All in all, mastering how to crochet a cone doesn’t have to be a daunting task! As long as you keep these helpful tips in mind and practice regularly, it will become second nature before you know it. Crocheting is a wonderful hobby that provides your brain with an abundance of benefits as well, so why not give it a try? You may find yourself crafting more than just cones in no time!
Being able to crochet has become quite the standard skill set that many crafters know how to do, and now so can you. From blankets and baskets to hats and coats, your hook can make all types of items possible! Keep practicing, don’t be afraid to experiment, and allow yourself those moments of creative freedom.
Crocheting cones may prove more challenging than other items while starting off on your creative journey – but with the right mindset and techniques under your belt, success is just around the corner. Go out there and show the world what your hook makes truly possible!