

Embroidery may be old-fashioned, but it’s still used to add detail and personality to your crochet projects! If you’re just starting out with embroidery, the idea of adding eyes may seem intimidating. But don’t worry—we’ll show you how easy it is to use basic stitches and a tapestry needle to bring personality and expression to your crocheted amigurumi projects.
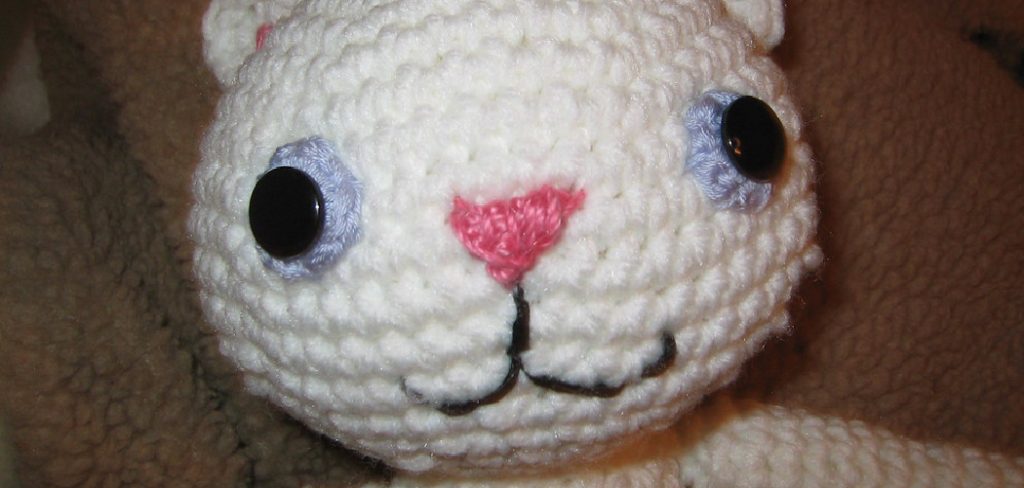
Whether you want to add a touch of personality to handmade toys, upgrade beloved stuffed animals, or use crochet as fabric for purses and accessories that make a statement, learning how to embroider eyes onto your creations is one way to make them truly unique.
Embroidery can take any craft project from good to great – and in this blog post, we’ll show you step-by-step instructions on how to embroider eyes on crochet!
What Will You Need?
1. A Tapestry Needle: A tapestry needle has a larger eye than the standard sewing needle, which makes it easier to work with yarn and embroidery floss.
2. Embroidery Floss: This is thicker than regular thread and comes in many colors. You can choose any color that you like for your eyes.
3. Scissors: Clip off excess thread once you finish your project.
4. Crochet Project: Whether it’s a stuffed animal, amigurumi toy or something else entirely – this is what you are about to give a whimsical update!
5. A Reference Image: If you’re looking for inspiration, a reference image can help you to get the perfect eyes for your project.
Once you have all of your supplies ready, you’re ready to start!
10 Easy Steps on How to Embroider Eyes on Crochet
Step 1. Thread the Needle:
Take your tapestry needle and your embroidery floss, and cut off a length of floss about 18 inches long. Take the two ends of the floss and thread them through the eye of the needle. Be careful not to pull it too tight.
Step 2. Knotting:
To begin, make a knot at one end of the floss to anchor it in place. Then pull on both sides of the floss until the knot is nice and tight against the crochet fabric. If your project is plush, make sure to knot the floss between the loops of the crochet stitches.
Step 3. Make Your First Stitch:
Push your needle into the fabric from back to front, and then bring it out again from front to back. This will create a small loop. Don’t pull your needle all the way through – it should go back and forth on top of the fabric.
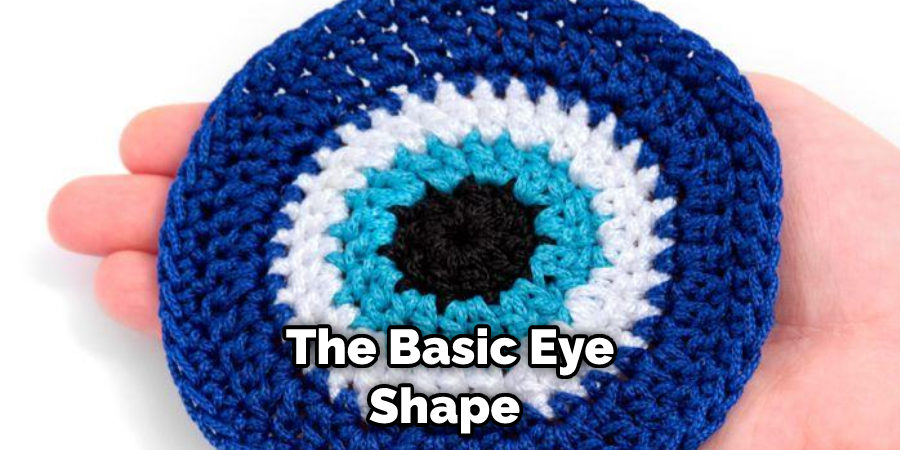
Step 4: Making an Eye Shape:
With each stitch, you should push your needle from back to front and bring it out again. You should be doing this in a circular motion around the eye shape you are creating. There should be a few stitches in the center of the eye, and then follow the shape you need to make.
Step 5: Making the Inner Eye Detail:
When you’ve completed the basic eye shape, it’s time to add some detail. Push your needle through the center of the eye, then make small stitches on either side of the inner circle. This will create texture and dimension around the edge of your eye design.
Step 6: Connecting Stitches:
Continue making stitches on either side of the inner circle until you reach the knot at one end of your floss. Then connect these stitches with a few small stitches that go over the top of each other to form an X-shape. This will make sure that your stitches stay in place.
Step 7: Finishing Up:
Once you’ve finished making the eye detail, knot the floss at the other end and cut off any excess thread. Your eye design is now complete! Ensure that your stitches are secured and that the eye has a nice shape before moving on.
Step 8: Adding a Highlight:
To add a bit more dimension to your eye design, use a contrasting color of embroidery floss to add a highlight in the center of each eye. Push your needle from back to front and pull it out again – but only do this once or twice for each highlight. Additionally, be careful not to pull your needle too tightly, as this can distort the shape of the eye.
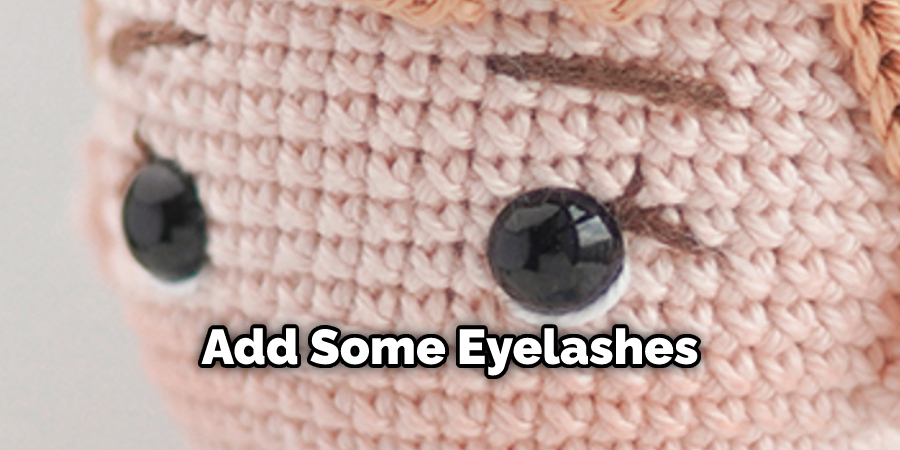
Step 9: Making Eyelashes (Optional):
If you want to give your eyes an extra touch of personality, you can add some eyelashes! To do this, make small stitches outward at the top of each eye. You can also try making a few curved lashes to give your eyes a more natural look.
Step 10: Finishing Touches
Finally, if you want to add a bit of sparkle to your design, you can use rhinestones or beads instead of the highlight in the center of each eye. Adhere them with fabric glue, and voila – you’re finished! It will make your project look extra special.
By following these steps, you can easily embroider your eyes on crochet and create something truly unique! Have fun and get creative with your designs – the possibilities are endless! Happy crocheting!
5 Additional Tips and Tricks
- 1Use a light-colored thread to embroider the eyes. This will make it easier for you to see where the needle is going and how the design is coming together.
- When working on the eyes, make sure to leave a long tail when you begin. This will give you something to work with when securing the thread at the end of your project.
- Use an embroidery hoop, if possible, to keep the fabric taut while you’re stitching. This will make it easier for you to create even and accurate stitches that look great every time.
- Place markers in each eye as guides so that they’re even and symmetrical on both sides of the face or model being made.
- Take your time with this task – getting the eyes just right is important! Remember, practice makes perfect! With these tips and tricks, you’ll be able to embroider eyes confidently on any crochet project.
With these tips and tricks, you’re sure to be able to master how to embroider eyes on crochet in no time! As long as you take your time and remember to use a light-colored thread and an embroidery hoop when possible, you’ll have beautiful results every time.
5 Things You Should Avoid
- Don’t use too tight of a stitch. This could make the eyes look distorted, and it might be hard to undo if you make a mistake.
- Don’t use too large of an embroidery needle or thread. You want to keep everything small and delicate so that you can easily create detailed features on the eyes.
- Avoid using two contrasting colors on the same eye. This will draw attention away from your work, making it look messy or cluttered.
- Steer clear of thick yarn, as this will make it difficult to embroider fine details such as eyelashes and eyebrows.
- Avoid putting too much stuffing inside the crochet piece, as this can create lumps around the eyes, which won’t look very realistic.
Following these simple tips can help ensure that your crocheted eyes look perfect each and every time! Keep in mind to use a thread that matches the color of your yarn, take your time when embroidering, and always use sharp scissors for the best results. Enjoy creating beautiful works of art with crochet!
What is the Best Embroidery Stitch for Eyes?
The best embroidery stitch to use for eyes is usually the satin stitch. This type of stitch creates a smooth, uniform look that can easily be shaped and customized to create different kinds of eyes. The satin stitch also gives your work an extra shine and can help bring out any intricate detail you may want to add. If you’re feeling adventurous, try using variations of the basic satin stitch, such as the French knot or Backstitch, for a unique look.
Remember that whatever you choose should match your yarn color and suit the style of your crochet piece! Have fun experimenting with different stitches until you find one that you love!
No matter what technique you use, embroidering eyes on crochet will always involve patience and precision. Take your time when working on eyes to ensure they look how you want them to! With enough practice, you’ll be able to create the perfect pair of crocheted eyes for any project.
Conclusion
Embroidering the eyes on your crochet is an easy and fun way to give life and character to your creations. With just a bit of practice, you can learn how to embroider eyes on crochet.
From playful animal toys for children to sophisticated decorative pieces for adults, each eye stitch will be unique in its own way. Even if some of your projects may turn out wobbly and off-center, you will at least have learned the basics and gained experience, bringing you closer to achieving perfect results.
By trying different shapes, sizes, colors, or thread materials, you can come up with a wide variety of eye designs that match your works’ personalities. So embrace the challenge of embroidering eyes on your crocheted creatures and be ready to be completely surprised by the results!