

Are you ready to take your knitting skills to the next level? If so, then learning how to properly work an Ssp (slip slip purl) stitch will have you making beautiful patterns and garments in no time. This essential knitting stitch is an important part of any advanced pattern and mastering it can make your creations look professional.
In this blog post, we’ll discuss everything there is to know about how to ssp in knitting, including why it’s helpful and what techniques should be used when working with it. From beginner knitters looking for more detailed instructions on how-tos to experienced hobbyists wanting some fresh ideas for their next project, this article has all the information you need!
What is Ssp in Knitting?
Ssp in knitting is a type of decrease stitch that creates beautiful patterns and textures. It is generally used to form eyelets, bobbles, and other decorative design elements. This particular decrease works by slipping two stitches separately (slip slip) and then purling them together as one stitch. This decreases the number of stitches on your needle by one.
Why Should You Learn How to Ssp in Knitting?
Learning how to ssp in knitting allows you to create stunning patterns and garments that stand out from the crowd. Not only does it decrease the number of stitches on your needle, but it also adds texture and visual interest. This stitch is particularly useful when creating lace and other open designs. It will also create a more structured look in the stockinette stitch.
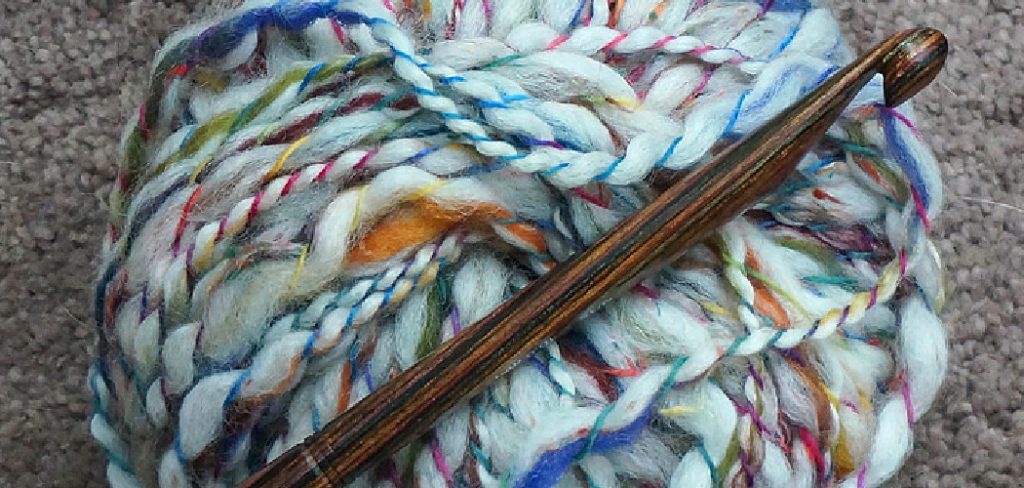
Needed Tools
To work an ssp in knitting, you will need
- A pair of knitting needles,
- Some yarn,
- A crochet hook,
- Scissors and a yarn needle for weaving in ends.
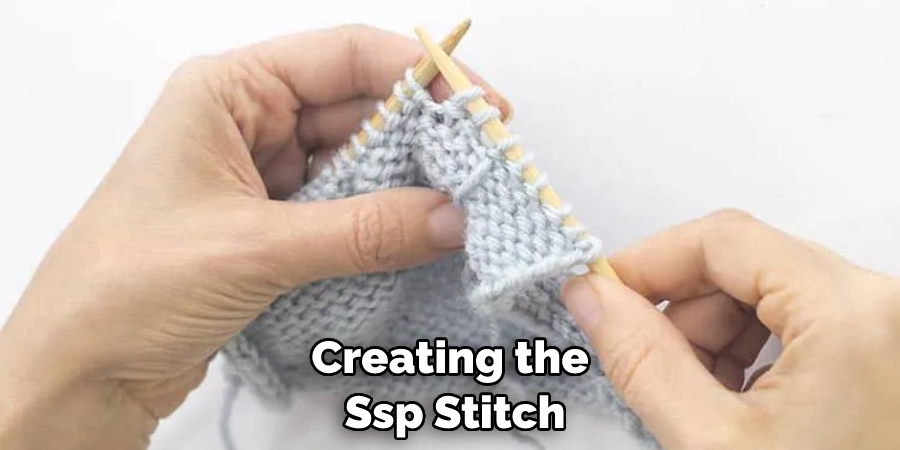
10 Instructions on How to Ssp in Knitting
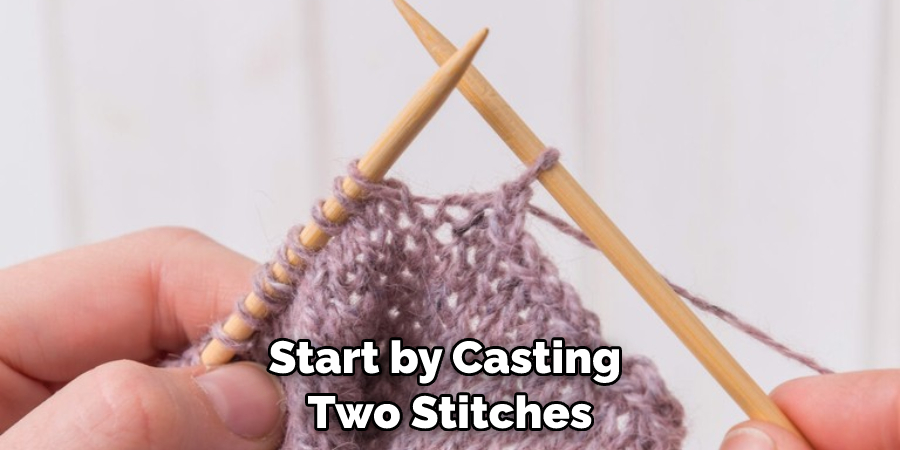
- Start by casting two stitches onto your right-hand needle. Two stitches will always count as one ssp stitch. It is important to make sure that the yarn is in front of the needle when casting on it. Remember to leave a tail of yarn for weaving in later.
- Move the right-hand needle back to the left hand, and insert it behind the two stitches that were just cast on. The needle should go between the two stitches so that each stitch is separated.
- Insert the right-hand needle into the first stitch and slide it off the left-hand needle. The yarn should stay in front of your work as you do this. The right hand should now be holding the first stitch.
- Slip the second stitch from the left-hand needle onto the right-hand needle, also making sure to keep the yarn in front of your work. At this point, you should have two stitches on your right-hand needle and one stitch on your left-hand needle.
- Now insert the right-hand needle into the two stitches on it and wrap the yarn around it. Draw through a loop, but do not slide the stitch off of your needle.
- Place the left-hand needle behind the right-hand needle and insert it into the back of both loops that are on the right-hand needle. You should now have one stitch on your left-hand needle and two stitches on the right-hand needle.
- Wrap the yarn around the right-hand needle, draw through a loop, and slide off both stitches at once. This is your ssp decrease stitch! This will decrease the number of stitches on the needle by one.
- Now, use a crochet hook to pick up and draw through the last loop from behind your work. This will help secure the stitch and prevent any loose ends from coming undone.
- Once all of your ssp decrease stitches have been worked, weave in any remaining loose ends with a yarn needle.
- Congratulations! You have successfully learned how to ssp in knitting! It will take some practice, but this is an important skill for any knitter to learn. Keep practicing, and soon you will be able to create beautiful patterns with your newfound skills!
By learning the ssp decrease stitch, you can create amazing garments that have texture and visual interest. This type of decrease stitch is perfect for creating eyelets, bobbles, and other decorative elements. Not only is it a great way to decrease the number of stitches on your needle, but it also adds a unique touch to any project. Keep practicing, and soon you will be able to create beautiful knitted pieces with your newfound knowledge!
8 Common Mistakes to Avoid
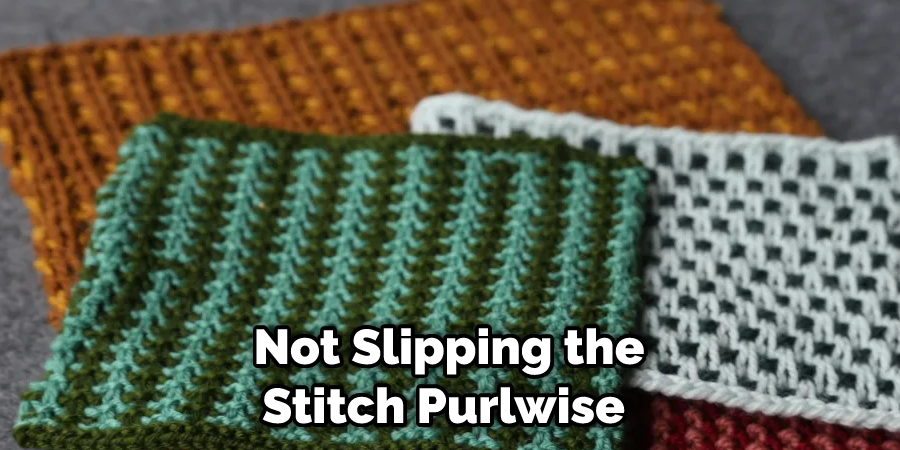
1. Not Slipping the Stitch Purlwise
When you ssp, be sure that you are slipping each stitch as if to purl (with yarn in the back). Otherwise, the ssp will create an extra twist and won’t look right. The ssp stitch should look like the knit stitches surrounding it.
2. Forgot to Slip Stitches Back
If you forget to slip your stitch back onto the left-hand needle, then your ssp will become two separate stitches and won’t have its characteristic appearance. To prevent this, always make sure that you’ve slipped both stitches back onto the left-hand needle after working the ssp.
3. Not Using Enough Tension
When you’re doing an ssp, make sure that you’ve got enough tension on your yarn to keep the stitches from becoming too loose and sloppy. If you’re having difficulty getting a neat-looking ssp, then try using a smaller needle size.
4. Not Holding Needles Correctly
When you’re ready to do your ssp, make sure that you’ve got the right needles in each hand. You should be holding the left-hand needle with your right hand and the right-hand needle with your left hand. This will ensure that the needles are in the correct position to create an ssp stitch.
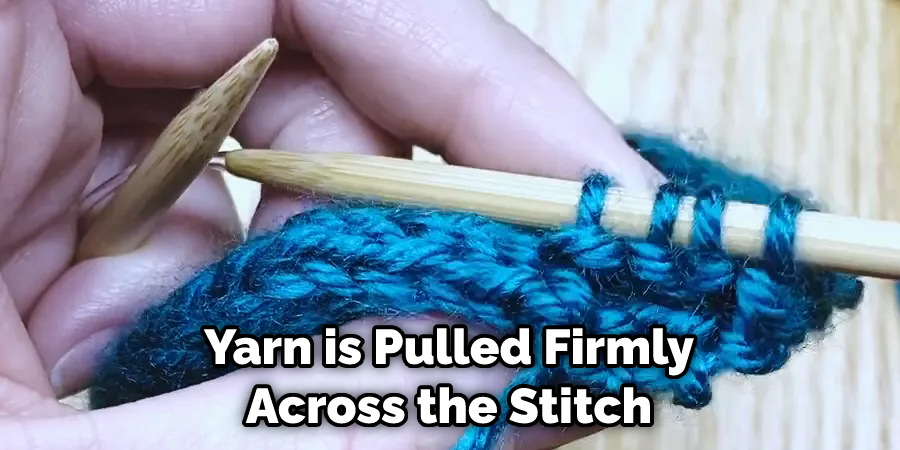
5. Not Using Enough Yarn
When you’re doing an ssp, make sure that you use enough yarn so that the stitches don’t become too loose and sloppy. Make sure that your yarn is pulled firmly across the stitch so that the ssp stitch is snug and neat.
6. Not Following Instructions Carefully
When you’re following a pattern, make sure that you read the instructions carefully before starting your project. The instructions will tell you exactly how to do an ssp and what it should look like in the finished garment. If you don’t follow the instructions carefully, then your garment may not turn out the way you want it to.
7. Not Practicing Enough
If you’re having difficulty getting the hang of an ssp, then make sure that you practice it enough. The more you do it, the easier it will become, and the better your finished product will look.
8. Not Finishing Off The Stitch
When you’ve completed an ssp, make sure that you finish off the stitch properly. You should knit or purl the next stitch after the ssp to give it a nice finished look. This will help ensure that your ssp looks neat and even.
By avoiding these common mistakes, you can ensure that your ssp looks perfect every time! With a bit of practice and patience, you’ll be an expert at ssp in knitting in no time.
6 Benefits of Ssp in Knitting
- Adds a decorative element. Ssp in knitting creates an interesting texture and can add a decorative element to any project. It may also be used to create lace, cables, and other decorative elements.
- Increases your knitting speed. By incorporating an Ssp stitch into your project, you can work faster as only one stitch is worked for each row instead of two or more stitches, as in many other knitting techniques. This means less time spent on a project.
- Provides an extra layer of texture. By creating the Ssp stitch, you are creating a textured element that can be used to enhance other elements in your project. This additional layer of texture can add depth and interest to your work.
- Strengthens the fabric created. When Ssp is worked correctly, it creates a strong fabric that will last for years to come. This is due to the crisscrossing of the yarn around the needle which results in a tighter stitch that won’t unravel easily.
- Easier than other stitches. Compared to most other knitting patterns, Ssp is relatively easy to master and perfect. With just two rows of four stitches to complete, it can be done quickly and easily.
- Creates an even fabric. As the Ssp stitch is worked in a repeating pattern, it creates an even texture throughout the project. This means that any fabric created will have uniformity of texture rather than having one section with more texture than another.
Conclusion
Kitting is an enjoyable and therapeutic activity. It will help to build your skills while providing a fun and relaxing way to take your mind off of the chaos of everyday life. All it takes to get started is time, practice, and dedication. With some patience and this guide on how to ssp in knitting, you can master the art of knitting and create beautiful garments, decorations, or even gifts for friends and family.
Whether you are a novice knitter or an experienced veteran of the craft, there are always new techniques waiting to be explored. Starting slowly with the basics is a great way to learn and figure out what works best for you. With what you have learned here about starting, slipping stitches in knitting can become much less intimidating.
So grab your needles and some yarn, and don’t forget your enthusiasm and attention span; once you understand this technique, it will have tremendous potential in any pattern imaginable!