

Are you a knitter looking to increase your stitch definition and texture in your projects? Picking up a front and back loop (PFB) is an effective and easy way to elevate your knitting.
Knitting is a time-honored craft that has delighted both seasoned knitters and novices alike for years. Whether you are creating intricate garments, warm winter accessories, or home décor pieces – there’s nothing quite like the satisfaction of completing a project from start to finish!
Have you ever wondered how to add those small details at the end of your knit projects to make them stand out? Pfb — also known as picot fringe border — is an incredibly easy but effective way to dress up almost any item with just a few extra stitches.
Read on for instructions on how to pfb in knitting and create beautiful knits in no time!
What Will You Need?
To pfb in knitting, you’ll need the following materials:
- Yarn
- Knitting needles
- Scissors
Once you’ve gathered your materials, follow the simple step-by-step instructions below to start knitting.
10 Easy Steps on How to PFB in Knitting
Step 1. Count the Number of Stitches:
Count how many stitches you need for the project and cast on accordingly. You can use any type of yarn and knitting needles — just make sure they’re the right size for the project. It will determine how tight or how loose your stitches will be.
Step 2. Knit the First Row:
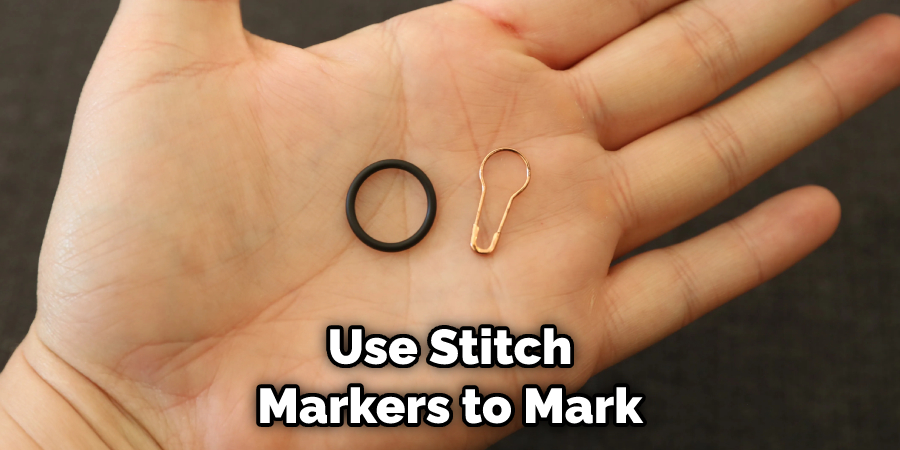
Once your stitches are cast on, start knitting the first row. Make sure you knit into each stitch as evenly as possible. If you’re having trouble keeping the stitches even, use stitch markers to mark each row and make sure they line up perfectly.
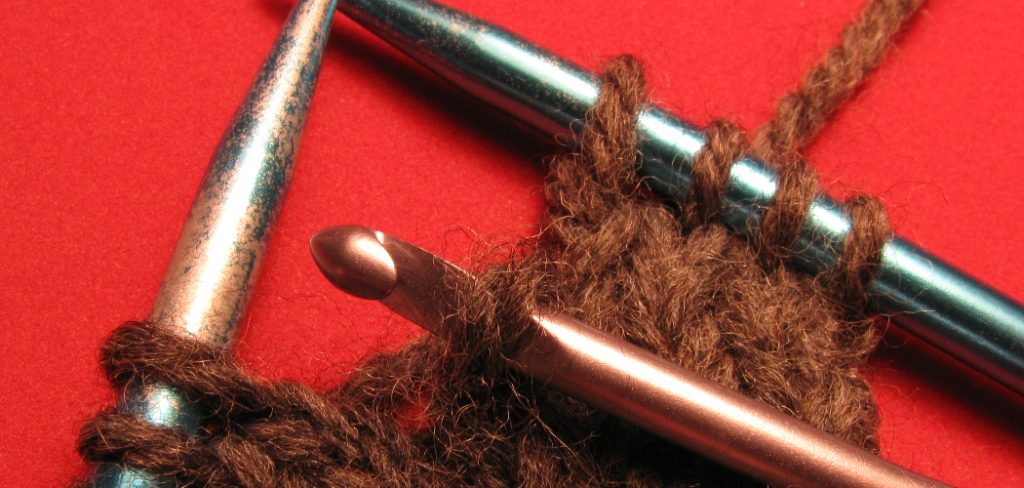
Step 3. Pick Up a Front and Back Loop:
Pick up one loop from the right side of the fabric, followed by one loop from the back side of the fabric and repeat for every stitch across the row. This will create a textured ribbing effect when knitted through properly. Be careful not to twist the stitches!
Step 4. Knit Through Each Stitch:
Once you’ve picked up each loop, knit through both front and back loops — one stitch at a time. Make sure you’re knitting in the same direction as before. Continue repeating steps 3 and 4 until you reach the last stitch of the row. Once you’ve reached it, knit through both loops as you did with all the other stitches.
Step 5. Bind Off:
Bind off your stitches to finish the project! This will give your work a nice, clean edge that won’t unravel or become loose over time. Ensure that you bind off in the same direction as how you were knitting.
Step 6. Cut the Yarn:
Once you’ve bound off, cut the yarn to release it from your knitting needles. Leave a small yarn tail and weave it into the stitches through a tapestry needle. This will ensure that your tail of yarn doesn’t unravel over time.
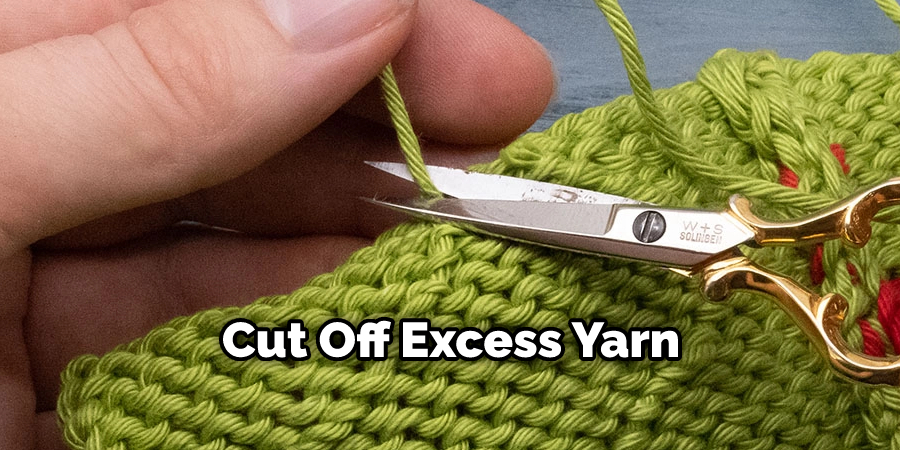
Step 7. Weave in Any Loose Ends:
If you have any loose ends, you can use a tapestry needle to weave them into the fabric for a secure finish. Make sure to pull the needle gently and firmly, so there are no visible gaps or loops in your work. Don’t forget to trim any excess yarn as well!
Step 8. Block Your Knitwork:
Blocking your knitwork is essential for making it look its best. Use a wet cloth and some pins to secure the edges of the fabric and let it dry overnight. This will help even out the stitches and keep them looking neat and tidy.
Step 9. Admire Your Work:
Once you’ve blocked your project, now it’s time to admire its beauty! Enjoy how each stitch stands out in intricate detail — all thanks to how you picked up a front and back loop when knitting!
Step 10. Wear or Gift It Away:
Now that you know pfb in knitting, it’s time to start showing off your creations! Whether you gift it away or keep it for yourself, pfb is sure to be the perfect technique to add a special touch to every project. Remember to keep practicing; you’ll be creating beautiful knits in no time!
As you can see, pfb in knitting is an easy process that will take no time at all. With just a few simple steps and tools, you’ll have beautiful knits in no time! So what are you waiting for? Get started now and show off how amazing your projects look with a picot fringe border!
5 Additional Tips and Tricks
- To keep your purl front and back stitches neat, try using a knitting needle size one or two sizes smaller than the pattern recommends. This will help create a more defined stitch.
- To help keep track of how many purl stitches you have worked, place markers after each completed row of PFBs, so that you can easily tell how far along you are in the pattern.
- If you are having trouble with the tension of your PFBs, try using a larger knitting needle to get an even tension across all of your stitches.
- If you want some extra texture and definition in your project, use two different colors when working the PFB stitch – one for the front part and another for the back part – to create a striped effect that adds visual interest to any knitted item!
- Finally, remember that practice makes perfect – so keep practicing, and soon you’ll be an expert at the purling front and back stitches. With a bit of patience and practice, you’ll be able to create beautiful projects easily!
By following these tips, you will be well on your way to mastering PFB in knitting. Happy knitting!
5 Things You Should Avoid
- Don’t Count the Wraps: When knitting a purl through the back loop, you don’t need to be exact with how many times you wrap the yarn around your needle. The key is not to put too much tension on your stitches.
- Don’t Pull the Yarn Tight: When purling through the back loop, it’s important that you don’t pull the yarn too tightly around your needle, as this will create uneven tension in your work and can cause puckering of your fabric.
- Don’t Twist the Stitch: When purling through the back loop, ensure that you are inserting your needle into only one side of each stitch and not twisting them up or creating any extra loops in the process.
- Avoid Stretching the Yarn: It’s important not to pull or stretch the yarn when working purl through the back loop, as this can create tension in the stitches, distorting your fabric.
- Don’t Over-tighten: When purling through the back loop, it’s important to make sure that you’re not over-tightening the previous stitch, as this can result in uneven and lumpy knitting. If a stitch is too tight, move it down one notch on your needle and try again with more relaxed tension.
Following these tips will help ensure that you are able to achieve even tension when purling through the back loop, resulting in beautiful knitted projects!
What is KFB Vs PFB?
Kfb and PFB are two different knitting techniques. Kfb stands for “Knit Front and Back,” which is a technique used to increase the number of stitches in a project. This is done by knitting into the same stitch twice, creating two new stitches where there was only one before.
PFB stands for “Purl Front and Back,” which is similar to kfb, but instead of knitting twice into the same stitch, you purl into it twice. This creates two new stitches from one original stitch as well. However, this technique produces a slightly different texture than kfb does.
So when deciding between kfb vs. pfb, think about what kind of texture you want in your project and how many stitches you need to create. Both techniques are great for adding extra stitches to your work, so it’s up to you which one you choose. Good luck!
Conclusion
Whether you are a beginner or an experienced knitter, adding pfb into your knitting is an easy way to make any project look neater and more polished. And with the simple steps outlined in this article, it doesn’t have to be a complicated process.
All it takes is patience and the willingness to practice the technique, and soon you will have the confidence to weave your pfb’s with ease. Throughout this post, we’ve gone through several helpful tips on how to pfb in knitting.
This stitch of knitting is also great for reinforcing edges, adding detail, and working with increases, as they can create subtle shaping effects as well. By taking a little time to learn how to work with pick-and-knit stitches properly, you can help shape professionally finished garments – further improving your knitting skills in general!
So don’t forget to take extra time learning these various techniques so that stitching up an incredible design is easier than ever!