

Are you ready to try your hand at some creative knitting techniques? If so, you’re in luck! The M1 stitch is a clever and simple way to incorporate extra design elements into your work without fussing with complicated patterns. This versatile maneuver can be used for everything from adding texture to creating lace edging on towels or blankets – the possibilities are truly endless!
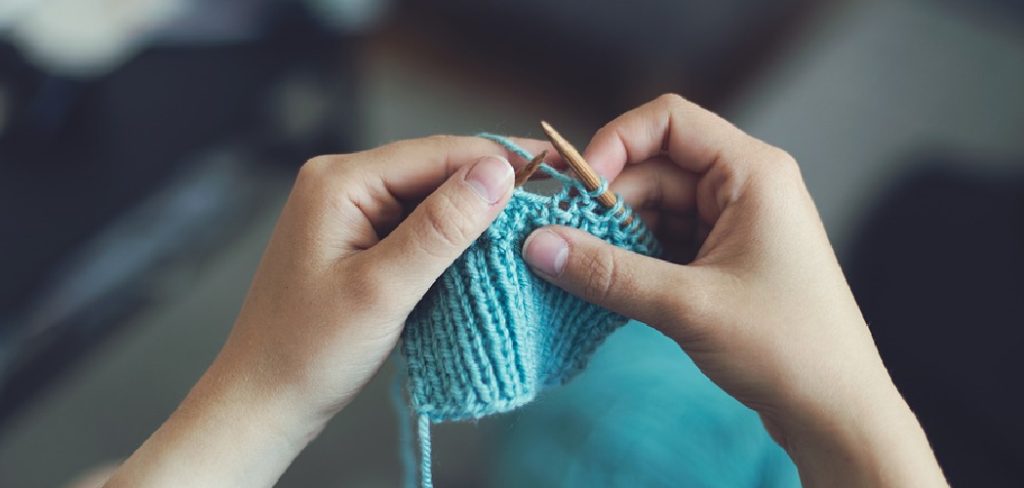
If you’ve ever wanted to add a creative touch to your clothing or accessories, chances are that you’ve considered trying your hand at knitting. Knitting is an incredibly versatile skill that can provide new pieces of clothing and be used to decorate or cover other items too. One particular type of stitch, the M1 stitch, is perfect for adding unique designs with plenty of texture!
This blog post will explore how to m1 in knitting without a hole.
What Will You Need?
To get started, you’ll need a few supplies. If you’re just starting out, the following items will help make things easier:
- Knitting needles
- Yarn
- Scissors
- Tapestry needle (for weaving in ends)
- Crochet hook (optional)
The M1 stitch is a great way to add a little extra style and texture to your projects without needing any complex patterns or techniques. It’s relatively simple to do as well – all you need to remember is how to make a yarn over.
10 Easy Steps on How to M1 in Knitting Without a Hole
Step 1. Cast the Number of Stitches:
Begin by casting the required number of stitches for your project. Make sure that you cast on with a firm tension, as this will make it easier when you come to work on the M1 stitch. If you’re unsure how to do this, refer to a knitting book or online guide.
Step 2. Make a Yarn Over:
Now, make a yarn over (abbreviated “yo”) between the two stitches that you just cast on. To do this, wrap the yarn around your needle once and then pull it through to create an extra stitch on your knitting needles. Be careful not to pull the yarn too tightly, as this can affect how your project turns out.
Step 3. Insert Your Needle Between Stitches:
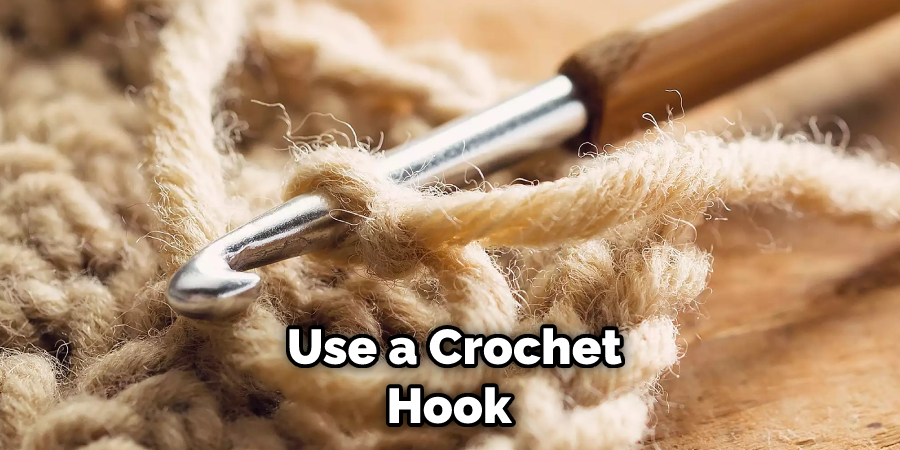
Next, insert your right-hand knitting needle through the last stitch that was made before the yarn-over between both stitches created with the cast-on process. If you’re having trouble finding it, you can use a crochet hook to fish it out. There should be one stitch on the right-hand needle and two stitches on the left.
Step 4. Wrap the Yarn Around:
Then, wrap the yarn around the right-hand needle and pull it through to create a new stitch. This new stitch should be twisting together both of the original stitches that were created with your cast on – forming one single stitch in between them. You can now slide this new stitch off the right-hand needle and successfully create an M1 stitch without a hole!
Step 5. Pull Through Carefully:
Carefully pull this stitch through carefully while keeping all of the other stitches on your needles firm, as pulling too tight can cause your knitting to distort and become uneven. Additionally, you will want to make sure that you are not twisting the yarn while pulling it through, as this can cause your project to appear messy and uneven. It is important to keep the tension even when you are knitting in order to ensure that your project looks its best!
Step 6. Pinch and Tighten:
Once you’ve pulled through, pinch the two stitches together tightly so they form one single stitch (with no hole!) before slipping it off the right-hand needle. Repeat this process for each stitch until you have created the desired number of stitches with your M1 technique. Ensure that you are pulling the yarn through slowly and evenly in order to keep the tension even.
Step 7. Weave in Ends:
Once you’ve completed working the M1 stitch, weave in any loose ends that may be sticking out from the edges of your knitting project. This is important to do as it helps keep everything neat and tidy while also helping to prevent future snagging or unraveling of your work. Because weaving in ends can be a bit tricky, you may want to refer to an online guide or knitting book if you’re unsure how to do this.
Step 8. Check Your Work:
Check how your work looks before moving on to the next step or starting a new project – sometimes, small mistakes can go unnoticed until after you’ve already finished knitting. If you find any problems, make sure to fix them before continuing. Otherwise, you may waste time and materials on a project that won’t turn out how you wanted it to.
Step 9. Carry on Knitting:
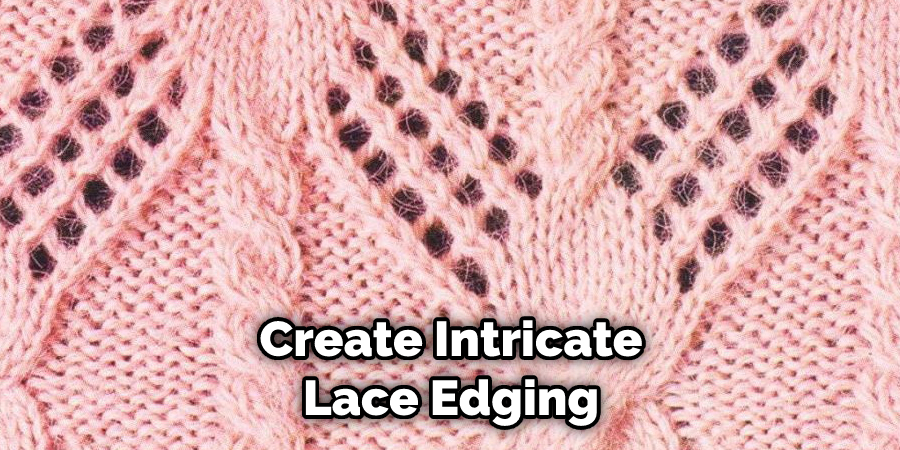
Now that you’ve successfully worked the M1 stitch, it’s time to continue knitting! The possibilities are truly endless when it comes to how you can use this skill in your projects. Whether you’re looking for ways to add texture or create intricate lace edging, the M1 stitch is a great way to do so.
Step 10. Enjoy Your Project:
Last but not least, show off your hard work and enjoy the results of all your efforts! You should now have a beautiful piece of knitwear with extra creative touches that were made possible thanks to mastering how to m1 in knitting without a hole. Remember, practice makes perfect, so don’t be afraid to experiment and try new techniques!
By following these steps, you should be able to m1 in knitting without a hole. With some practice and patience, you’ll find that the M1 stitch is an easy way to add extra detail and style to any project.
5 Additional Tips and Tricks
- When making an M1 increase without creating a hole, use the lifted purl stitch technique. To do this, lift up the loop that sits between the two stitches and purl it.
- Use a small crochet hook to make an M1 increase without creating a hole. To do this, insert the hook into the loop between two stitches, pick up the yarn from back to front, and pull through the stitch as if crocheting.
- Make an M1 increase without creating a hole by using short rows. Short rows are when you work some of your stitches across fewer than all of your needles, leaving empty space between them, which can be used for increases like M1s without making a hole.
- To avoid making a hole when you make an M1 increase, use the backward loop method. To do this, take some of your working yarn and wrap it around your needle backward to create a loop that can then be increased using the M1 technique.
- Lastly, use kfb (knit into the front and back) if you want to make an M1 increase without creating a hole in your knitting. This is essentially just like doing an M1 but with two stitches instead of one.
- With these tips and tricks, you’ll be able to make an M1 increase without creating a hole in your knitting. Have fun experimenting with different techniques and see what works best for you! Happy knitting!
5 Things You Should Avoid
- Don’t try to pass the needle through an existing stitch. Instead, create a new one by using the yarn between two stitches and drawing it up onto your left-hand needle.
- Don’t knit too tightly when working M1 increases, as this can cause a hole in your piece.
- Don’t make the mistake of twisting the loop before knitting – this will also create holes in your finished item.
- Don’t forget to count how many stitches you have increased after making each M1 – it’s easy to lose track and end up with the wrong number of stitches!
- Avoid using too much yarn when creating a new stitch, as this can leave gaps in your work that look unsightly. If you have too much yarn, simply draw it back through the loop you created and snip off any excess.
These are just a few mistakes to avoid when learning to make M1 increases without leaving holes in your knitting projects. With practice and patience, you’ll be able to master this technique in no time!
Conclusion
To conclude, m1 in knitting is an invaluable technique to master. Used correctly, it can create seamless fabric and bolster the structure of projects. By following the simple steps outlined in this blog post, you can produce beautiful projects without worrying about holes getting should come as second nature. With a lot of practice and patience, you’ll be able to master the art of m1 knitting with ease.
If you ever struggle with this technique, break your project down and try a few simple swatches until you understand the main principles behind successful m1 knitting. As your understanding grows, you will naturally implement the technique in complex knits without fear or difficulty.
Hopefully, the article on how to m1 in knitting without a hole has been useful in guiding your knitting journey. Happy knitting!