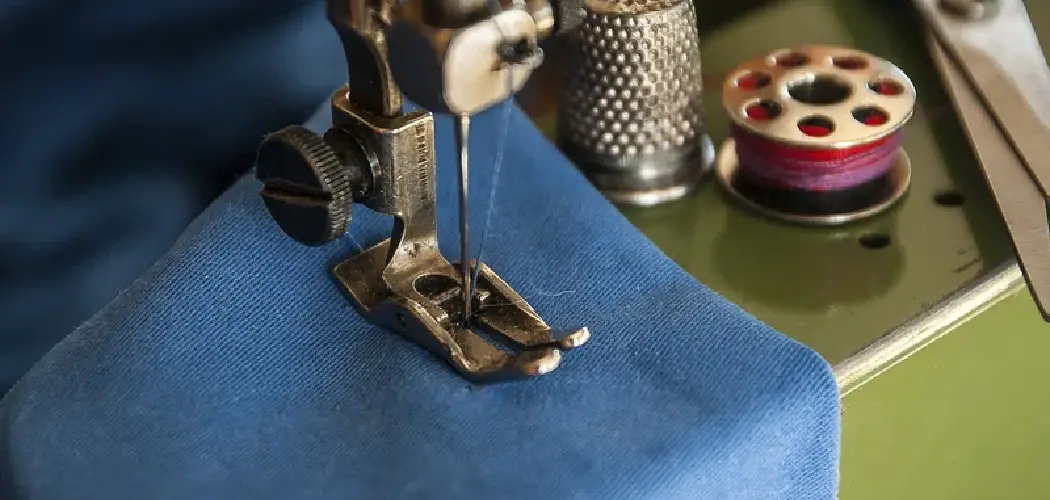
Do you love the look of jersey knit fabric, but feel intimidated when it comes to learning how to sew on it? If so, you’re not alone! Sewing with jersey knit can be confusing and challenging for even experienced sewers. It often stretches out and slips away from needles or pins as soon as they touch it; something that makes everyone groan in frustration!
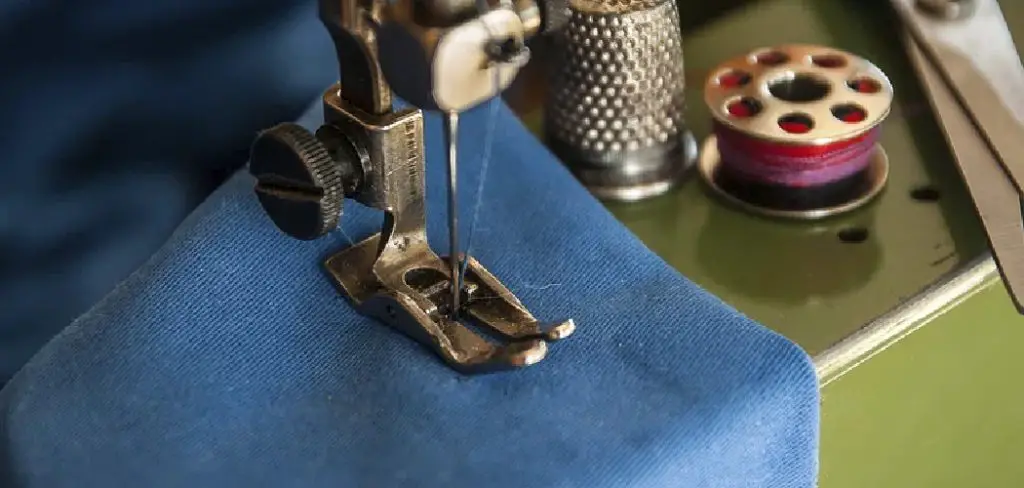
But don’t despair because we have the solution – We’ll teach you everything there is to know about how to properly work with this tricky fabric so that your next sewing project turns out perfect every time. Keep reading for tips and tricks on how to sew on jersey knit that will help you conquer Jersey Knit in no time.
Why Do You Need Special Tips for Sewing on Jersey Knit?
You may be thinking, “I’ve sewn with other types of fabrics before, why do I need special advice for jersey knit?” The answer is simple: Jersey knit is a different kind of material that has unique characteristics and requires a specific technique to work with it.
Unlike other woven fabrics, jersey knit stretches both horizontally and vertically. And if you’re not careful, it can easily end up stretched out of shape or with uneven stitches. But don’t worry; we’ve got you covered with our tried and tested tips for sewing on jersey knit!
Benefits of Sewing With Jersey Knit
Before we jump into the nitty-gritty of how to sew on jersey knit, let’s take a quick look at why this fabric is worth the effort to learn and work with. Here are just a few benefits of sewing with jersey knit:
Soft and comfortable:
Jersey knit is known for its softness, making it perfect for creating comfortable clothing.
Stretchy:
The stretchiness of jersey knit allows for flexibility and movement, making it ideal for sportswear or activewear.
Versatile:
Jersey knit comes in various weights and can be used for a variety of projects, from t-shirts and dresses to jackets and even home decor.
Wrinkle-resistant:
Unlike other fabrics that wrinkle easily, jersey knit is resistant to wrinkles, making it perfect for travel or everyday wear.

11 Step-by-step Instructions on How to Sew on Jersey Knit
Step 1: Prepare Your Fabric
Make sure to pre-wash and dry your jersey knit fabric before sewing to prevent any shrinkage in the future. It’s also a good idea to iron out any wrinkles before starting. It’s essential to work with a flat, smooth fabric when sewing jersey knit. You can also place a layer of tissue paper underneath your fabric to help keep it in place as you sew. If you’re using a pattern, make sure to lay it out according to the fabric’s grainline.
Step 2: Use the Right Needle and Thread
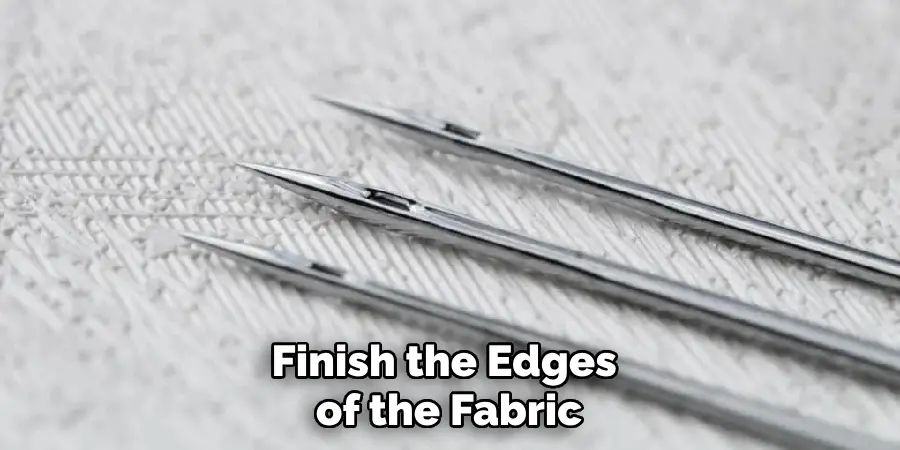
The type of needle you use when sewing on jersey knit will greatly impact your results. We recommend using a ballpoint or stretch needle as they are specifically designed for working with knits. Use a polyester thread, as it has some stretch, so it won’t break when the fabric stretches. It’s also a good idea to use a longer stitch length (around 3mm) to prevent the fabric from puckering.
Step 3: Set Your Machine to a Stretch Stitch
Most modern sewing machines have a variety of stitches to choose from, and if you’re using one with jersey knit, we recommend using a stretch stitch. This type of stitch has some give and allows the fabric to stretch without breaking the thread.
If your machine doesn’t have a stretch stitch, you can also use a narrow zigzag stitch. You may need to experiment and adjust the stitch length and width until you find what works best for your fabric.
Step 4: Start Sewing
Now it’s time to start sewing! Slowly guide your fabric through the machine, keeping a light tension on the material. Don’t pull or push too much; let the machine do most of the work. Use your hands to guide the fabric, keeping it flat and smooth as you go.
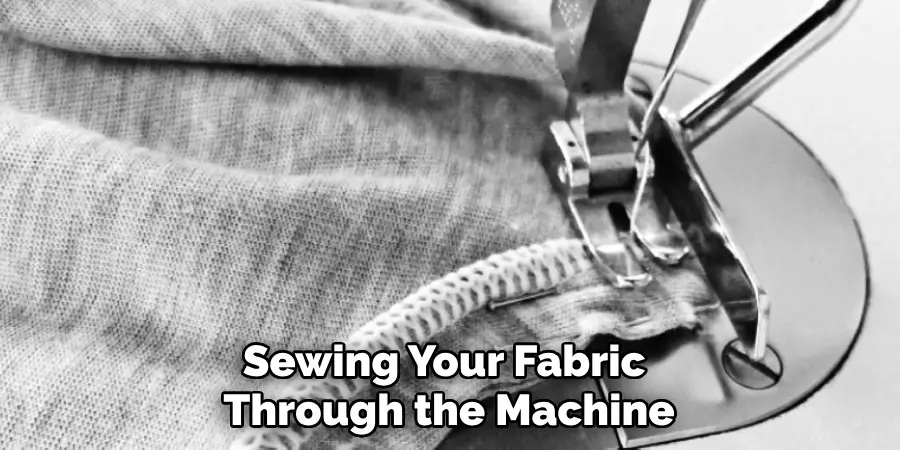
If your fabric starts to bunch or stretch out, stop and reposition it before continuing. It’s also a good idea to start with a scrap piece of fabric to test your stitches and get the hang of sewing on jersey knit.
Step 5: Sew in Small Sections
Jersey knit can easily get pulled or stretched while sewing long seams. To prevent this problem, we recommend breaking up your sewing into smaller sections. Sew one section at a time, then stop and reposition the fabric before starting on the next section. By doing this, you’ll have more control over the fabric and will be able to maintain an even stitch.
Step 6: Use Pins or Clips
As mentioned earlier, jersey knit can easily slip away from pins while sewing. Instead of using traditional straight pins, opt for clips or ballpoint pins specifically designed for knits. These will help keep your fabric in place without causing damage or distortion. But make sure to remove them as you sew, so they don’t get caught in the stitches.
Otherwise, use a walking foot to help feed the fabric evenly through your machine. It’s also a good idea to pin or clip the fabric close to the seam line, so they don’t get in your way while sewing.
Step 7: Sew With the Grainline
Pay attention to the grainline of your fabric when sewing on jersey knit. Sewing perpendicular to the fabric’ grainline will cause it to stretch out and lose its shape. Instead, sew parallel to the grainline, making sure not to pull or stretch the fabric while sewing. If you notice any stretching, stop and reposition the fabric before continuing.
Step 8: Secure Your Seams
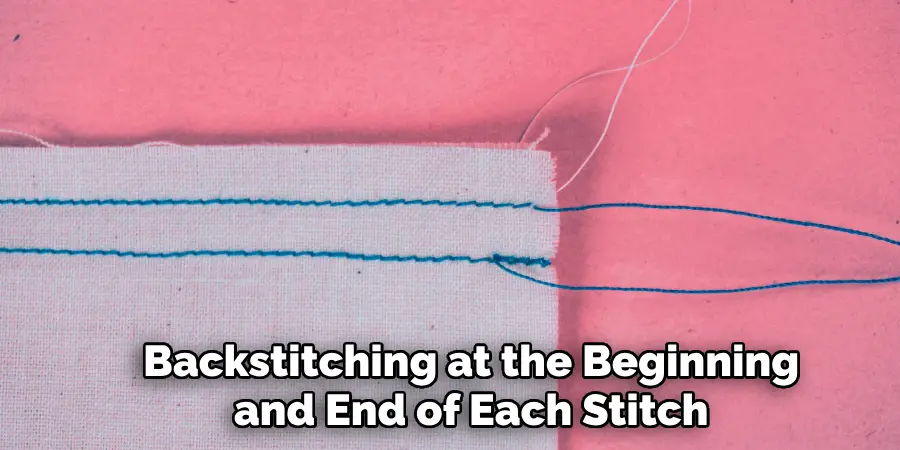
After sewing a seam, we recommend backstitching at the beginning and end of each stitch to secure it. If your machine has a lockstitch function, use that instead for extra reinforcement. Alternatively, you can tie off the thread ends by hand. This will help prevent your stitches from unraveling and keep them in place. Although jersey knit doesn’t fray, it’s still essential to secure your seams.
Step 9: Use a Walking Foot
As mentioned before, using a walking foot can be helpful when sewing on jersey knit. The walking foot works by feeding the fabric through the machine evenly, helping to prevent any stretching or shifting. It’s especially useful when working with bulky or slippery fabrics like jersey knit. You can also use a roller foot or an even feed foot as an alternative.
Step 10: Practice and Experiment
Sewing on jersey knit may take some practice, so don’t get discouraged if your first few attempts don’t turn out perfectly. Experiment with different stitches, needle types, and tension settings to find what works best for you and your fabric. Don’t be afraid to try new techniques and take your time to get comfortable with sewing on jersey knit.
However, with some practice and patience, you’ll soon be a pro at sewing on jersey knit. You can also check out tutorials and videos online for additional guidance and tips.
Step 11: Finishing Touches
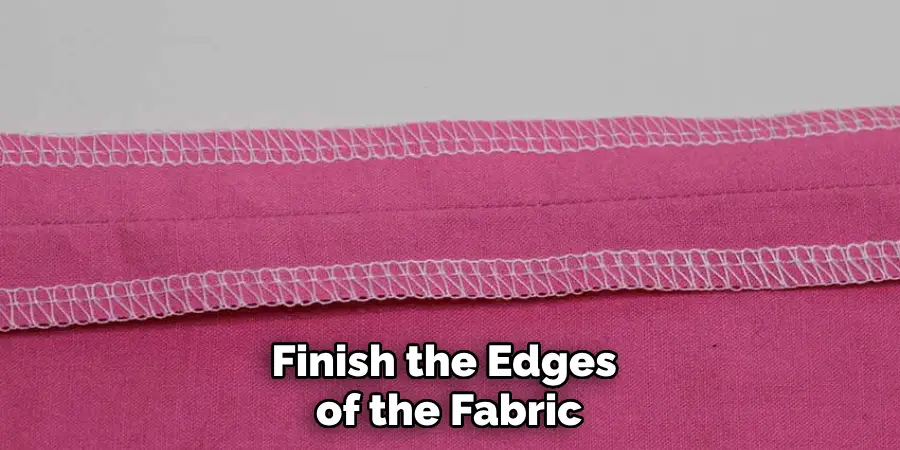
After completing your project, it’s essential to finish the edges of the fabric. You can use a serger or overlock machine for a professional finish, or you can use a zigzag stitch on your regular sewing machine. This will help prevent any fraying and give your project a polished look. Always make sure to iron your finished project before wearing or using it. All of your hard work sewing on jersey knit will be worth it when you see the final result!
Congratulations, you have now successfully sewn on jersey knit! Show off your new sewing skills by making a comfortable and stylish garment or home decor item. Remember, practice makes perfect, so don’t be afraid to keep sewing on jersey knit to improve your skills even more. Happy sewing!
Tips on How to Sew on Jersey Knit
Here are some essential tips and techniques to keep in mind when working with jersey knit:
Use a Ballpoint or Stretch Needle:
Since jersey knit has a tendency to slip away from needles, it’s essential to use the right type of needle. A ballpoint or stretch needle is specifically designed for knits and will help prevent snagging and skipped stitches.
Use a Walking Foot:
To prevent the fabric from stretching and shifting while sewing, try using a walking foot. This specialized foot will evenly feed the fabric through the machine, preventing any unwanted stretching or bunching.
Use the Correct Stitch:
When it comes to stitches for jersey knit, opt for either a zigzag or stretch stitch. These stitches allow for the necessary stretch in the fabric without breaking the thread.
Use Pins Sparingly:
Pinning can be tricky with jersey knit as it tends to shift and stretch. Instead, try using clips or a washable glue stick to hold the pieces together before sewing.
Test on Scrap Fabric:
Before starting your project on the actual fabric, do a test run on a scrap piece to make sure your machine settings and stitches are correct. This will save you from any costly mistakes on your final project.
Frequently Asked Questions
Q1: What Type of Needle Should I Use When Sewing on Jersey Knit?
A1: It is recommended to use a ballpoint or stretch needle, as they are designed specifically for stretchy fabrics and will prevent snags and skipped stitches. It is also essential to use a new needle for each sewing project to ensure smooth stitching.
Q2: How Do I Keep My Jersey Knit Fabric From Stretching While Sewing?
A2: To prevent your jersey knit fabric from stretching while sewing, try using a walking foot or a twin needle. You can also use tissue paper in between the fabric and the presser foot to help stabilize it and prevent slipping.
Q3: What Type of Stitch Works Best for Sewing on Jersey Knit?
A3: A zigzag or stretch stitch is recommended when sewing on jersey knit. These stitches allow for the fabric to stretch without breaking the thread. Be sure to test the stitch on a scrap piece of fabric before starting your project.
Q4: How Do I Hem Jersey Knit Fabric?
A4: To hem jersey knit fabric, use a twin needle or a zigzag stitch. These stitches will help the hem stretch with the fabric and prevent it from popping when worn. It is also important to use a stretchy thread for hemming.
Conclusion
After reading this blog post on how to sew on jersey knit, you should be feeling inspired and ready to start working with jersey knit. Be sure to read through the steps carefully, follow guidelines, and make sure to practice stitching on a few scrap pieces of knit fabrics before attempting a project.
With enough patience and practice, jersey knit sewing won’t feel like such an intimidating task anymore! Do you have any tips or ideas for sewing jersey knit that you would like to share? We want to hear them! Share your experiences in the comments section and let us know how you tackle sewing jerseys. Good luck on your next project and happy sewing!

