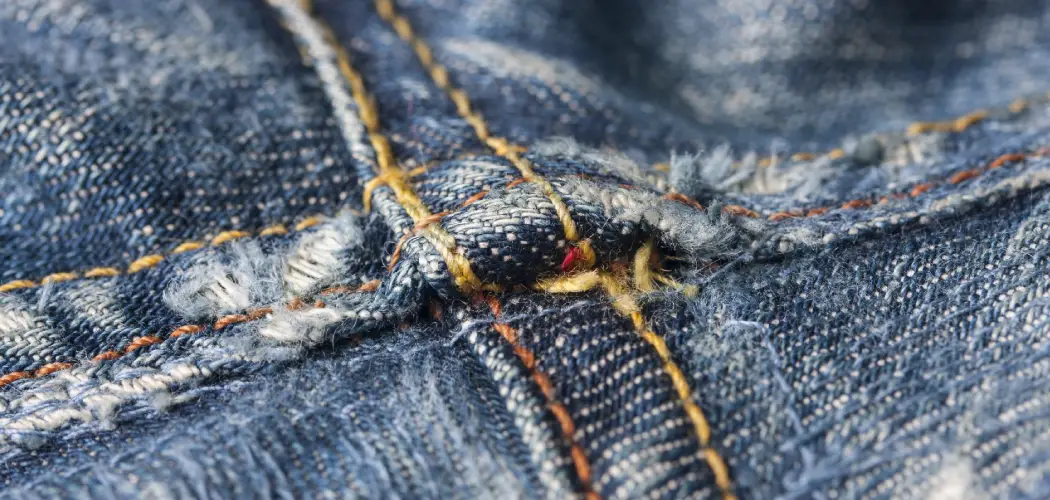
Have you ever wanted to make a pair of denim jeans that looks unique and stylish? Or maybe you want to sew an item of clothing that is really durable but still has it look polished. If so, then learning how to perform a flat felled seam might be just what you’re looking for!
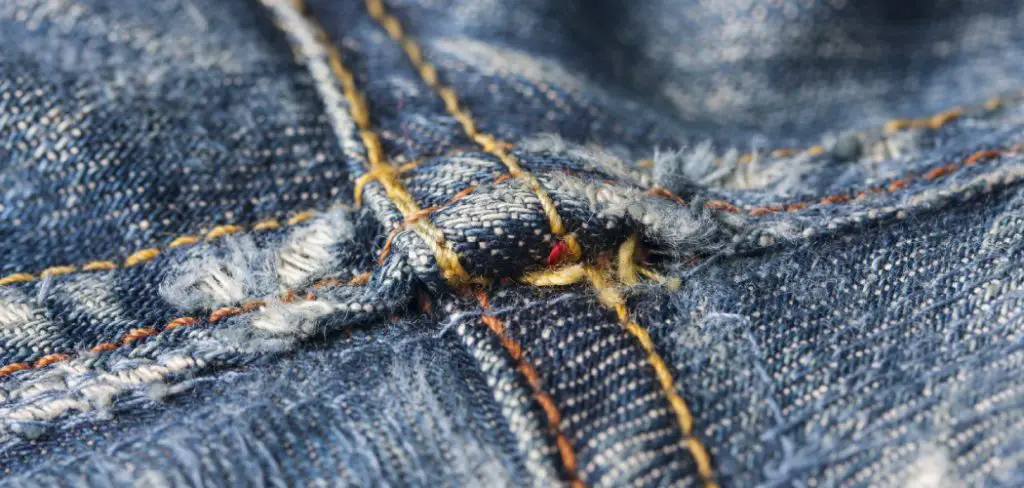
Flat felling is the perfect technique for achieving strong seams without sacrificing appearance; plus, once mastered, this type of seam can be applied with relative ease to any garment or accessory requiring reinforcement. Keep reading as we guide you through the simple steps on how to sew flat felled seam required in order to start crafting beautiful items using the flat-felled technique.
Needed Materials
Given below are all the items that you need to get started with flat felling:
- A Sewing Machine
- Thread (Preferably Polyester or Nylon)
- An Awl or Seam Ripper
- Fabric Scissors
- Presser Foot (Usually Included With Most Machines)
- Iron
11 Step-by-step Guidelines on How to Sew Flat Felled Seam
Step 1: Prepare the Fabric
Start by placing the wrong sides of the fabric together and pinning them in place. This will ensure that your seams will not move when you begin sewing them together. It is important to make sure that the raw edges line up as closely as possible. If not, you may end up with visible seams on the right side.
But, if you’re using a fabric with an obvious pattern or texture, sew the pieces so that when they are joined together the pattern will match at the seem.
Step 2: Start Sewing
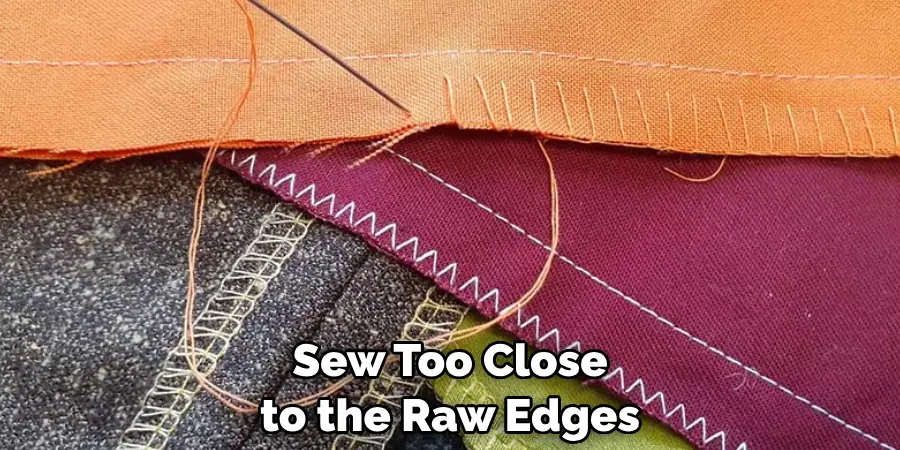
Lower the presser foot and begin sewing along the pinned area. Be sure to keep the edges aligned and use a slightly shorter stitch length to create a stronger seam. But make sure not to sew too close to the raw edges, as this could cause them to fray when you turn your fabric right-side out.
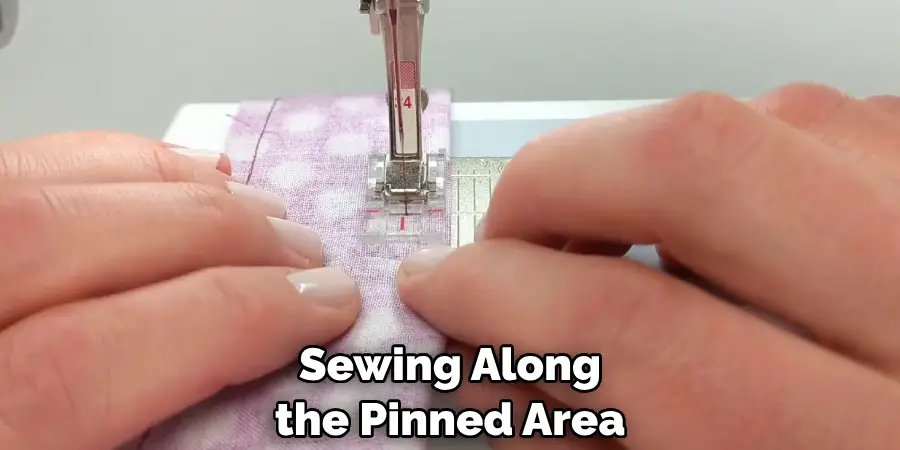
This step creates a “baste” seam that will be used to guide the following steps. If you’d like, you can add a second line of basting stitches to make the seam even stronger.
Step 3: Trim the Seam Allowance
Trim one side of the seam allowance down to 1/4 inch. This will make it easier for you to fold over and sew the excess fabric in later steps. But be sure not to cut too close to the stitching, or you may end up with a seam that is too weak.
If you’re using a fabric with an intricate pattern or texture, it may be helpful to mark the seam allowance with a tracing wheel first. This will ensure that the trimming is even and accurate. This trimming process will be repeated for both sides of the seam.
Step 4: Press the Seam
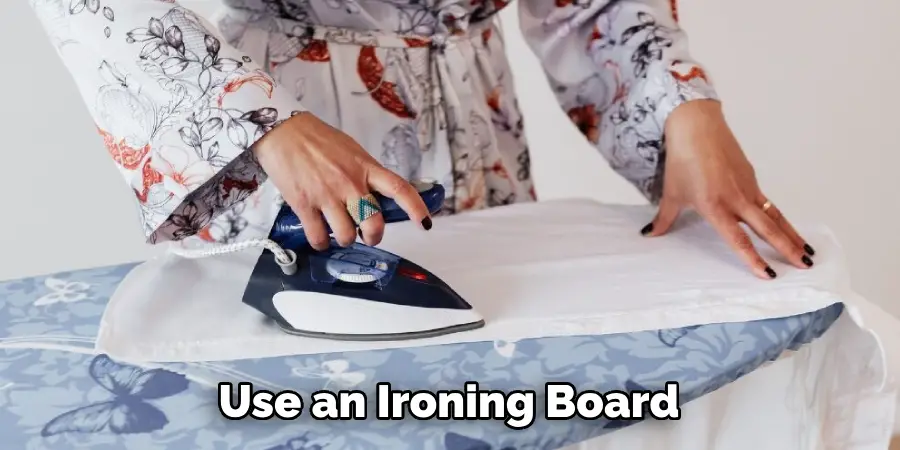
Press the seam with an iron to get it as flat as possible. This will make it easier for you to fold over and sew the fabric down in later steps. It is important to make sure that the seam allowance is pressed flat so that it doesn’t create any bumps or ridges when you turn your fabric right-side out.
It may also be helpful to use an ironing board when pressing the seam, as this will help ensure that it is pressed evenly. But be sure not to press too hard or you may end up stretching the fabric.
Step 5: Fold the Seam Allowance
Fold one of the sides of the seam allowance towards the wrong side, ensuring that it covers the raw edge of the other side. Pin this in place to keep it from shifting while you are sewing. This process will be repeated for both sides of the seam allowance.
It’s important to make sure that the folded edges are even, as this will create a more polished finished product. This is also the time to make any adjustments if you’ve noticed that the fabric isn’t lining up perfectly.
Step 6: Sew into Place
Lower the presser foot and sew along the folded side, keeping as close to the seam line as possible. This will help to reinforce your flat felled seam and make sure that it stays in place. It is recommended to use a shorter stitch length for this step, as it will make the seam even stronger. But be sure not to sew too close to the raw edges, as this can cause them to fray when you turn your fabric right-side out.
Step 7: Trim Excess Fabric
Once you have sewn the seam into place, trim off any excess fabric from the wrong side of the seam. This will help to keep your flat felled seam looking neat and tidy on both sides. This step is particularly important if you’re using a fabric with an intricate pattern or texture, as it will help to keep the seam looking crisp and clean. Be sure to use fabric scissors when trimming off any excess fabric.
Step 8: Fold the Seam Allowance Again
Fold the other side of the seam allowance towards the wrong side, covering the raw edge. Pin this in place to help keep it from shifting while you are sewing. But, it is important to make sure that the folded edges are even so that they line up perfectly when pressed.
This process will be repeated for both sides of the seam allowance. It’s also helpful to use an awl or seam ripper to make any necessary adjustments if the fabric isn’t lining up perfectly.
Step 9: Sew into Place
Lower the presser foot and sew along the folded side, keeping as close to the seam line as possible. This will help to reinforce your flat felled seam and make sure that it stays in place.
But be sure not to sew too close to the raw edges, as this can cause them to fray when you turn your fabric right-side out. It is recommended to use a shorter stitch length for this step, as it will make the seam even stronger.
Step 10: Press the Seam
Press the completed seam with an iron to get it as flat as possible. This will help keep your seams looking neat and tidy on both sides. You can press the seam on either side, but be sure not to press too hard or you may end up stretching the fabric. Once your seams are pressed, it is a good idea to use an ironing board as this will help ensure that they are pressed evenly.
Step 11: Trim Access Threads
Once you are done sewing, be sure to trim any excess threads that may have been left behind. This will help to keep your seams looking neat and tidy on both sides. This can be done with a pair of thread snips, or by simply pulling gently on the threads until they come away from the fabric. Then, use an awl or seam ripper to make any necessary adjustments if the fabric isn’t lining up perfectly.
And there you have it! You now know how to sew flat felled seam. With this knowledge, you can make garments and accessories with stronger seams and a more polished look. So go ahead and get creative with your projects! Happy sewing!
By following these simple steps, you can start experimenting with flat felled seams on all of your future sewing projects. With a bit of practice and patience, soon enough you’ll be able to craft beautiful and durable items confidently!
Do You Need to Use Professionals?
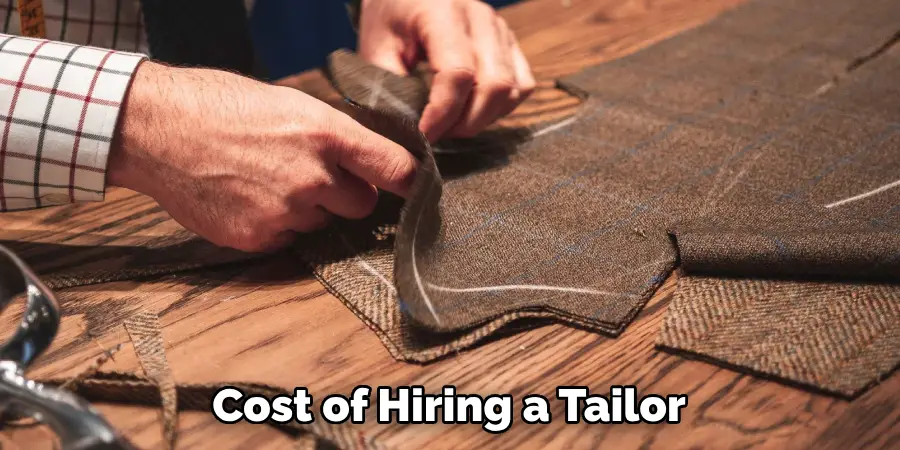
If you are looking for a professional finish to your projects, then it can be beneficial to enlist the help of an experienced tailor. They can give you advice and show you different techniques that will help take your sewing skills to the next level. With their expertise, you’ll be able to craft beautiful garments or accessories with strong seams that look truly polished!
How Much It Will Cost?
The cost of hiring a tailor to help you with sewing projects will depend on the scope of your project and the complexity of the techniques used. If you are looking for basic alterations or repairs, then you may be able to find someone who can do it for an affordable rate.
However, if you are looking for a more complex technique such as flat felling, then you may have to pay a bit more for the services. It is important to shop around and compare prices before making your decision.
Tips
- Always Use High-quality Thread When Sewing Seams. This Will Help Ensure That Your Seams Are Strong and Durable.
- When Trimming the Seam Allowance, Be Sure to Use Fabric Scissors So That You Get a Clean Cut.
- If You Are Using Iron for Pressing Your Seams, Always Make Sure to Use the Correct Setting for Your Type of Fabric to Avoid Damaging It.
- Remember to Test Out Any New Technique on Scrap Fabric Before Attempting It on Your Project. This Will Help Ensure That You Get the Desired Result.
- When Attaching Buttons and Other Trims, Use a Thimble for Extra Protection Against Sharp Needles and Pins.
- Keep Any Sewing Tools Away From Children to Avoid Potential Hazards.
Frequently Asked Questions
Q: What Type of Thread is Best for Flat Felling?
A: Polyester or nylon thread is recommended for flat felling, as it has greater tensile strength and will help to make your seams stronger. It is also important to ensure that your thread is a similar color to the fabric you are using, as this will help to make your seams less visible.
Q: How Much Seam Allowance Should I Leave When Flat Felling?
A: It is best to leave a 1/4 inch seam allowance when flat felling, as this will give you enough fabric to fold over and sew into place without leaving any excess. This is important to ensure that your seams are neatly finished and look good from both sides.
Q: Are There Any Other Tips for Sewing Flat-Felled Seams?
A: When sewing, it is best to use a slightly shorter stitch length to create a stronger seam. Additionally, press the seams after each step to make them as flat as possible. This will help to ensure that your finished product looks neat and tidy on both sides.
Q: Is There Any Special Equipment Needed for Flat Felling?
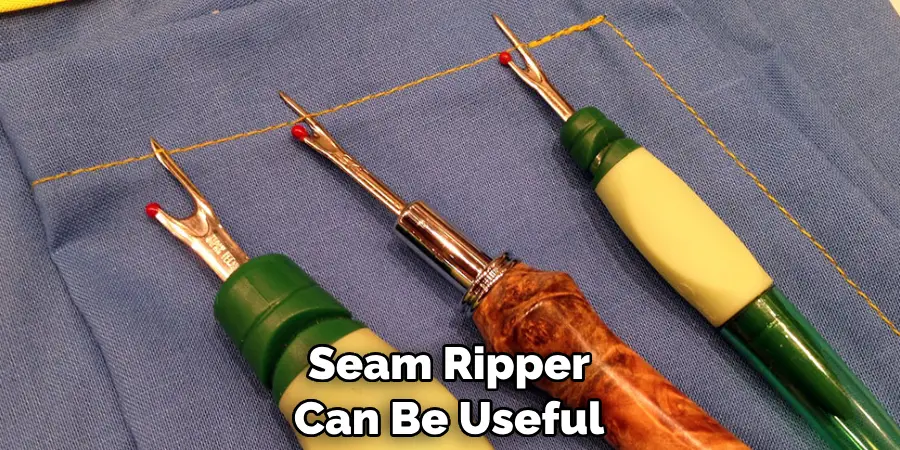
A: An awl or seam ripper can be useful when trimming the seam allowance and folding fabric. Additionally, a presser foot is usually included with most sewing machines, which will make it easier to sew close to the edge of the fabric.
Conclusion
Mastering flat-felled seams is an essential skill for anyone who wants to step up their tailoring game. Not only do flat felled seams look much more professional than other types of finished seams, but they are also incredibly efficient in terms of time – you can finish a project even faster!
Whether you are just beginning to sew or have been working with fabrics for some time, the technique of the flat felled seam can take your projects far. Be bold and creative and don’t be afraid to try out new ideas and techniques – until then keep stitching and keep learning!
Always remember that practice makes perfect and the final result will always make it all worth it in the end. So let’s get stitching with some confidence and determination! Thanks for reading this article on how to sew flat felled seam.

