
Are you worried about struggling to join seams in your garter stitch project? Joinery is one of the most important elements that go into a handmade knitted garment, and if done incorrectly, it can drastically affect how a garment looks when it’s finished.
Working with a garter stitch can be tricky since it’s not easily seamed; however, understanding the unique characteristics of garter stitches before jumping into joining them will help ensure your pieces are beautifully joined and make knitting even more enjoyable.
In this blog post, we’ll provide step-by-step instructions on how to join seams in garter stitch! With our tips and tricks and plenty of guidance along the way, you’ll soon find yourself mastering seam joinery without any difficulty!
What Will You Need?
To join seams in garter stitch, you will need the following:
- Two pieces of knitting that you have just finished in garter stitch
- Tapestry needle
- Scissors
- A sewing needle and thread (optional)
Once you have your supplies, you’re ready to begin!
10 Easy Steps on How to Join Seams in Garter Stitch
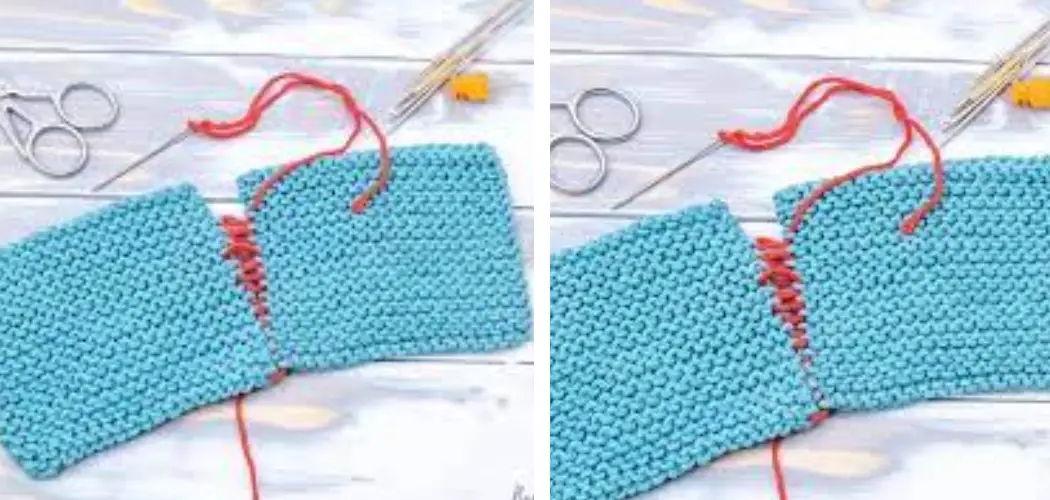
Step 1: Lay Your Pieces Out Flat
Begin by laying the two pieces of knitting out flat on a table or other flat surface. Make sure the right side of the fabric is facing up and that both pieces are oriented in the same direction. This will ensure that when you join the seams, your knitting will be lined up how it should be when complete.
Step 2: Line Up Stitches
Once you have the two pieces laid out flat, line them up so that their edges match and all the stitches align. Make sure to consider any increases or decreases you made when lining up the stitches. Be careful not to twist the pieces as you line them up.
Step 3: Thread Your Tapestry Needle
Thread your tapestry needle with a length of yarn that’s about twice as long as the seam you’re joining. Once it’s threaded, double knot one end of the yarn (this will help prevent the yarn from slipping out during sewing). Don’t over-tighten the knot, as you don’t want it to pull too tight when joining seams.
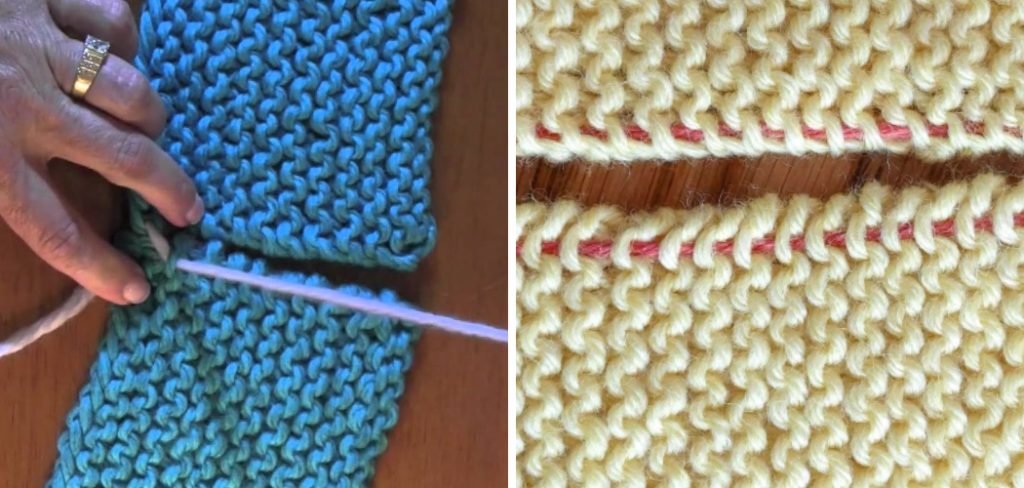
Step 4: Begin Sewing
Now you’re ready to start sewing! Begin by inserting your needle from the back of the left piece of knitting through the first stitch on the right side of the left piece. Pull your yarn taut and make sure you don’t pull it too tight (otherwise, your seams will be too tight).

Step 5: Insert Needle
Now, insert your needle into the first stitch on the right side of the right piece of knitting. Make sure to line up the stitches so that they are in alignment with each other. Next, bring your needle back through both pieces so that it comes out through the backside of the left piece again.
Once it is through both pieces, gently pull until there is no slack in your thread, being careful not to pull too tight as this will affect how your finished seam looks.
Step 6: Secure the Last Stitch
Once you have completed sewing all of the stitches, insert your needle back through both pieces for one last time. Pull taut and then tie a knot at the end to secure the last stitch. To further secure this knot, you can also use a sewing needle and thread to sew over the knotted area several times.
Step 7: Trim Yarn
Using scissors, trim off any excess yarn that’s left over from when you were joining the seams. Be careful not to cut too close to the knot, as this could cause it to come undone. Ensure that your yarn is trimmed neatly so that it won’t be visible when the garment is finished.
Step 8: Turn Your Work Right Side Out
Turn your work right side out and check that the seam looks how you want it to. If there’s any excess fabric or misplaced stitches, simply pull out the yarn and re-do the steps as necessary. If everything looks how it should, then you’re done!
Step 9: Block Your Work
Blocking your work will help set the stitches securely in place so they won’t unravel later. To do this, lay your work flat on a blocking board (or other flat surfaces) and use pins to secure the edges of each piece together. You can then steam or wet block your garment according to the pattern instructions provided with your knitting project.
Step 10: Enjoy Your Finished Seam!
Once your project is finished, you can admire how nicely the seams line up. Your hard work paid off, and now you have a beautiful piece of seamless knitting! Congratulations – you’ve successfully learned how to join seams in garter stitch! Keep practicing this technique; soon enough, it will feel like second nature. Happy knitting!

By following these steps, you can easily and confidently join seams in the garter stitch. Knowing how to join seams correctly is an important skill for any knitter, so make sure you practice until it becomes second nature. With a little patience and practice, you’ll be joining seams like a pro! Enjoy your finished project, and happy knitting!
5 Additional Tips and Tricks
- Matching the tension is important when joining seams in the garter stitch. If the seam is too tight, it will create an undesired effect on the finished piece. To avoid this, be sure to match how many stitches you are knitting together on each side of the seam.
- When working with a single or double-sided garter stitch, consider using an invisible seaming method such as mattress stitch or Kitchener stitch. These methods can help keep your seams neat and clean while providing additional stability to your fabric.
- To ensure that your seams are both strong and flexible, work them flat instead of in the round. This way, you can use multiple strands of yarn to join your edges together, creating a more sturdy seam.
- If you are working on a pattern that calls for seaming in a garter stitch, be sure to read the pattern instructions carefully and follow them closely. This will help ensure that you get the desired result when finished.
- When creating a seam in a garter stitch, it is important to make sure that your stitches line up correctly before joining them together. This can be done by counting how many rows of each side have been worked and making sure they match before stitching them together.

For a successful result, joining seams in garter stitch requires patience and extra attention to detail. However, with proper technique and practice, you can create beautiful seams to enhance your finished project!
5 Things You Should Avoid
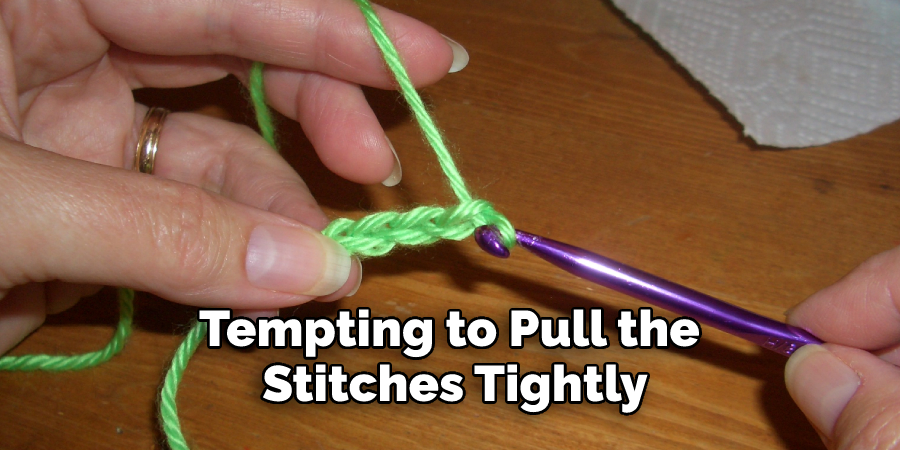
- Don’t work your seams too tight. When joining two pieces of garter stitch together, it can be tempting to pull the stitches tightly to make sure they stay in place.
- Don’t skip any steps when working your seam. When learning how to join seams in a garter stitch, it’s important that you don’t skip any of the steps, or you may find a weak or sloppy seam.
- Don’t leave a gap when joining two garter stitch pieces. A gap in your seam will cause it to be weak, and the finished project won’t look as neat and tidy.
- Don’t use too many pins when working your seam. It’s important to keep your pins within the seam allowance so that they don’t show through on the finished product, but if you’re using too many pins, this can cause uneven tension on the stitches, which will affect how well your seam joins up.
- Don’t rush through the process. Joining seams in garter stitch requires precision and patience, so take your time and ensure each step is done correctly! This will ensure that your final product has a neat, professional finish.
By following these tips, you’ll be sure to have perfect seams when joining two pieces of garter stitch together! If you practice these methods and take your time, you’ll soon find how to join seams in a garter stitch easily. Good luck!
Conclusion
Working with a garter stitch can be daunting, especially when it comes to creating a continuous fabric when knitting multiple pieces. However, taking the time to learn how to join seams in a garter stitch will pay off in the end, as you will have an even more beautiful and professional-looking finished garment.
With its relatively simple process, joining seams in garter stitch is doable for even the most inexperienced knitters. Plus, this skill can easily be used to create blankets, sweaters, accessories, and more!
Whether you’re just starting out or you’ve been knitting for years, knowing how to join seams in garter stitch is an important skill that should not be overlooked.
Hopefully, this article has given you the confidence and knowledge to join your seams in garter stitch easily. So don’t hesitate—to give it a try today! Happy knitting!
You Can Check It Out to Knit a Bow