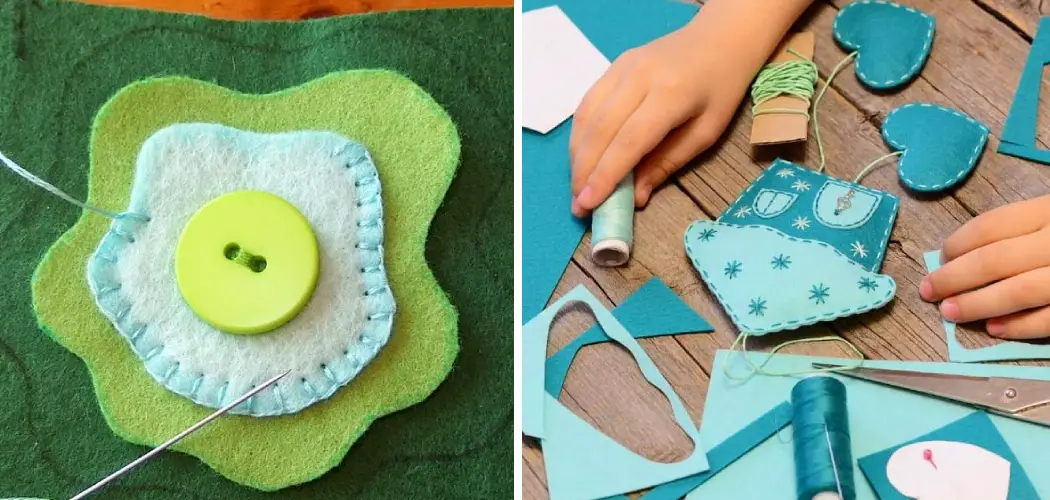
Do you want to get creative and learn a new skill? Sewing felt can be an incredibly fun and rewarding activity – one that even beginner sewers can enjoy with minimal effort. Looking to add texture, color, pattern, or style to your craft projects? There’s no better way than sewing felt for crafting beautiful objects!
In this blog post, we will take you through the basic steps for how to sew felt fabric so that you too can create amazing creations from simple materials. So whether it’s making a plush toy or quilting a wall hanging, you’ll find everything you need here. Let’s jump right in!
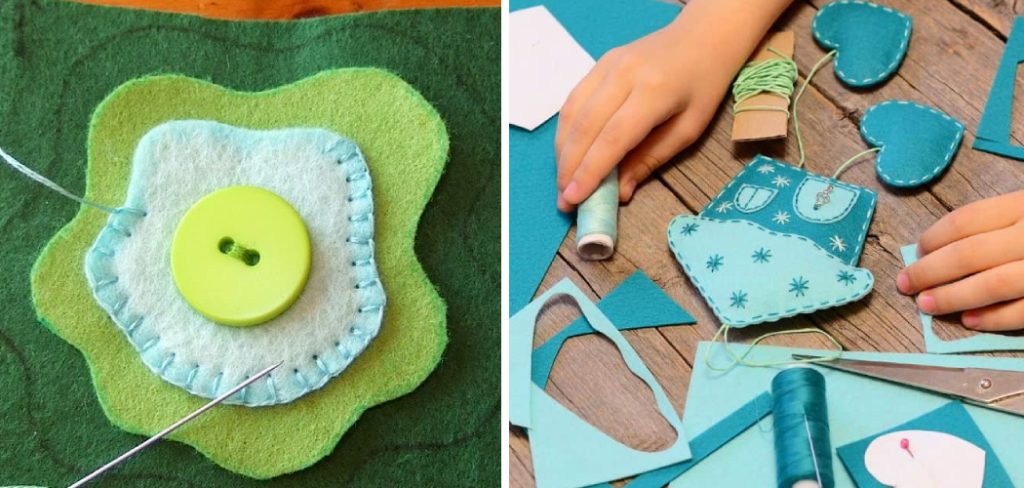
Tools and Materials You Will Need to Sew Felt
Before you can dive into sewing felt, you will need some basic tools and materials. Here is a list of items that you should have on hand:
- Felt fabric
- Sewing machine (or needle and thread)
- Sewing pins
- Scissors
- Measuring tape or ruler
- Thread
- Iron and ironing board (optional)
Step-by-Step Guidelines on How to Sew Felt
Step 1: Prepare the Fabric
The first step in sewing felt is to prepare the fabric. Start by pre-washing the fabric and laying it flat so that you can measure out your pieces. If you’re using more than one type of fabric, be sure to double-check that they are compatible before sewing them together. You should also consider if any interfacing or other reinforcement layers will be needed for your project.
Step 2: Cut Out the Pieces
Once you’ve prepped the fabric, you can start cutting out your pieces. If possible, use patterned scissors to get a more precise cut. Make sure that all of your pieces are even and symmetrical. Take particular care when cutting around curves or tight corners. While cutting, you should also double-check the measurements to make sure that all of your pieces are the same size.
Step 3: Pin the Pieces Together
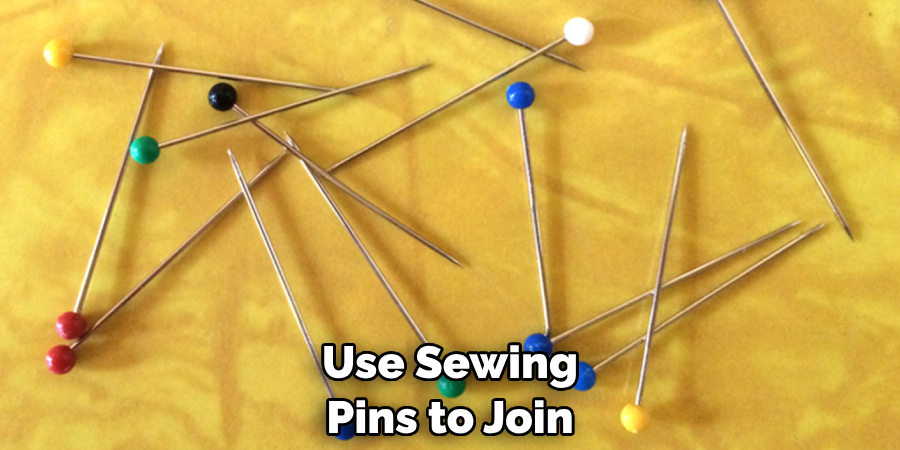
Next, use sewing pins to join the pieces together. Place the pins perpendicular to your fabric and make sure they are securely in place as you sew. This will ensure that your pieces stay in place while you’re stitching them together. This part will also require some patience, so make sure to take your time.
Step 4: Sew the Pieces Together
Once you’ve pinned all of the pieces together, it’s time to start sewing them together. If you are using a sewing machine, consider setting a longer stitch length for extra durability when working with felt fabric. When sewing, be sure to stitch along the edge of each piece and avoid making any large gaps between stitches.
Once you’ve finished stitching all of your pieces together, turn your project right side out and give it a press with an iron (if needed). This will help to keep everything looking tidy and neat.
Step 5: Add the Finishing Touches
The last step in sewing felt is to add any finishing touches. This could include adding a zipper, buttons, ribbon, or other decorative elements to give your project a unique look. Be sure to take your time with this part and get creative! Adding small details can make all the difference in your finished product.
And there you have it – the basic steps for how to sew felt! With just a few simple tools and techniques, you can create amazing craft projects in no time. So get creative and start sewing today!
Additional Tips and Tricks to Sew Felt
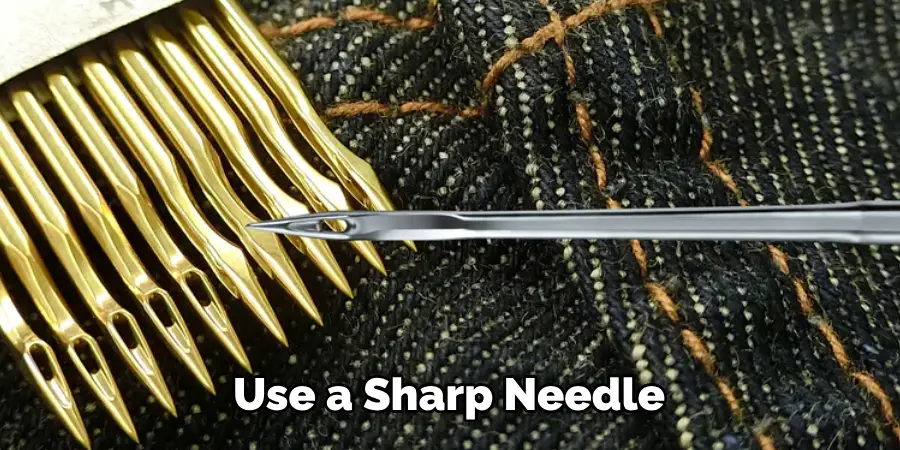
1. Use sharp needles with a sharp point designed for use with fabrics like felt and leather. This will make it easier to puncture the thick fabric and provide a smoother stitch.
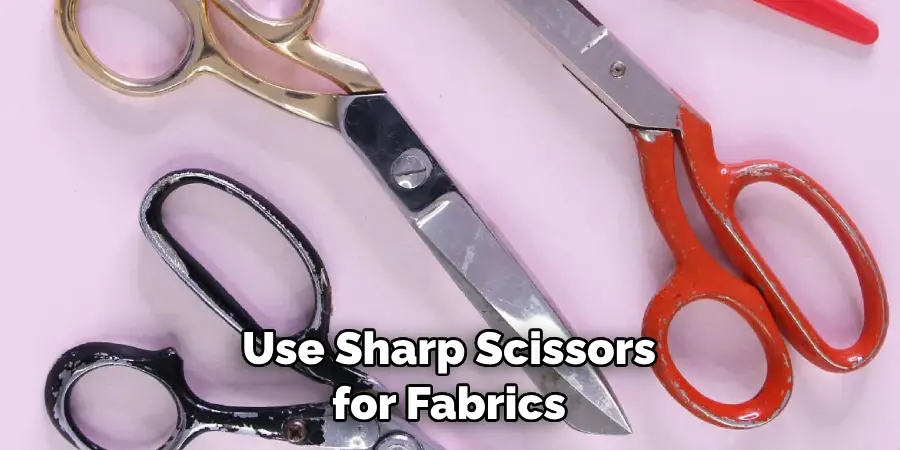
2. When cutting felt, use sharp scissors that are designed for fabrics like felt or leather. Dull scissors will tend to fray, rip and distort the edges of the material, making it difficult to sew them neatly later on.
3. If using several pieces of felt in a single project, make sure to pin them together before sewing. This will keep the pieces in place as you work and avoid having your stitches come out unevenly.
4. Consider using a walking foot attachment when sewing felt if you have one available. A walking foot is designed to feed fabric evenly through the machine, which is especially helpful with thicker fabrics like felt.
5. Use a longer stitch length when sewing thick fabrics like felt. This will help keep the stitches from getting too tight and puckering the fabric.
6. To reduce fraying, use some form of seam finishing on your project such as an overlock stitch or a zig-zag stitch around the edges of the fabric.
7. When hand sewing felt, use a leather or upholstery needle and thread. This will help the needle pass through more easily without snagging the fabric.
8. Felt is not as durable as other fabrics when washed, so hand washing is recommended to avoid any damage to your project.
9. If you plan on using felt for something like an appliqué, you may want to consider using a fabric adhesive in addition to stitching. This will help your appliqué stay firmly in place and reduce the amount of sewing that needs to be done.
Following these tips and tricks can help make your felt sewing projects easier and more successful. With a few simple steps, you can create beautiful projects with felt that will last for years to come. Happy sewing!
Precautions Need to Follow for Sewing Felt
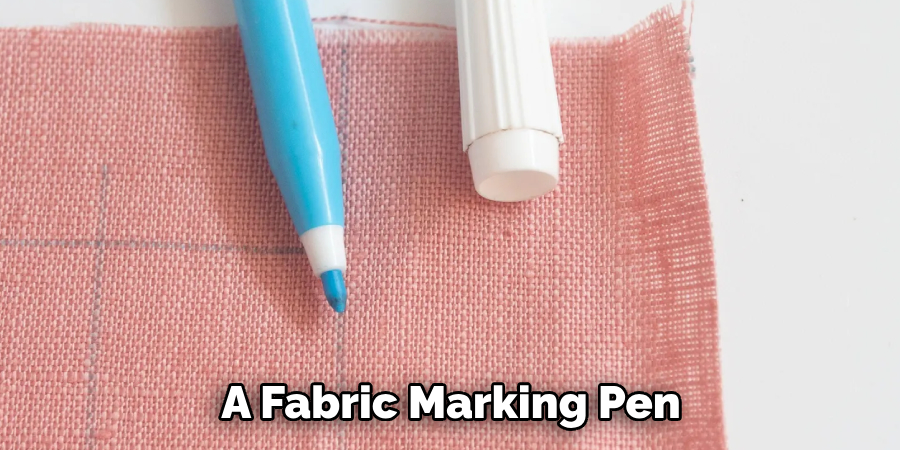
1. Make sure you have the right tools and materials for working with felt. You will need a sharp pair of scissors, pins, a fabric marking pen, an iron and ironing board, measuring tape, a sewing machine, or a hand needle and thread.
2. Felt is made from wool so it can be difficult to sew through. To make things easier you may want to use an “embroidery foot” or a “walking foot” on your sewing machine. These tools are designed to help you sew through thick materials like felt.
3. To prevent the edges of your feet from fraying, use pinking shears or an overcasting stitch to finish them off.
4. Before beginning any project, make sure you pre-wash the felt. Felt can shrink with washing so pre-washing can help ensure that your finished project won’t be too small after it is washed.
5. When cutting pieces from felt, always use sharp scissors or a rotary cutter and ruler to ensure an accurate cut.
6. If you are making something with an intricate design, you may want to draw your pattern onto the felt using a fabric marking pen. This will make it easier to keep track of where you need to sew.
7. Make sure to place pins in the fabric evenly and securely when sewing, or else your stitches could become uneven or come undone.
8. Set your machine for a slightly longer stitch length than you usually would so that the stitches don’t pull too tight when sewing thicker material like felt.
Following these precautions can help ensure that your felt project turns out perfectly every time! Happy sewing!
Frequently Asked Questions
What Type of Needles and Thread Should I Use for Sewing Felt?
For most projects, you will want to use a sharp needle size 11 or 14 with all-purpose polyester thread. This combination will give adequate strength and flexibility to hold seams together securely without stretching out the fabric. If you need extra strength, use a denim needle size 16 or 18.
What is the Best Way to Cut Felt?
The best way to cut felt is with sharp scissors, as this will give clean and precise edges. Mark your cutting lines with a tailor’s chalk or fabric markers before cutting in order to avoid mistakes. You should also use a cutting mat or another protective surface to avoid damaging surfaces underneath.
Are Fusible Interfacings Needed for Sewing Felt?
Fusible interfacing may be used when sewing felt but is usually not necessary. If you do decide to use fusible interfacing, make sure it is one that is specifically designed for felt. This will help the interfacing to adhere more securely and reduce any fraying or distortion of the fabric.
What are Some Tips for Sewing Felt?
When sewing felt, it is important to use a low stitch length to ensure that your stitches don’t pucker up as you sew. Also, take care not to stretch the felt when you’re sewing, as this may cause puckering or distortion.
If you’re working with a pattern, be sure to lay it out properly on the fabric and pin before sewing. Lastly, after stitching, press your seams open using an iron on a low heat setting so that they appear flat and crisp.
Conclusion
To sum up, sewing felt is a great way to create many fun projects. Whether you’re a beginner or an experienced sewer feeling overwhelmed by the process, it’s important to remember that virtually anyone can sew felt with some practice and patience.
From adding appliqués to clothing and accessories to creating paper crafts with beautiful hand-stitched designs, stitching felt brings any project to life. Plus, when done correctly, you get the satisfaction of knowing your project will last for years. So why not take a chance and learn how to sew felt today?
You’ll be surprised how easy it can be once you know the basics – no special tools are required! With some creativity and plenty of enthusiasm, your next felt creation could be the talk of the town!

