
Are you a crafty person who loves making things out of fabric? Are you looking for an easy project to add some flair and function to your summer wardrobe? If so, you’ve come to the right place!
In this blog post, we’ll show you how to sew a beach bag that the whole family can use – without spending much money or time. Whether it be for hauling around wet swimsuits, carrying snacks on trips to the sand dunes, or just looking good in town – this beach bag makes a great addition! Read on for step-by-step instructions and tips. Let’s get started sewing your own personalized beach bag today!

Tools and Materials You Will Need to Sew a Beach Bag
- 2 yards of fabric (for the main bag body)
- 2 or 3 coordinating pieces of fabric for accents and straps (you can use any color/pattern you like!)
- Matching thread
- Scissors
- Pins
- Sewing machine or a needle and thread
Step-by-Step Guidelines on How to Sew a Beach Bag
Step 1: Cut Out Your Fabric Pieces
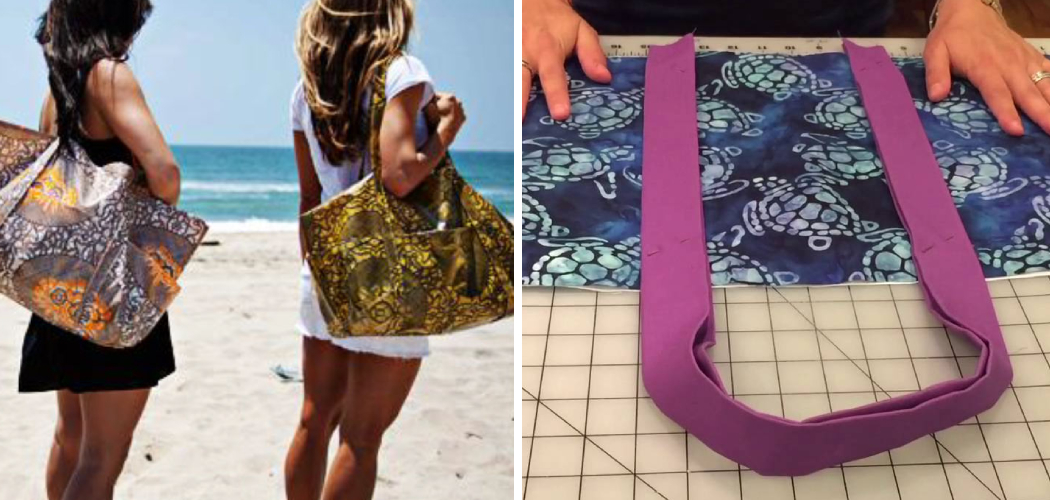
First, cut out two pieces of fabric that are 18” wide by 36” long. These will be the main panels for your beach bag. Then, cut out two strips of coordinating fabric that measure 3″ wide by 12″ long. These will serve as straps for the bag (or you can use store-bought handles). Finally, cut out two 3″x3″ squares of fabric for the corners of your bag.
Step 2: Sew the Strap Pieces Together
Take one of the strap pieces and fold it in half lengthwise, right-side out. Pin together along the long side, then sew using a straight stitch about 1/4″ from the edge. Do this with the other strap piece as well. While your machine is still threaded, hem the short ends of both straps.

Step 3: Sew the Strap Pieces to the Bag Panels
Lay one of your bag panels out flat, right-side up. Place a strap piece at each corner with raw edges aligned and folded side facing down. Pin into place, then sew along the edge of each strap (1/4″ from the edge) to secure them in place. Repeat this step on the other bag panel.
Step 4: Sew the Corner Pieces
Take one of your 3″ square pieces and fold it in half, right-side out. Pin into place along the long edge, then sew a straight stitch 1/4″ from the edge to form a triangle shape. Repeat this step with the other 3″ square piece. While your machine is still threaded, hem the short edges of each triangle.
Step 5: Sew the Bag Panels Together
Place your two bag panels together, right sides facing in. Pin along all four sides and sew a straight stitch about 1/4″ from the edge. When you reach a corner, stop sewing 1/2″ before it and backstitch a few times.
Now, fold the corner triangle piece in half lengthwise and place it at the corner with raw edges aligned and the point facing inwards. Pin into place, then sew along the edge of the triangle (1/4″ from the edge) to secure it in place. Repeat this step for all four corners of your bag.
Step 6: Hem the Top of the Bag
Once all the corners are sewn, fold down the top edge of your bag about 1/2″ and press. Sew a straight stitch along the folded edge to hem it. Now you have completed the main part of your beach bag. This is a great time to take a break and check out the progress you’ve made so far.
Step 7: Add Your Finishing Touches
Now it’s time for the final touches to your beach bag! If desired, add some decorative accents like pom-poms, embroidery, or appliques. You can also use fabric markers to draw designs or write your name.

Once you’ve added all of your desired touches, your beach bag is ready for action! Take it out for a summer adventure and show off your handiwork. With its vibrant colors and personalized accents, this beach bag will be the envy of all the other sand lovers! Enjoy your new accessory and happy crafting!
Additional Tips and Tricks to Sew a Beach Bag
1. Choose a thicker, more durable fabric for the bag’s body. It should be able to hold up to the salt and sand from the beach environment.
2. Consider using waterproof lining fabric inside your beach bag for added strength and protection against moisture.
3. Make sure that you sew each seam twice so it is extra secure and can withstand wear and tear from the beach environment.
4. Use a large enough zipper for your bag so it will be easier to open and close.
5. Make sure all the edges are properly finished either with an overcast stitch or bias tape binding, so there is no fraying from the edges of the fabric.
6. If you want to add extra embellishments like tassels or appliques, make sure they are securely attached to your bag.
7. Consider adding straps to the handles for extra comfort when you are carrying your bag around.
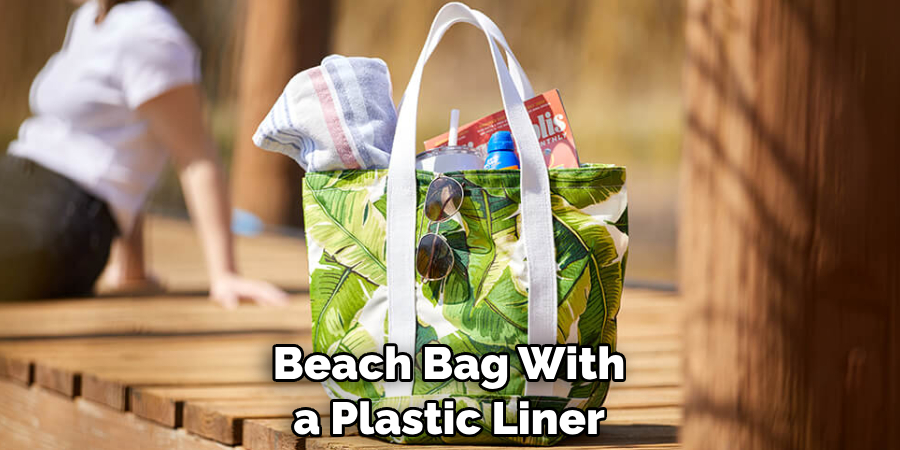
8. Lastly, it’s important to line your beach bag with a plastic liner before filling it with wet items such as swimsuits and towels – this will keep the items from leaking and keep your bag looking like new for longer.
Following these tips and tricks will ensure that your beach bag is well-made and can last through many trips to the beach. With some patience, creativity, and a few basic sewing skills, your handmade beach bag can be the perfect accessory for all your summer adventures!
Precautions Need to Follow for Sewing a Beach Bag
1. Always use a sharp needle when sewing a beach bag. This will make it easier to sew the fabric together.
2. Make sure that you are using thread that is the right color and type for the fabric you are using to make your beach bag. This helps ensure that the seams hold during wear and tear.
3. Choose fabrics with some weight to them. Lightweight fabrics will not hold up as well to the environment of a beach bag.
4. Use an iron and press the fabric after sewing each seam in order to ensure that the seams are secure and look sharp.
5. Using interfacing can help make your beach bag more sturdy, giving it added support. This is especially important for any straps or handles.
6. If you are using a pattern, read it carefully before getting started to make sure that you fully understand the instructions.
7. Use multiple layers of stitching at any stress points to ensure that all seams are secure and won’t rip when used.
8. Finally, remember to check your work over thoroughly before calling it finished! This will help make sure that you are proud of the finished product.
Following these precautions will make sure that your beach bag is strong and durable. With a bit of care and attention, you can create a beautiful beach bag that will last you for years to come! Have fun crafting and enjoy the sun!
Frequently Asked Questions
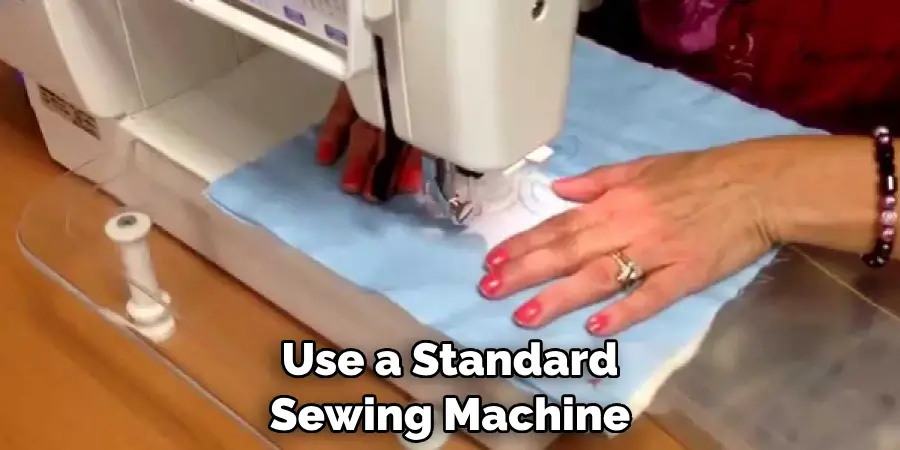
What Type of Sewing Machine Should I Use?
For this project, you should use a standard sewing machine that can handle heavier fabrics. For best results, choose one with adjustable stitch length and width settings. You’ll also want to make sure you have access to both straight and zigzag stitches.
What Size Beach Bag Should I Make?
The size of your beach bag will depend on the items you want to carry and your personal style. If you’re looking for something to hold a towel, sunscreen, phone charger, and other small items, we suggest making a medium-sized bag measuring about 14″ x 16″. For something larger, try a bag measuring around 16″ x 18″.
How Do I Attach the Handles?
To attach the handles to your beach bag, start by cutting two pieces of webbing or heavy-duty fabric strips that measure about 3″ wide and 20″ long. Position them on the outside of your bag, where you want the handles to be, and pin them into place. Sew the straps onto the bag about 1/2″ from the edge using a zigzag stitch or a box stitch.
Can I Customize My Beach Bag?
Absolutely! You can add tassels, pom-poms, patches, or any other decorative elements you like to customize your beach bag. For a more tailored look, add pockets or contrast fabric accents. And of course, you could always add personal touches like embroidery with your initials or favorite phrase. Have fun and get creative!
Conclusion
With the above outlined you can easily understand how to sew a beach bag. You can customize it using different fabrics, pockets, and designs to create a unique and stylish bag. With the right materials and tools, you’ll be ready to take your beach bag with you everywhere! Have fun creating your own perfect beach bag!