
Burlap, with its rustic charm and natural texture, is a versatile fabric that finds its place in a variety of projects, from home decor to fashion and crafts. Sewing with burlap can be both enjoyable and rewarding, allowing you to create stunning and unique items. In this comprehensive guide, we’ll take you through the steps of how to sew burlap, covering everything from choosing the right burlap type and preparing the fabric to understanding the best sewing techniques.
Whether you’re a seasoned seamstress or a beginner, this guide will provide you with the knowledge and tips to work with burlap effectively, ensuring your creations are not only beautiful but also durable. So, gather your burlap and sewing supplies, and let’s embark on a journey to master the art of sewing with this natural and charming fabric.
Types of Burlap Available
There are four main types of burlap available for sewing projects: traditional, organic, laminated and colored. Each type has its own unique characteristics and is suitable for different types of projects.
Traditional Burlap
Traditional burlap is the most common type of burlap available. It is made from jute fibers and has a rough texture with a loose weave. This type of burlap is ideal for projects that require a rustic or natural look, such as table runners, placemats, and tote bags.
Organic Burlap
Organic burlap is made from jute fibers that have been grown without the use of pesticides or chemicals. It has a similar texture to traditional burlap but may be slightly softer. This type of burlap is a great choice for eco-friendly projects and can be used for anything from home decor to clothing.
Laminated Burlap
Laminated burlap has a thin layer of plastic coating on one side, making it water-resistant and durable. This type of burlap is often used in outdoor projects such as gardening aprons or tote bags, as it can withstand exposure to the elements. It is also a good option for projects that require easy clean-up, such as tablecloths or place mats.
10 Methods How to Sew Burlap
1. Hand Sewing
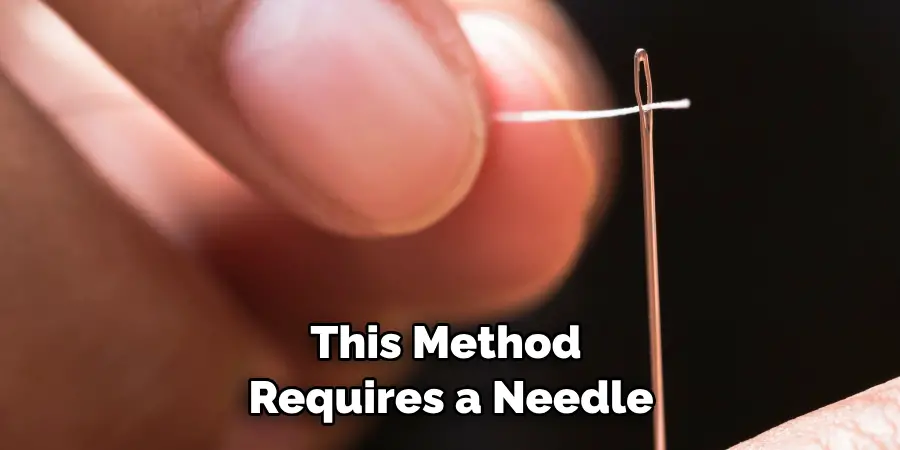
The simplest way to sew burlap is by hand. This method requires a needle, thread, and scissors. Begin by cutting the burlap into the desired shape and size. Then, use a needle and thread to stitch the edges of the burlap together.
This method is best for small projects or intricate designs. Hand sewing allows for more control and precision in the stitching, making it a great option for detailed work. However, it may take longer to complete a project compared to using a sewing machine.
2. Machine Sewing
For larger projects, machine sewing is the best option for sewing burlap. To begin, cut the burlap into the desired shape and size. Then, set up your sewing machine with a heavy-duty needle and thread that can handle thick fabrics such as burlap.
Start stitching from one end of the fabric to the other until you have reached your desired length or pattern. It is important to use a longer stitch length when sewing burlap on a machine, as this will help prevent the fabric from fraying or tearing. Additionally, be sure to backstitch at the beginning and end of each seam to secure your stitches.
One key tip when machine sewing burlap is to avoid pulling or tugging on the fabric while sewing, as this can cause the burlap to stretch and distort. Instead, let the machine do the work and guide the fabric gently through the machine.
3. Hemming
Hemming is a great way to give your project a finished look without having to do any complicated stitching. To hem burlap, fold over the edges of your fabric and press them down with an iron so that they stay in place while you sew them together using either hand or machine stitching methods mentioned above.
When sewing burlap, it’s important to use a heavy duty needle and strong thread to ensure that your stitches are secure and won’t unravel easily. Hemming also helps prevent fraying along the edges of your fabric, making your project more durable in the long run.
Additionally, you can add decorative elements to your hem by using contrasting thread or adding a lace trim for a more delicate touch. You can also experiment with different hemming techniques, such as rolled hems or blind hems, to achieve different looks for your project.
4. Grommets
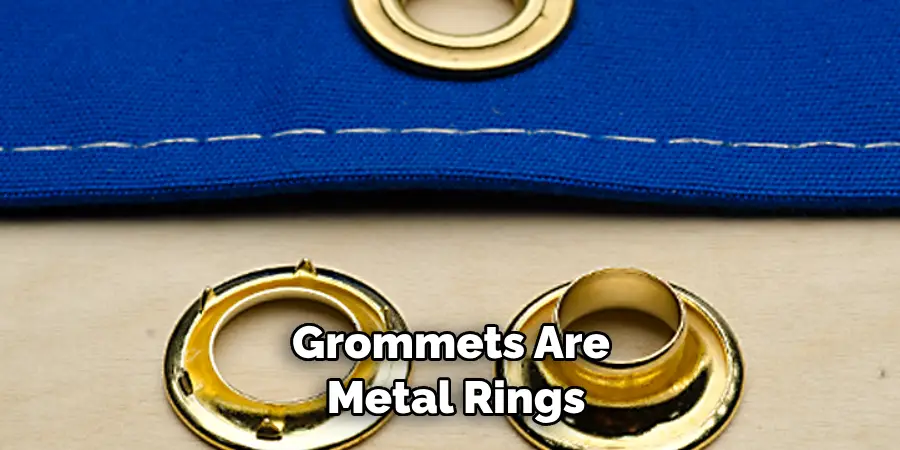
Grommets are metal rings that can be used to reinforce holes in fabrics such as burlap so that they don’t tear or fray when pulled on too hard or stretched too far.
To add grommets to your project, first measure where you want them placed and then mark those spots with chalk or a marker before pre-punching holes in those spots with an awl or leather punch tool before finally inserting the grommets into place with pliers or a hammer depending on their type (snap-in vs screw-in).
Once in place, grommets can be used to attach handles or straps to a burlap bag, secure curtains or tablecloths with ties or hooks, or even add decorative accents such as ribbons or lace. They are a useful tool for both practical and aesthetic purposes when working with burlap fabric.
5. Buttonholes
Buttonholes are another great way to add extra reinforcement to areas of your project that need it most such as handles on bags or straps on clothing items made out of burlap fabric material like bean bags chairs etc.
To create buttonholes in your project, first measure out where you want them placed then mark those spots before pre-punching holes in those spots with an awl or leather punch tool before finally inserting buttons into place with pliers or a hammer, depending on their type (snap-in vs screw-in). You can also use the same technique to create buttonholes on other types of fabric, such as cotton or denim.
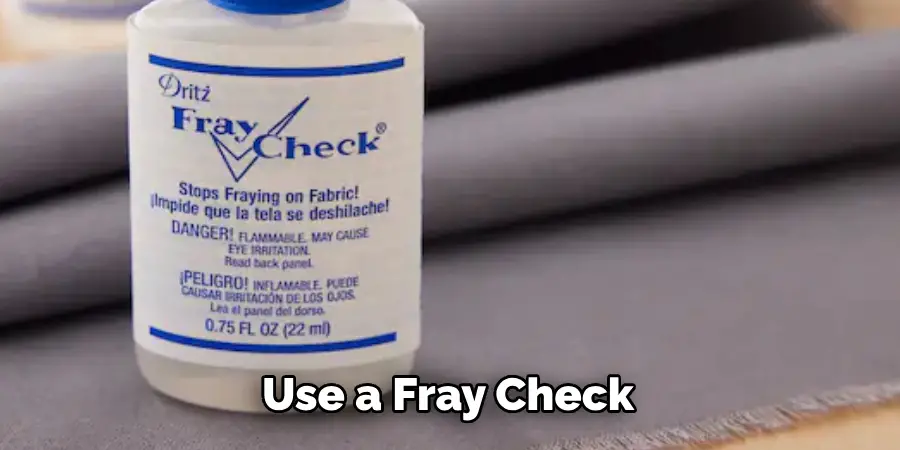
Once you have created your buttonholes, be sure to reinforce them with extra stitches around the edges to prevent any potential fraying or tearing. This is especially important when using burlap fabric, which tends to be more prone to fraying due to its loose weave. You can also use a fray check or fabric glue to help secure the edges of the buttonholes for added durability.
6. Fringing
Fringing is a great way to add texture and interest to any project made out of burlap fabric material like table runners for example. To fringe your project simply cut strips along one edge of the fabric at regular intervals leaving some uncut sections between each strip for added texture then tie knots at each end of each strip to keep it all together once finished!
7. Applique
Applique is another great way to decorate any project made out of burlap fabric material like placemats, for example. To apply to your project, simply draw out your design onto paper then trace it onto the backside of some decorative fabric before cutting it out carefully using scissors before finally attaching it to your project using either hand stitching or machine stitching methods mentioned above!
There are also many other ways to incorporate an applique design onto your burlap project, such as using iron-on adhesive or fabric glue. This allows for a more permanent and secure attachment of the decorative fabric onto the burlap material.
8. Embroidery
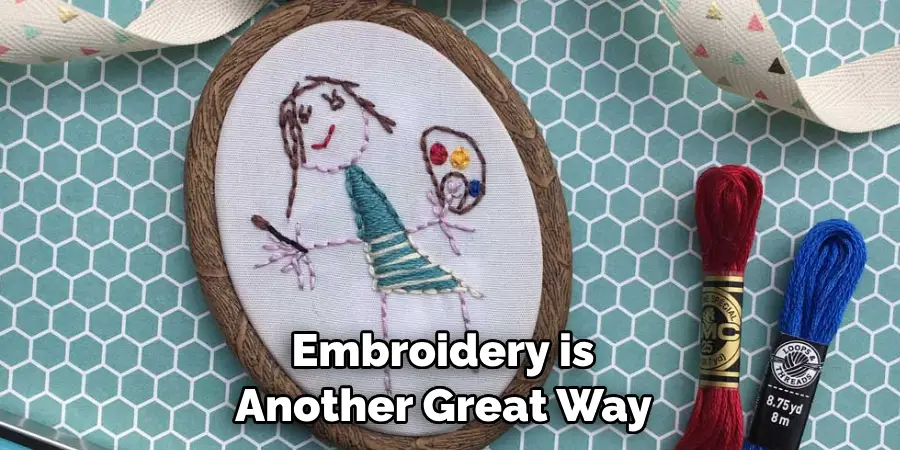
Embroidery is another great way to personalize any project made out of burlap fabric material like pillows for example. To embroider onto your project simply choose an embroidery design you would like then trace it onto some water soluble stabilizer before transferring it onto the front side of your fabric using an iron before finally embroidering it using either hand embroidery stitches or machine embroidery stitches depending on what type you prefer!
9. Quilting
Quilting is another great way to make any project made out of burlap fabric material like blankets for example look unique. To quilt onto your project, simply lay two pieces of contrasting colored fabrics right sides together then pin them together securely before quilting along both sides using either free motion quilting techniques (for more intricate designs)or straight line quilting techniques (for simpler designs) depending on what type you prefer!
10. Painting
Painting is another great way to customize any project made out of burlap fabric material like wall hangings for example. To paint onto your project simply choose some acrylic paints in colors that will match well with whatever design idea you have in mind then apply thin layers over top until you have achieved whatever look you desire once finished let dry completely before hanging up!
Conclusion
In conclusion, you now have the skills to easily and confidently sew burlap. Get creative with this versatile fabric! It can be used in everything from traditional household projects like mending curtains or making a pot holder to more involved projects such as creating an all-weather outdoor draping for your porch furniture.
With proper care and attention to detail, you can sew burlap into many different products that are guaranteed to look great and last for years. What’s more, sewing with burlap adds a unique touch to any décor or fashion statement. Now that you understand how to sew burlap, go try out some of these ideas and create beautiful home décor pieces or fashion statements that will have everyone admiring your creations!