

Do you want to learn how to sew and create beautiful decorations for clothing, bags, and other items? One of the most important steps in sewing is threading a needle! Threading a needle with embroidery thread can be tricky.
Embroidery thread adds the perfect decorative touch to any fabric craft project. Whether you’re creating an intricate cross-stitched piece or simply giving a plain t-shirt a new look with colorful embroidered designs, threading your needle correctly is essential in order for everything to turn out beautifully. If you’ve ever been frustrated by tangled threads and lumpy stitches, this post will give you the guidance to approach threading needles confidently.
Read on for step-by-step instructions on how to thread a needle with embroidery thread and helpful hints that will help ensure every stitch looks its best!
What Will You Need?
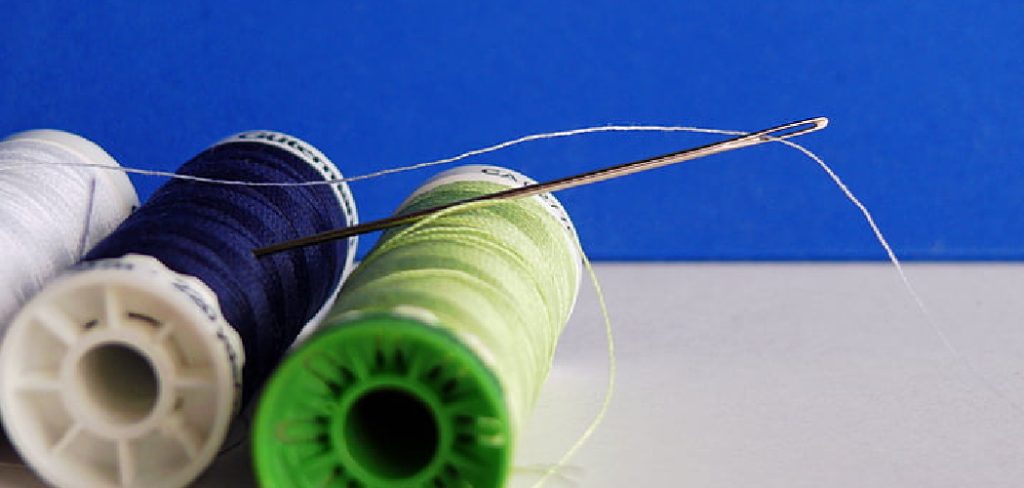
To thread a needle with embroidery thread, you’ll need:
- A needle suitable for your project
- Embroidery thread in the color of your choice
- Scissors
- Optional – An emery board or nail file
Once you’ve gathered all the necessary supplies, it’s time to thread your needle!
10 Easy Steps on How to Thread a Needle With Embroidery Thread
Step 1: Prepare the Thread
Cut a length of embroidery thread that’s between 18-24 inches long. If your thread is too short, it could easily become tangled or pulled through too quickly. If it’s too long, however, the thread is more likely to tangle and may not pass through the eye of your needle smoothly.
Step 2: Hold Thread Firmly
Hold one end of the thread firmly between your thumb and forefinger. Be sure that the thread isn’t twisted or frayed before you start. If there are any tiny fibers or knots, use the emery board or nail file to remove them.
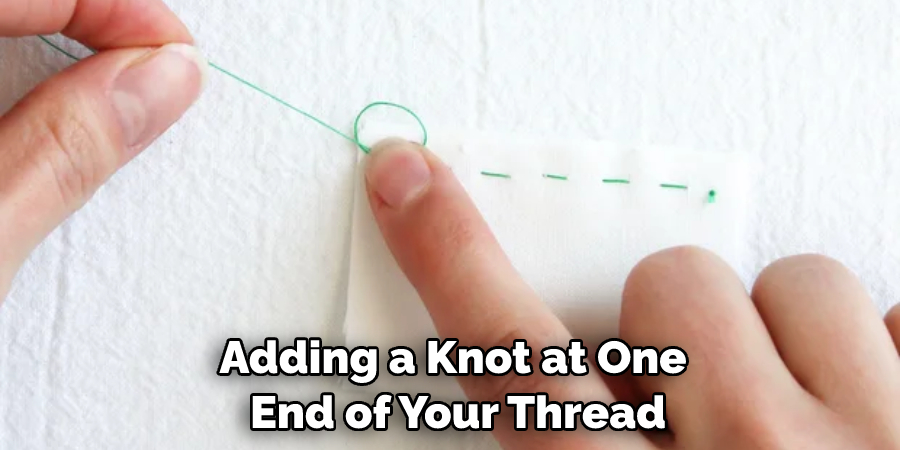
Step 3: Add a Knot at the End
To make it easier to anchor your stitching in place, consider adding a knot at one end of your thread. This can be done by folding one end over itself and tying a quick knot with both ends. Alternatively, you can add an extra stitch after you begin sewing.
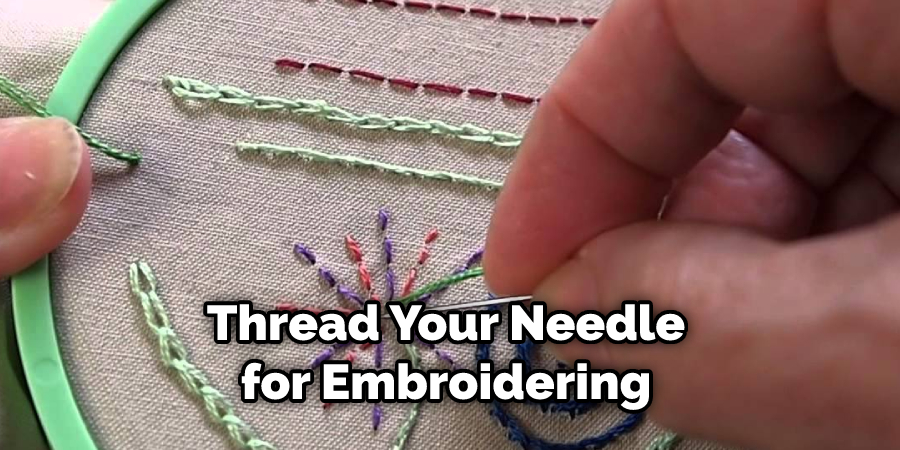
Step 4: Position the Needle
Hold the needle in your dominant hand. Place the eye of the needle over the end of your thread, and make sure that it’s positioned so that the knot is at one end and the thread is centered through it. Then, pinch both ends between your thumb and forefinger to keep them in place.
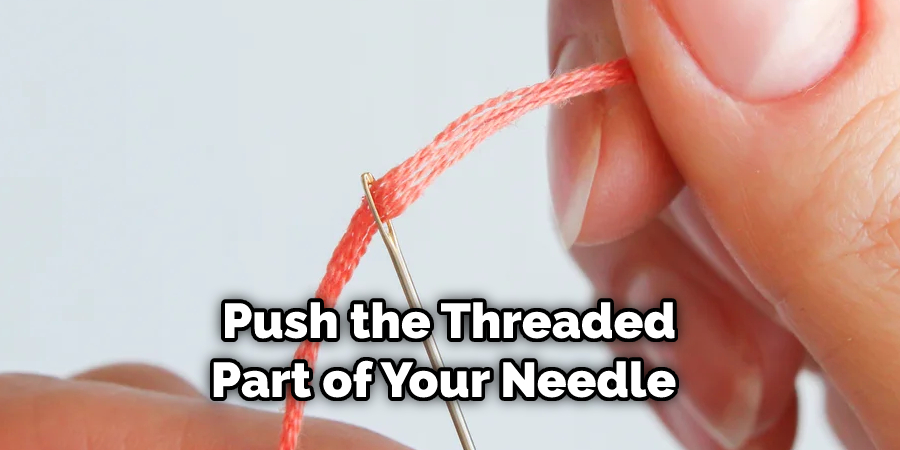
Step 5: Push Thread Through Eyelet
Gently push the threaded part of your needle through the eyelet, using a back-and-forth motion if necessary. Don’t pull on either side too hard. You want to work with equal pressure to ensure that everything passes through evenly.
Step 6: Pull Thread Through Eyelet
Once you have a loop of thread through the eyelet, carefully pull on both sides until it’s completely pulled through. Make sure to hold the thread firmly in place as you do this. Otherwise, it may slip back through the eyelet.
Step 7: Slow Down and Deliberately Pull the Thread
The longer your needle is, the harder it may be to pull the entire thread through. If necessary, move your fingers closer together and take your time while pulling. Don’t rush; go slowly and deliberately – even if that takes a few extra seconds!
Step 8: Check the Eyelet
Once you have pulled the thread through, check that all of the threads are securely in place. The goal is to ensure that none are sticking out or twisted around the eyelet. If you see any, remove them before continuing.
Step 9: Adjust Thread Length
Once the thread is securely in place, adjust the thread length according to how much you need for your project. For example, if you’re doing a simple embroidery stitch, be sure to leave a tail of at least 4 inches so that it’s easier to pull through after each stitch. Another option is to leave a little extra at the end so that you can easily tie off your project when it’s finished.
Step 10: You’re Ready To Sew!
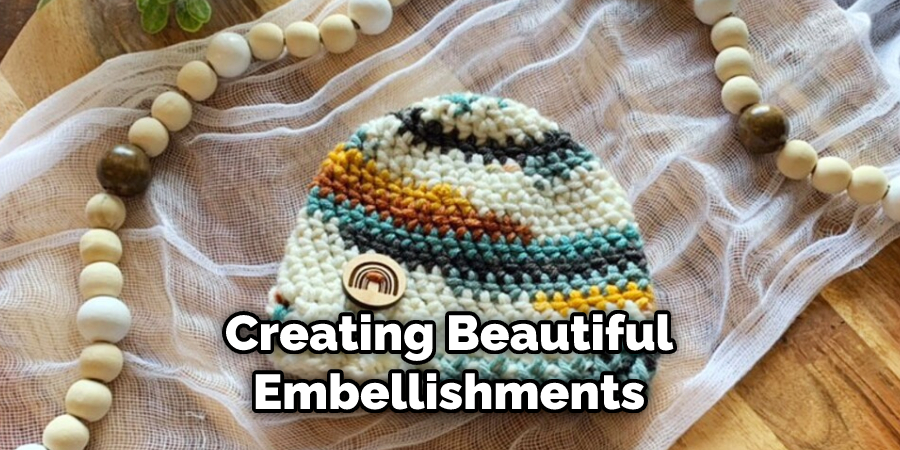
Your needle is now threaded with embroidery thread and ready for use. Enjoy creating beautiful embellishments with this colorful and versatile material! Remember, practice makes perfect, so don’t be afraid to try out different stitches and techniques until you find the one that works best for you.
By following these steps, you can easily thread a needle with embroidery thread and begin your next sewing project! With the right supplies and a little bit of patience, you’ll be stitching away in no time. Happy crafting!
5 Additional Tips and Tricks
- When threading a needle with embroidery thread, make sure to move the needle slowly and gently through the eye of the needle. If you force the thread through too quickly, it can cause the needle to damage or break.
- Use a thimble when threading embroidery floss through the eye of the needle; it will help you push the thread through more easily and protect your finger from sharp edges.
- To make it easier to thread the needle with embroidery floss, start by wetting the end of the thread before passing it through. The moisture helps to make the thread slightly stiffer and therefore makes it easier for you to pass it through the eye of a smaller needle.
- Another useful trick is to use beeswax on your embroidery threads; this will also help them slide more easily into place when threading your needle.
- Finally, if you’re having trouble getting the thread through the eye of the needle, try using tweezers or a pin to help guide it through; this can make all the difference when threading embroidery floss through a particularly small or stubborn needle.
With these tips and tricks, you’ll be able to easily and successfully thread a needle with embroidery floss in no time! Don’t forget how important it is to take your time and be gentle when passing the thread through – saving yourself frustration (and potential snapping of the needle) makes it easier in the long run!
5 Things You Should Avoid
- Don’t use too stiff of thread. Embroidery thread is typically much softer than regular thread and will be easier to maneuver through the eye of your needle.
- Don’t over-stuff the needle. When you pull the thread through, it should fit snugly but not tightly. If you are having trouble getting your thread through, resist the urge to try to force it; instead, switch to a smaller needle or adjust how tight you pull on the end of your thread.
- Don’t leave extra long tails at either end of your needle. You may think that this will make it easier to work with later, but in reality, it can lead to knots and tangles that can cause issues when you try to pull the thread through.
- Don’t use too thin of a needle for embroidery thread. The eye of the needle should be big enough for the thickness of your thread. Otherwise, it can fray and tangle around the outside of the needle or create lumps in your work.
- Don’t forget to double knot your threads at each end when you’re done! This will keep them secure and prevent any unintentional unraveling as you move on with your project.
Threading a needle is an essential skill for anyone who does embroidery, so make sure that you take the time to practice it until you get comfortable doing it properly! With a bit of practice, you’ll soon be easily threading needles!
Do You Tie the Thread to the Needle When Embroidering?
When you’re embroidering, it is unnecessary to tie the thread to the needle; however, it can be helpful when starting a project and don’t want to waste any time rethreading your needle. To do this, take one end of your thread and place it at the eye of your needle. Pass the other end through the eye opposite from how you’d normally thread it (from bottom to top instead of vice versa), so that both ends are emerging from the same side. Pull both ends tight in opposite directions, then knot them together tightly for a secure hold. This knot should stay in place until you need to rethread your needle again.
Ultimately, how you decide to thread your needle for embroidering is up to you – the most important thing is to practice until you find a method that works best for your needs. Whether or not you tie the thread to the needle before starting, take your time and be gentle; this will help ensure that your embroidery looks neat and professional!
Conclusion
Embroidery can be an incredibly rewarding form of artistic and creative expression, whether one is a beginner or a seasoned veteran of the craft. The ability to successfully thread a needle with embroidery thread is just one step on the way toward bigger and better projects. By following the simple steps outlined in this post and being patient while learning, you’ll be able to do the same in no time!
Remember that with enough practice, soon mastering basic techniques such as this will become second nature, and you’ll start to be able to focus on more complex tasks. So feel free to embark on your creative journey with confidence — before you know it, you’ll have created an amazing work of art!
Hopefully, the article on how to thread a needle with embroidery thread has been helpful! Thanks for reading!