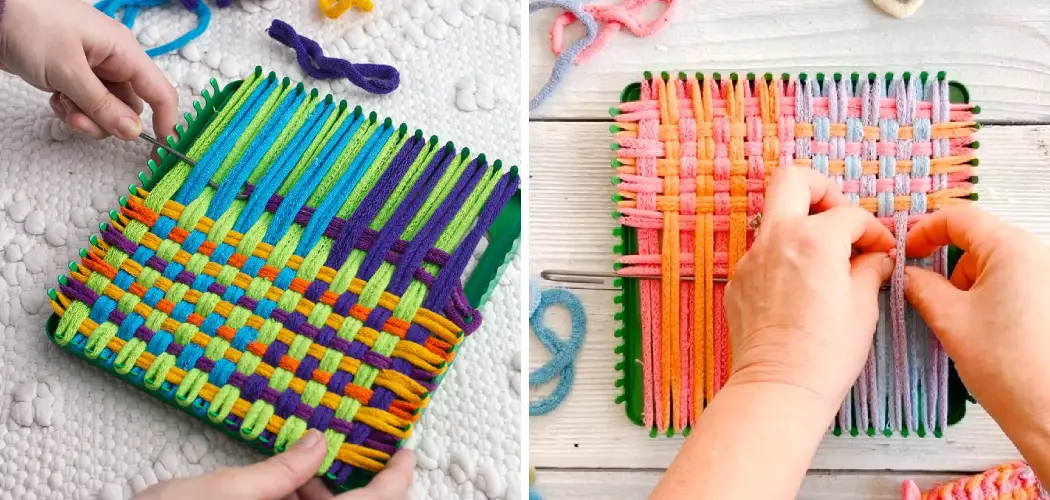
Finishing a pot holder is an essential step in creating a functional and durable kitchen accessory. Whether you’ve sewn a pot holder from scratch or purchased a plain one to customize, properly finishing the edges ensures that it withstands the test of time and effectively protects your hands from hot surfaces.
In this article, we will guide you through the process of how to finish a pot holder step by step. From trimming the seams and adding a binding to attaching a hanging loop, we’ll provide you with the knowledge and techniques to complete your pot holder project with a professional touch.
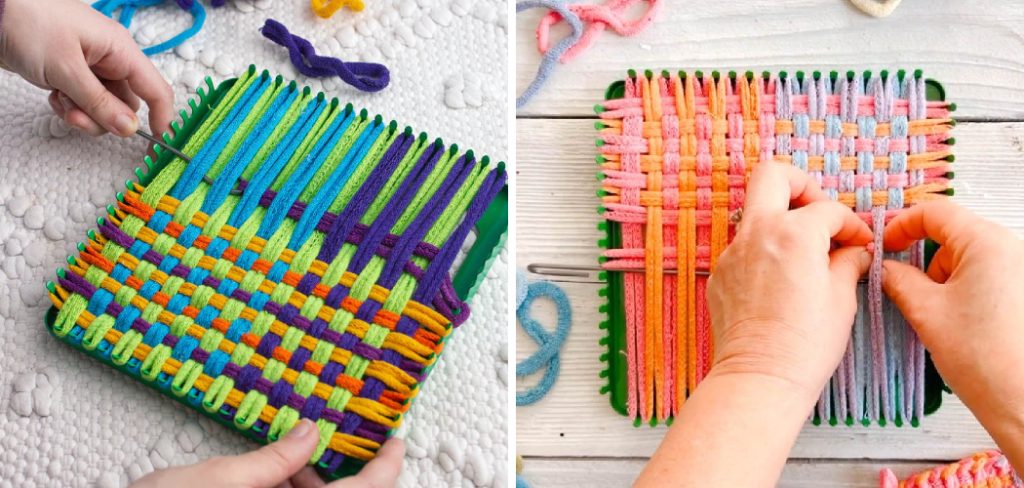
Get ready to elevate your kitchen decor and create pot holders that are not only practical but also stylish and long-lasting.
The Importance of Properly Finishing a Pot Holder for Functionality and Aesthetics
Finishing a pot holder correctly is essential for both aesthetic appeal and functionality. A well-finished pot holder can be used for many years to come, while an improperly finished one may not last long at all.
The finishing process involves stitching the edges of the fabric together, adding batting or other padding material between layers, and finally binding with bias tape or ribbon to create a neat and tidy edge.
This step is important because it prevents heat from escaping through the seams and also provides an attractive look. Additionally, proper finishing increases the durability of your pot holders so they will withstand frequent use in the kitchen without becoming frayed or worn out. Taking time to finish off your pot holders correctly will make them last longer and look better in your home.
Highlight the Benefits of a Well-Finished Pot Holder in Protecting Hands from Heat
Finishing your pot holder properly is essential in protecting your hands from the high heat of a hot pan or dish. A well-finished pot holder should be thick enough to protect your hands from the heat, yet thin enough that it won’t impede movement when gripping a pan handle.
Additionally, a well-finished pot holder will have an even surface with no loose threads that could snag on something and cause injuries. Not only does finishing the pot holder help prevent burns, but a professional-looking product adds aesthetic value to any kitchen. It also shows great craftsmanship, making it an ideal item for gifting or selling.
Take pride in finished projects and enjoy the peace of mind knowing you are safely protecting yourself against burns! With a little time and effort, you can make beautiful pot holders that bring both functionality and style to your kitchen.
Finishing the project with care ensures that you will have many years of safe use. So don’t forget to double check all the seams, threads, and edges before proudly displaying your pot holder for all to see!
Ensure that the Pot Holder Is Fully Assembled and All Layers Are Securely Attached
Once the pot holder is cut and all of its components have been assembled, it’s time to secure it. Using a sewing machine or needle and thread, stitch around the entire outer edge of the pot holder. This will keep the layers in place and form a finished product. When stitching around the edges be sure to back-stitch at each corner to provide additional stability.
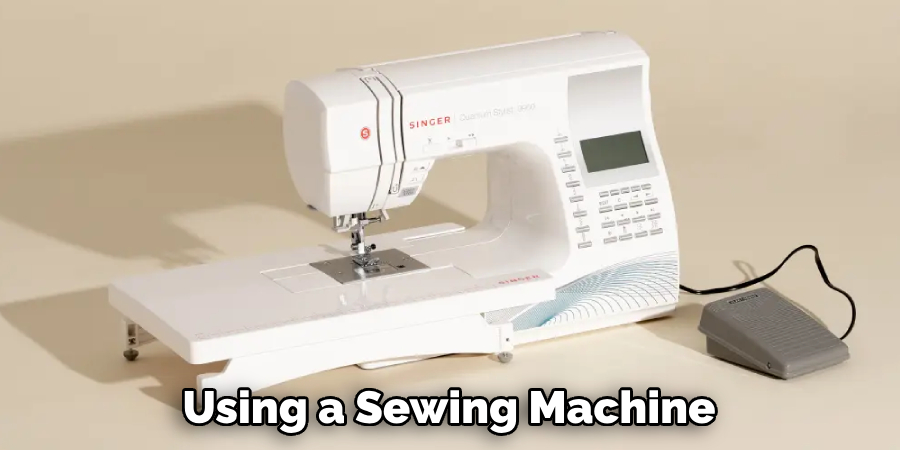
If desired, topstitch along any seams that are visible on one side of the pot holder for added security. Be sure to use a color thread that contrasts with your fabric so your stitches stand out from the design. When you’re done, press or iron over the completed pot holder before using it for its intended purpose!
10 Methods How to Finish a Pot Holder
Method 1: Trim the Seams
Start by trimming the excess seam allowance from your pot holder. Use sharp scissors to carefully trim the edges, ensuring that the seams are neat and even. This step helps reduce bulkiness and makes it easier to achieve a clean finish.
Method 2: Add Binding
Cut a strip of fabric or pre-made bias binding that is long enough to go around the entire perimeter of your pot holder. Fold the binding in half lengthwise and press it to create a crease. Align the raw edges of the binding with the raw edges of the pot holder, right sides together, and pin in place. Sew along the edge, attaching the binding to the pot holder.
Fold the binding over to the backside of the pot holder and secure it with pins. Finally, stitch close to the folded edge to finish the binding.
Method 3: Sew a Facing
If you prefer a clean and minimalist finish, you can sew a facing instead of using binding. Cut a rectangular piece of fabric slightly larger than your pot holder. Place the fabric right sides together with the pot holder, aligning the edges. Sew around the perimeter, leaving a small opening for turning.
Clip the corners, turn the facing right side out, and press. Slip stitch the opening closed and topstitch around the edge to secure the facing in place.
Method 4: Create a Piping Trim
For a decorative touch, consider adding piping to the edges of your pot holder. Cut bias strips of fabric and a length of piping cord. Fold the bias strips in half lengthwise and insert the piping cord. Pin the piping along the edges of the pot holder, with the raw edges aligned.
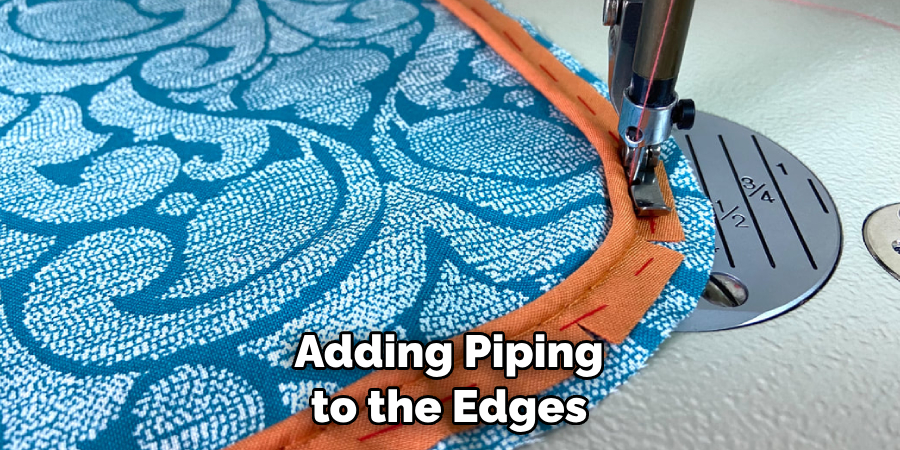
Using a zipper foot on your sewing machine, stitch close to the cord, attaching the piping to the pot holder. Trim any excess fabric and press the pot holder to give it a clean finish.
Method 5: Quilt the Layers
If your pot holder consists of multiple layers, quilting can provide both a decorative touch and added insulation. Place your pot holder layers together, ensuring they are aligned.
Use quilting pins or basting stitches to secure the layers in place. Choose a quilting pattern, such as straight lines or a stippling design, and stitch through all layers. This not only adds visual interest but also helps keep the layers from shifting during use.
Method 6: Attach a Hanging Loop
To make your pot holder easy to hang, attach a hanging loop. Cut a strip of fabric or use ribbon, fold it in half, and place the raw edges on the inside of the pot holder. Baste or stitch the loop in place at the desired location before proceeding with the finishing steps. This loop can be as simple as a small fabric tab or a more decorative element like a braided cord or a fabric loop with a button closure.
Method 7: Embellish with Appliques
Add a touch of personality to your pot holder by embellishing it with appliques. Cut shapes or designs from contrasting fabric and position them on the front of the pot holder. Secure the appliques in place with pins or temporary fabric adhesive.
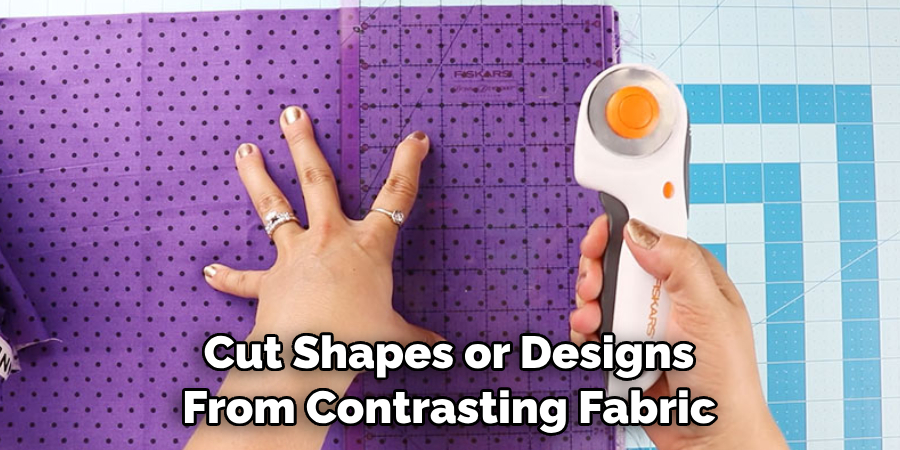
Use a tight zigzag stitch or a satin stitch around the edges of the appliques to attach them firmly. This method allows you to showcase your creativity and customize your pot holder to match your kitchen decor or holiday themes.
Method 8: Use Insulating Batting
For enhanced heat resistance, consider using insulating batting or heat-resistant materials as part of your pot holder construction. Cut a piece of insulating batting to fit between the layers of your pot holder. Place it on the inside of your pot holder, sandwiched between the fabric layers. This batting helps protect your hands from heat and adds an extra layer of insulation.
Method 9: Finish with Bias Tape
Another option for finishing the edges of your pot holder is to use bias tape. Cut bias strips from fabric or use pre-made bias tape. Open the tape and align the raw edges with the raw edges of the pot holder, right sides together. Sew along the creased line of the bias tape, attaching it to the pot holder.
Fold the tape over to the backside of the pot holder, encasing the raw edges, and press. Topstitch near the folded edge to secure the bias tape in place.
Method 10: Add Decorative Stitching
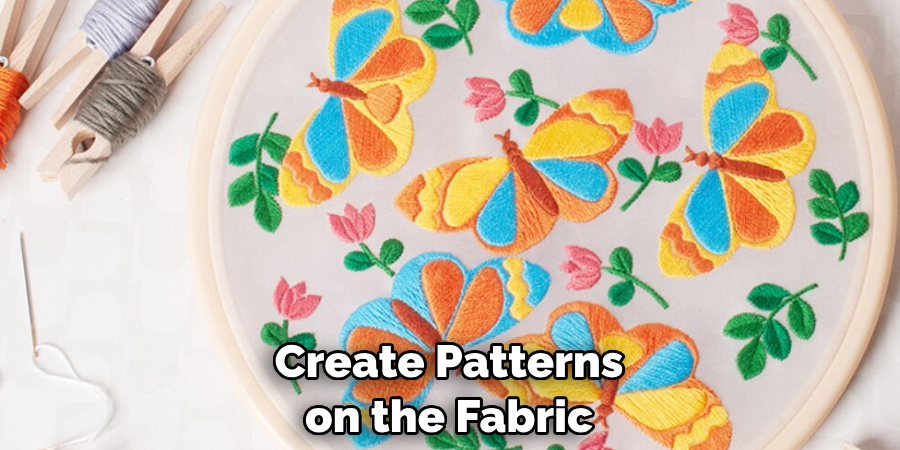
To enhance the aesthetic appeal of your pot holder, consider adding decorative stitching. Use your sewing machine’s built-in decorative stitches to add texture and visual interest to the pot holder. Experiment with different stitch patterns and thread colors to create unique designs.
You can stitch along the edges, create patterns on the fabric, or add accents to appliques. This method allows you to showcase your creativity and add a personal touch to your pot holder.
Conclusion
By following the steps outlined above, you should now have a beautifully finished pot holder. Give yourself a pat on the back for a job well done! It’s an impressive achievement that looks great and lasts for years. Now that you know how to finish a pot holder, why not try making one with different colors or patterns?
The combinations are endless and can make for a truly unique piece of work made by you! Who knows, maybe even make some as gifts for friends and family. For more creative projects like this one, browse our website for other fun craft ideas. So what are you waiting for? Get creative and get to stitching that pot holder right away!

