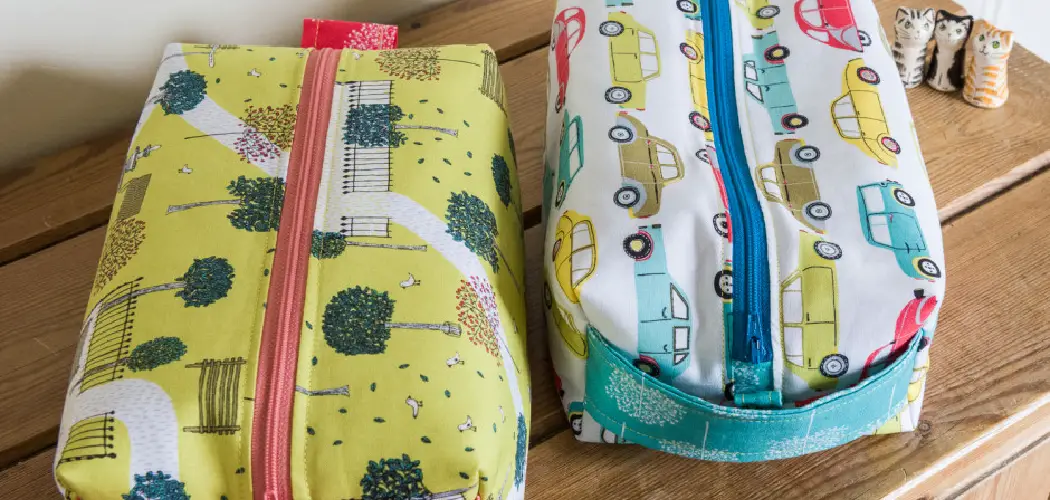
Welcome to the wonderful world of sewing! If you’ve ever wanted to learn how to make your own fabulous clothes, this is the perfect place for you. In this post, we’ll be discussing one of the most important skills in a sewer’s arsenal– learning and understanding how to sew a lapped zipper.
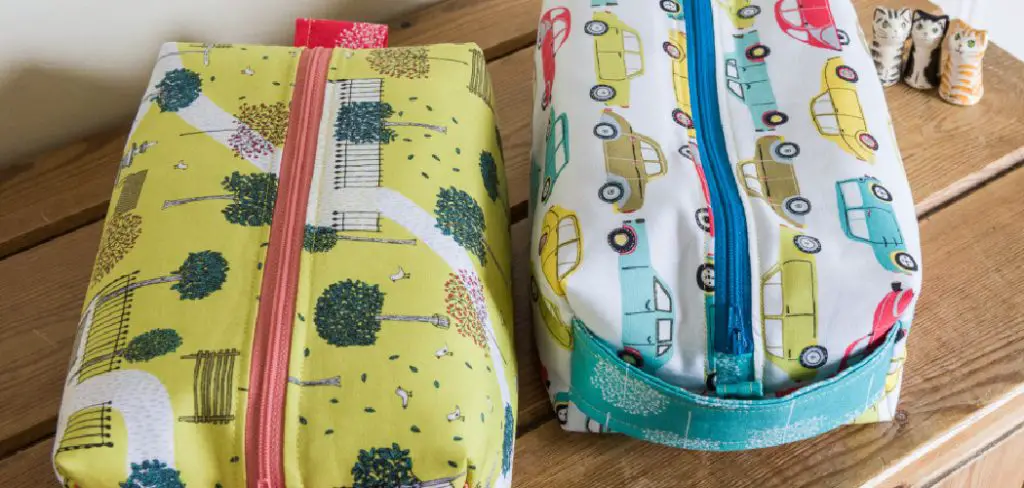
By following our step-by-step tutorial, not only will you have a completed article of clothing that looks professionally made, but you’ll have gained another key skill under your belt as well! Ready? Let’s get started!
What is a Lapped Zipper?
A lapped zipper is a type of zipper application that allows the zipper to be hidden within a seam, resulting in a clean and professional finish. This technique is commonly used in garments such as skirts, dresses, and pants.
Unlike a centered zipper where the teeth are exposed down the center of the garment, a lapped zipper has one side of the fabric covering the teeth of the zipper. This creates a more polished and seamless look.
Materials Needed
To successfully sew a lapped zipper, you’ll need a few key tools and materials. These include:
- Sewing Machine
- Zipper Foot for Your Sewing Machine
- Fabric Marking Tool (Such as Chalk or Fabric Pen)
- Straight Pins
- Iron
- Seam Ripper (Just in Case!)
10 Simple Step-by-step Guidelines on How to Sew a Lapped Zipper
Step 1: Prepare Your Fabric
Before you can begin sewing, you must first prepare your fabric by washing and pressing it. This helps ensure that your final project will not shrink or warp after being washed. It also helps to remove any creases or wrinkles from the fabric, making it easier to work with. You can also take this time to lay your fabric out on a flat surface and make sure it is properly aligned.
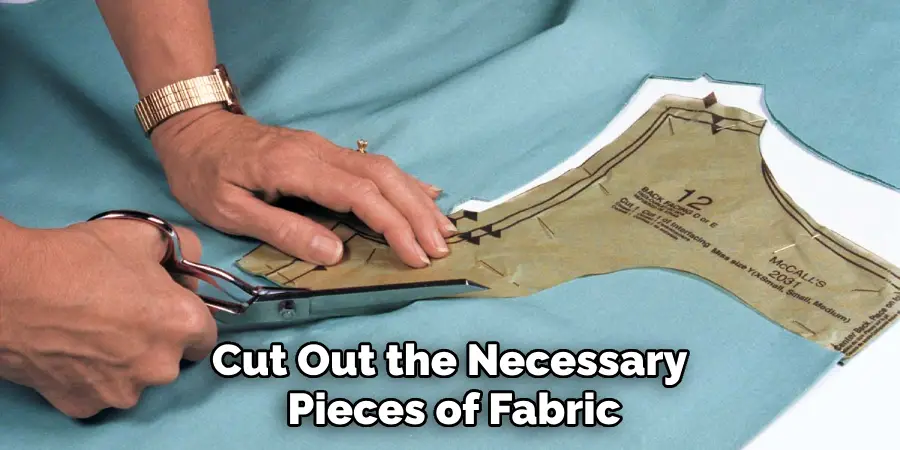
Step 2: Cut Out Your Fabric Pieces
Using your pattern, cut out the necessary pieces of fabric for your project. Make sure to cut them accurately and precisely, as this will affect the overall appearance of your finished garment. Otherwise, you may end up with uneven or mismatched pieces that can throw off your entire project.
Step 3: Prepare Your Zipper
Take your zipper and using a seam ripper, remove any excess fabric or stitches around the edges. This will ensure that your zipper lays flat against the fabric and does not get caught on any loosened threads. It also helps to iron the zipper to get rid of any remaining wrinkles or kinks. However, make sure not to melt or damage the zipper with too much heat!
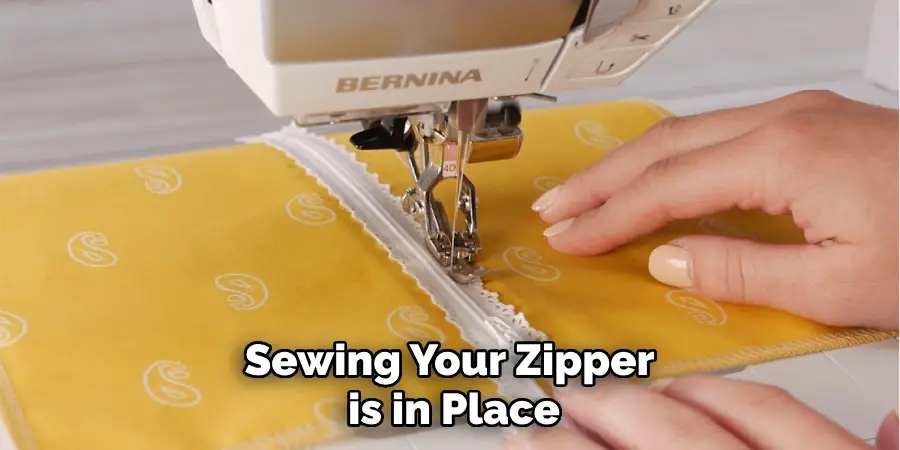
Step 4: Sew in Your Zipper
Pin your zipper onto one side of the fabric, making sure that it is lined up evenly. Use a basting stitch to temporarily hold the zipper in place. Then, using a regular stitch, sew along the edges of the zipper on both sides, making sure to backstitch at the beginning and end. This will secure the zipper in place.
Step 5: Sew the Other Side of Your Zipper
Place your second piece of fabric on top of the first, with the right sides facing each other. Use pins to hold it in place and sew along the other side of the zipper, following the same steps as before. It is important to make sure that the zipper teeth are facing toward the fabric. You can also use a zipper foot to help sew closer to the zipper teeth.
Step 6: Open Your Zipper
Once both sides of your zipper have been sewn, open it up to make sure that it is functioning properly and lays flat against the fabric. If it doesn’t, you may need to redo some of your stitches or adjust the placement of the zipper. You can also use an iron to press the zipper flat if needed. But be careful not to melt the zipper! If you do, no worries – simply replace it with a new one.
Step 7: Finish Sewing Your Garment
Now that your zipper is in place, continue sewing your garment according to the pattern instructions. You can either sew around the zipper or cut off any excess fabric if needed. It is important to sew slowly and carefully around the zipper to ensure it stays in place and does not get caught on any loose threads. It is also helpful to use a zipper foot for this step as well.
Step 8: Reinforce Your Zipper
To make sure you have a strong and durable zipper, you can add reinforcement stitches around the edges of the zipper. Simply sew a line of stitches along both sides of the zipper, making sure to backstitch at the beginning and end. But be careful not to sew too close to the zipper teeth, as this can cause them to get stuck. You can also use a fray check to seal the edges of your fabric and prevent any fraying.
Step 9: Remove Basting Stitches
Once your project is complete, carefully remove any basting stitches that may still be holding your zipper in place. You can use a seam ripper or small scissors to do this. Be sure not to accidentally cut any of your regular stitches. It is also a good idea to iron your project once more to give it a neat and polished look. You can also add any finishing touches, such as buttons or embellishments, at this time.
Step 10: Admire Your Finished Project!
Congratulations, you have successfully sewn in a lapped zipper! Take a moment to admire your new garment and all the hard work you put into making it. With practice, this skill will become second nature to you and you’ll be able to confidently tackle any zipper that comes your way. Always remember to keep practicing and experimenting with different techniques to continuously improve your sewing skills.
Following these steps on how to sew a lapped zipper, you’ll be able to sew in a lapped zipper with ease and confidence. Remember, practice makes perfect! And once you’ve mastered this skill, don’t be afraid to try it out on different types of projects like skirts, dresses, or even bags. Happy sewing!
Do You Need to Hire a Professional Seamstress?
If sewing is not your forte or you simply don’t have the time to sew in a lapped zipper yourself, it may be worth considering hiring a professional seamstress. They have the skills and expertise to ensure that your garment will have a flawless finish.
Just make sure to communicate your expectations clearly and provide any necessary materials beforehand. With their help, you can achieve the perfect lapped zipper for your project. So don’t hesitate to seek professional help if you need it!
Frequently Asked Questions
Q: Can I Use a Regular Foot to Sew in a Lapped Zipper?
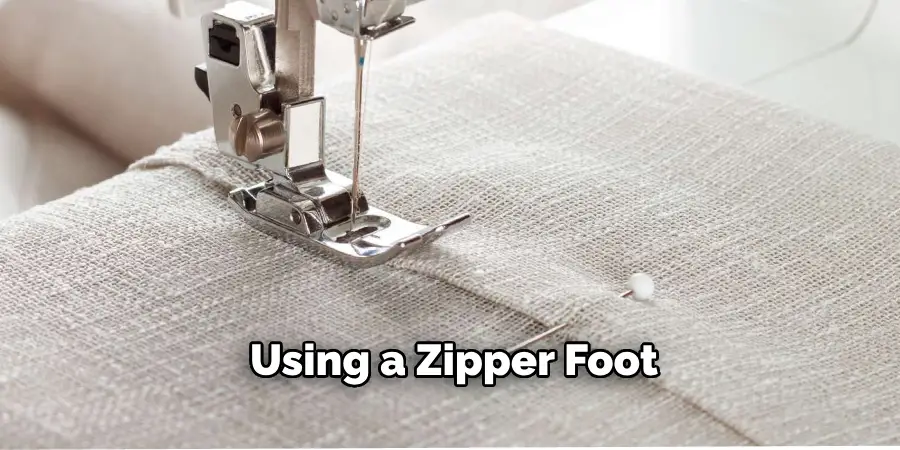
A: While it is possible, using a zipper foot will give you better control and accuracy when sewing close to the zipper teeth. It is highly recommended to use a zipper foot for the best results.
Q: How Do I Know If My Zipper Is Too Long for My Project?
A: Before sewing in your zipper, you can measure it against the opening of your fabric to see if it needs to be trimmed. Make sure to leave some extra length on both ends for seam allowances. If your zipper is too long, simply cut off the excess and use a needle and thread to sew a new stopper at the end of the zipper.
Q: What If My Zipper Gets Stuck?
A: It is important to sew slowly and carefully around the zipper to avoid any potential snags or tangles. But if your zipper does get stuck, try gently wiggling it back and forth while pulling on both ends to loosen it. You can also use a small amount of lubricant, such as soap or wax, to help the zipper glide more smoothly.
Q: Can I Sew in an Invisible Zipper Using These Steps?
A: No, this guide is specifically for sewing in a lapped zipper. However, many of the same steps and techniques can be applied when sewing in an invisible zipper. Make sure to use a special invisible zipper foot for the best results. Overall, sewing in a lapped zipper may seem intimidating at first, but with practice and attention to detail, it can become a simple and essential skill to have as a sewer. So don’t be afraid to give it a try on your next project!
Conclusion
In conclusion, sewing a lapped zipper is a rewarding experience for any seamstress. The simple steps outlined here will provide you with a basic knowledge of this skill so you can practice making it an integral part of your sewing repertoire.
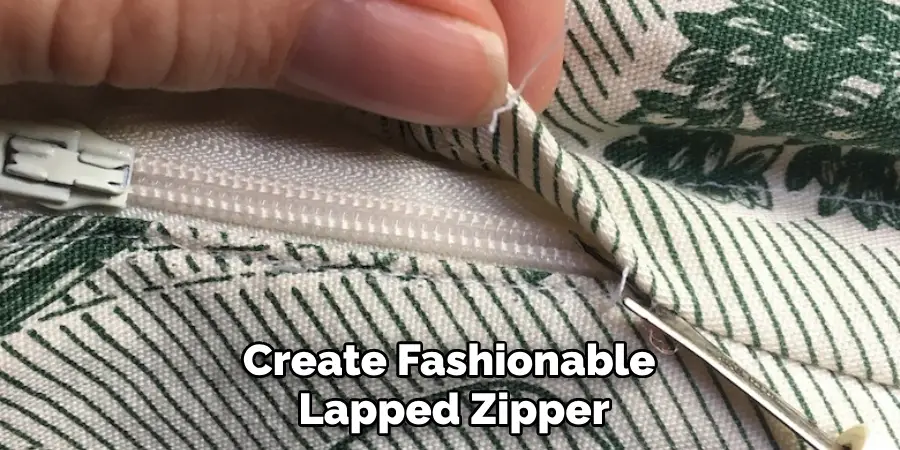
You’ll be able to create fashionable and professional-looking garments or accessories that you can wear proudly Knowing how to sew a lapped zipper is a great way to level up your sewing skills, look better, and feel more confident in your attire. Plant the idea of adding lapped zippers into your projects today, and empower yourself with the knowledge to create unparalleled pieces!

