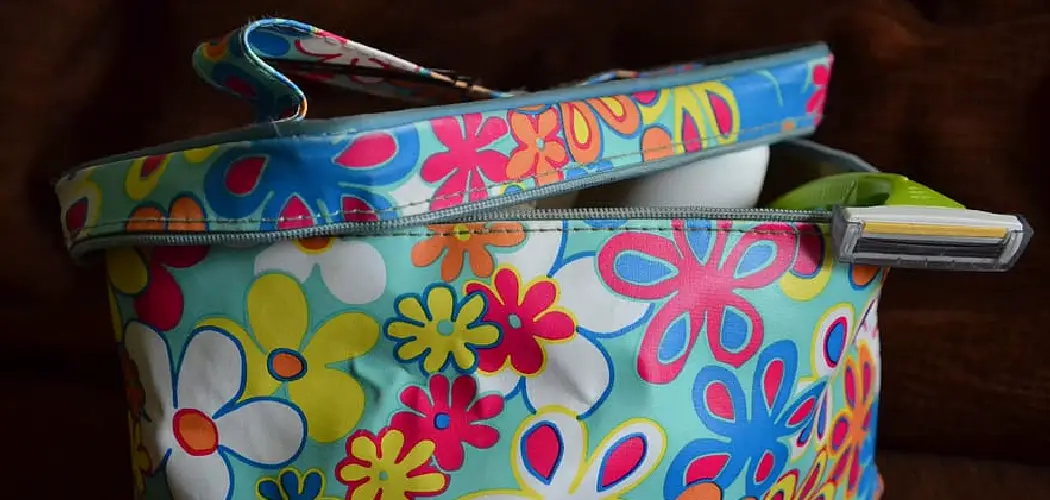
Are you a makeup lover? If so, chances are that your collection of beauty essentials is growing steadily. With the many different products and tools for creating any kind of look, it can be difficult to keep everything organized! Fortunately, having a dedicated makeup bag can help you stay organized while still allowing your creativity to shine.
In this blog post, we’ll show you how to make a makeup bag – from choosing the right fabric to assembling it together. Give yourself an investment in swagger and style with your own personalized cosmetics carrier!
Tools and Materials You Will Need to Make a Makeup Bag
- Fabric (at least 2/3 of a yard)
- Matching thread
- Sewing machine or needle and thread
- Scissors
- Iron
- Measuring tape or ruler
- Zipper (at least 8 inches long)
- Optional: Ribbon, charms, sequins, etc. for decoration
Step-by-Step Guidelines on How to Make a Makeup Bag
Step 1: Choose the Right Fabric
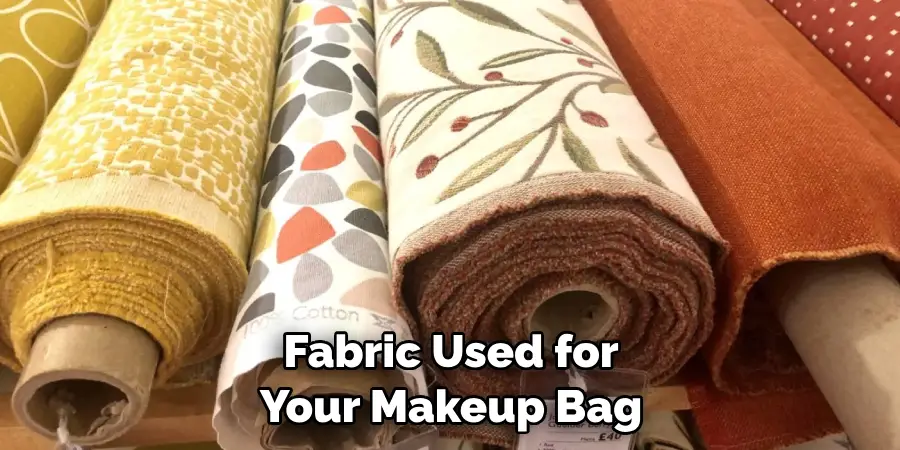
Choosing the right fabric for your makeup bag is crucial. You want something durable that won’t rip or tear easily, yet still looks nice and stylish. Cotton or canvas works best, as they are both lightweight and easy to work with. We recommend picking a fabric with an interesting pattern or design to add extra visual interest to your bag.
Step 2: Cut and Iron the Fabric
Once you’ve chosen the fabric for your makeup bag, measure out two pieces of equal size (based on the size of your desired bag). Place them together with the right sides facing each other, then pin them in place. Then, using a ruler or measuring tape, cut along the edges of the fabric.
Next, take out your iron and press all four sides to get a crisp look. This will make it easier for you to sew together in the next step.
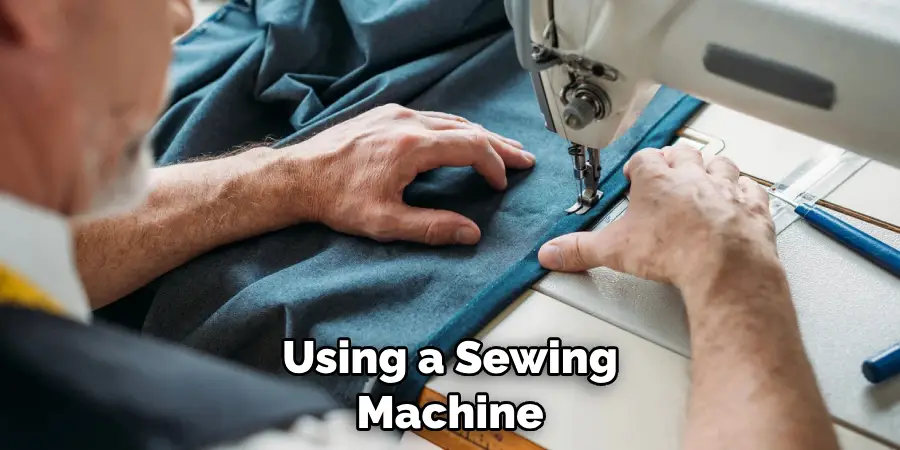
Step 3: Sew the Bag Together
Using a sewing machine or needle and thread, stitch together all four sides of your bag. Make sure to use a zigzag stitch for maximum durability. This will ensure that your bag stays together, even when filled with all of your makeup items. You can also add an extra layer of stitching along the top and bottom edges for extra reinforcement.
Step 4: Add a Zipper
Adding a zipper will give your bag a more polished look. Measure out how much fabric you need for the zipper (at least 8 inches long), then cut it out. Place it on one side of your bag, then pin it in place. Sew the zipper and fabric together using a zigzag stitch, making sure to backstitch at the beginning and end.
Step 5: Add Decoration (Optional)
Now that your bag is almost finished, it’s time to add some personal touches! If you want to decorate your bag, you can use ribbon, charms, or sequins – anything you can think of! This will make your bag look even more stylish and unique. If you don’t want to add any decorations, you can skip this step and move on to the next.
Step 6: Finishing Touches
Once you’ve added your decorations (or skipped the step), it’s time for the finishing touches. Iron out any wrinkles in your bag, then give it one last round of stitching for extra reinforcement. Your makeup bag is now finished!
Now you can fill it with all your favorite beauty products and show off your new creation. A personalized cosmetics carrier will make organizing your makeup collection much easier – and a lot more stylish!
Additional Tips and Tricks to Make a Makeup Bag
1. When selecting a material for your makeup bag, choose one that is easy to clean and durable. Make sure it is also thick enough so it won’t tear easily.
2. It’s always helpful to have two sections inside the bag – one side for brushes and tools, while the other can be used to store items like lipsticks and foundations.
3. If you’re looking to add a personal touch, consider adding some unique details such as embroidery or iron-on.
4. Make sure to choose zippers that are easy to open and close, and also check that the material used in them is of good quality.
5. When organizing items inside your makeup bag, opt for smaller compartments so that you can easily find the products you need.
6. To get more use out of your makeup bag, consider using it to store jewelry or other small items as well.
7. If you want to know which items are in each compartment, try labeling them with stickers or tags so that you don’t have to open every single one when looking for something.
8. For added protection, you can even line your makeup bag with a fabric liner to prevent smears and stains from occurring.
9. Lastly, if you’re traveling with your makeup bag, try to choose one that is lightweight so it won’t weigh down your luggage.
Making a makeup bag doesn’t have to be complicated – just follow these tips and you’ll have a beautiful, functional makeup bag in no time!
Precautions Need to Follow for Making a Makeup Bag
1. Make sure that the fabric used for your makeup bag is sturdy enough and does not easily tear or fray. It should also be able to withstand any spills and other damage while inside your bag.
2. Be sure to pay attention to any interior pockets or compartments, as these can help keep all of your items in place and easily accessible.
3. Consider the size of the makeup bag you are making, so that it fits comfortably with your daily needs and does not become a burden when carrying around.
4. When choosing a lining material, always go with something that is both waterproof and stain-resistant, as this will help keep your items safe from any spills or dirt.
5. Make sure to use zippers of good quality and size so that they don’t easily get stuck or break when you use them frequently.
6. Lastly, always practice safety when crafting your makeup bag. Make sure that you do not get any sharp objects near the fabric or liner, and be aware of potential choking hazards if using small beads or other embellishments.
By following these precautions, you can be sure your homemade makeup bag is both safe and stylish! With a little bit of time and effort, you can create the perfect makeup bag that will store all of your desired items in one place.
Frequently Asked Questions
Do I Need to Use a Sewing Machine When Making a Makeup Bag?
No, you don’t need to use a sewing machine to make your own makeup bag. You can easily hand-sew it with the help of an embroidery needle and some strong thread. This is great for those who may not have access to or familiarity with a sewing machine.
What Kind of Fabric Should I Use for My Makeup Bag?
The best fabric to use when making a makeup bag is lightweight canvas or cotton. This is because it’s thick enough to provide some structure but still lightweight and breathable. You can also opt for other fabrics such as felt or vinyl depending on your preference.
How Do I Add a Zipper to My Makeup Bag?
Adding a zipper to your makeup bag is easy. First, measure the length of the fabric you’ll be using for the bag and then cut out two pieces of material at that size. Then place one piece of material right side up and lay the zipper on top of it.
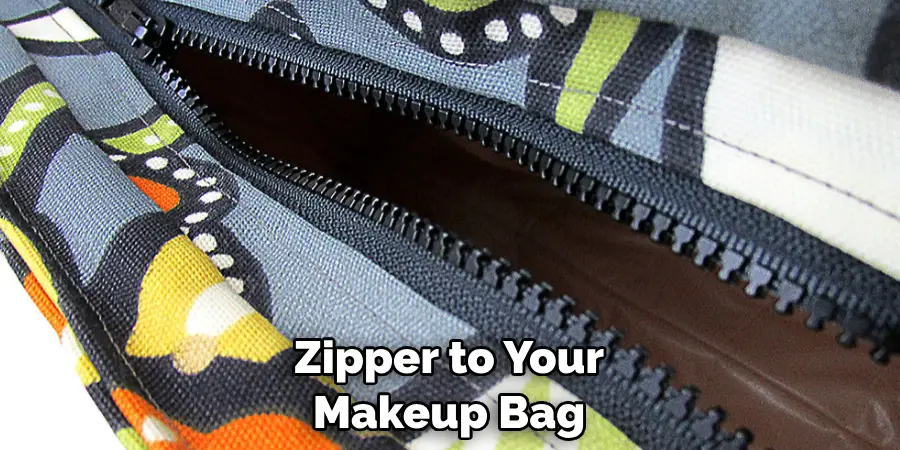
Place the other piece of material on the top, right side down, and pin it in place. Sew along the edge with a sewing machine or hand-sew it if you don’t have access to one. Finally, tuck in the ends of the zipper, and voilà! You’ve got yourself a DIY makeup bag with a zipper closure!
How Can I Add Pockets and Dividers to My Makeup Bag?
Adding pockets and dividers to your makeup bag is easy. Start by cutting out the fabric pieces you’ll need for the pockets and divider. You can use a fabric marker or tailor’s chalk to mark out the shape of each pocket or divider directly onto the fabric.
Then sew along each line with a sewing machine or hand-sew it if you don’t have access to one. Once the pockets and dividers are sewn in, your makeup bag is ready for use!
What Are Some Tips for Making My Makeup Bag Look Professional?
Making your own makeup bag look professional is easy. Start by picking out the right fabric and matching thread for your bag. Use a tailor’s chalk or fabric marker to mark out the pattern pieces you need, if applicable.
Then use strong thread, preferably in contrasting colors, to sew all of the pieces together. Finally, make sure all of the seams are neat and tidy for an overall polished look. With these tips, you’ll have a professional-looking makeup bag in no time!
Conclusion
Now you know how to make a makeup bag with ease! Whether you’re using a sewing machine or hand-sewing it, you can follow these steps and tips to create a professional-looking makeup bag for yourself. With the right fabrics and some creativity, you’ll have a stylish DIY bag in no time. Have fun!

