

Are you ready to start embroidering with six strands of thread? Before beginning your project, it is important to understand how to thread an embroidery needle with 6 strands properly. It will take some practice to get the hang of it, but once you learn how to thread embroidery needle 6 strands, you’ll be ready to tackle any project!
An embroidery is an art form that allows you to create beautiful, intricate designs with colored threads. Threading the correct number of strands in the needle properly and evenly is key for successful embroidered creations. If you’ve ever felt confused while trying to figure out how many strands should go in each stitch on your next project, this blog post is perfect!
Here you will find helpful tips on threading fabric-cover needles with 6 strands of thread so that both professionals and beginners alike can get started.
What Will You Need?
Before you begin, make sure that you have the following items to hand:
- Embroidery needle with a large eye, suitable for 6 strands of thread
- A pair of scissors or wire cutters
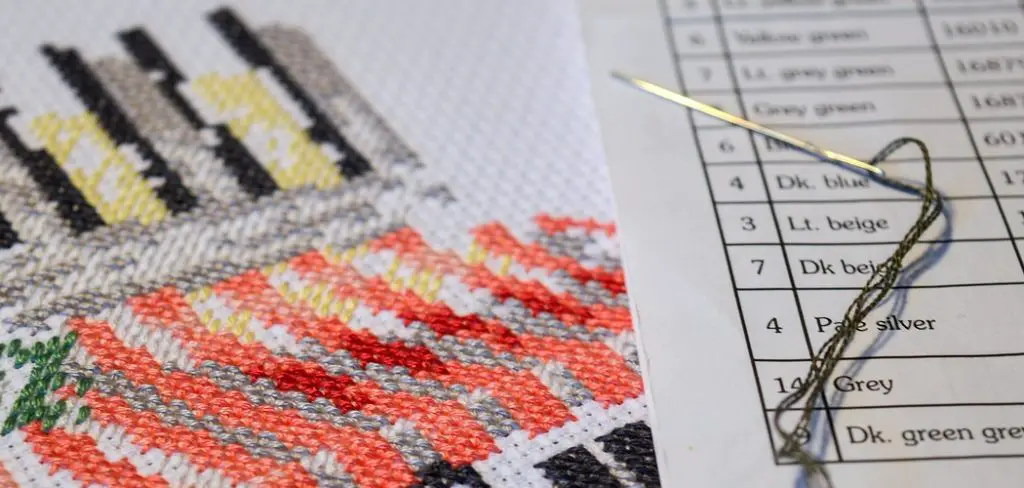
- 6 strands of embroidery floss (or other types of thread)
Once you have all the items you need, you’re ready to start threading!
10 Easy Steps on How to Thread Embroidery Needle 6 Strands
Step 1. Preparing the Thread
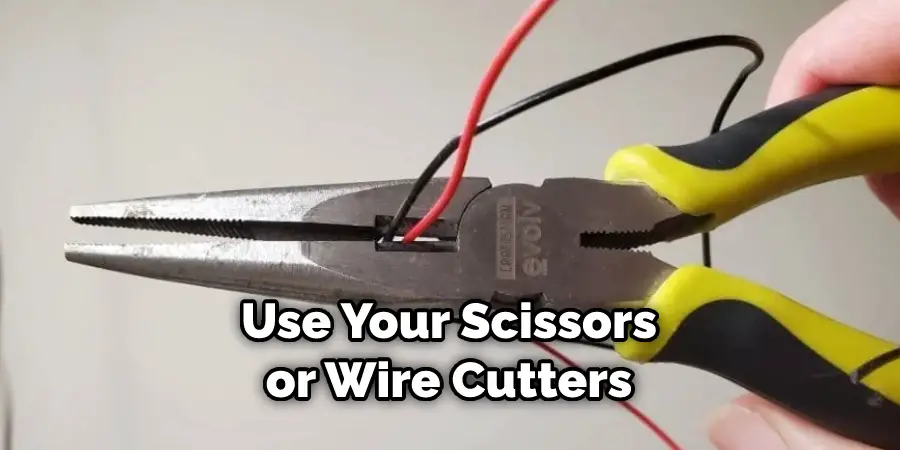
The first step is preparing the threads. Use your scissors or wire cutters to cut six lengths of thread. Each piece should be about two feet long so that it’s easy to handle when you are stitching. Separate the threads into two equal groups and carefully smooth out any tangles using your fingers. Once all the threads are ready, you can begin threading the needle.
Step 2. Threading the Needle
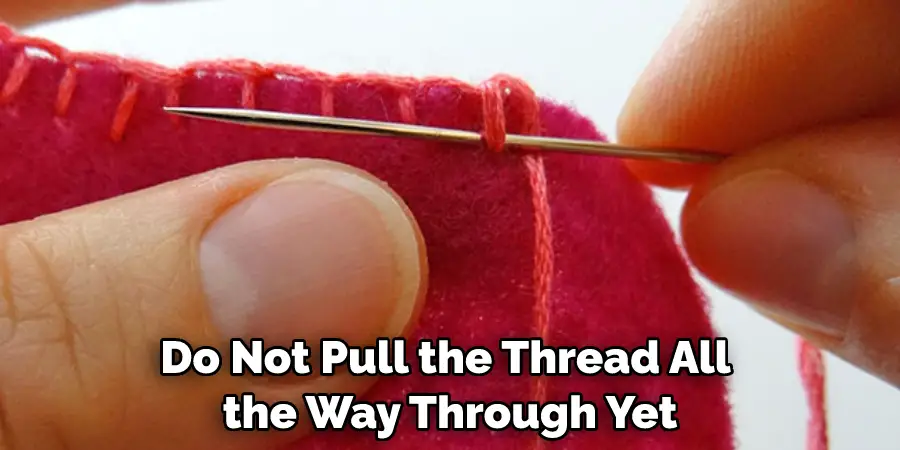
Take one group of three threads and hold them together in your left hand. Push the three strands through the eye of the needle from front to back with your right hand. Do not pull the thread all the way through yet!
Step 3. Pulling Through
Holding onto the end of the first group of threads, pull them slowly until they are completely through the eye of the needle. Make sure that all six pieces have gone through and that none are stuck on either side of it. Otherwise, they won’t be able to move freely when you’re stitching.
Step 4. Looping Around
Once all six strands are safely inside, take one strand from each group and twist them together. Loop the twisted strand around the base of the needle and pull tight. This will help to keep all six strands securely in place while you’re stitching.
Step 5. Threading Through Again
Take one group of three threads and push them through the eye of the needle from front to back with your right hand (or use a threader, if you prefer). Do not pull all the way through yet! Because the loop holds the first group in place, the second one will go through much easier.
Step 6. Pulling Through Again
Once the thread is through the eye of the needle, pull it gently until there’s a small loop at the end. Hold onto this loop and pull the thread again through the loop. This will help secure the thread on the needle and prevent it from slipping out. Finally, snip off the excess thread and you’re done.
Step 7. Pulling Tight
Once all six strands are safely inside the eye, pull them tight to ensure that they do not come undone while stitching. It is important to make sure that the strands are not overly tight, as this will affect the flow of your stitches. You can gently tug on each thread if it feels loose.
Step 8. Trimming the Threads
Use your scissors or wire cutters to trim any excess thread from the end of the needle. This will help minimize tangles and keep everything neat and tidy for your next project! Additionally, it will ensure that the needle will slide easily through the fabric without catching on any loose threads.
Step 9. Test it Out!
Before you begin stitching, test out how well your thread is secured in place by gently tugging on it a few times. If it feels secure, you’re ready to start embroidering with 6 strands of thread! Remember to take your time and enjoy the process.
Step 10: Enjoy Embroidering!

Now that you know how to do it, you can start creating beautiful designs with ease. Enjoy your new-found knowledge and have fun with your next embroidery project! Don’t forget to show off your completed work and share it with the world.
With these ten easy steps, you will be able to thread embroidery needle 6 strands in no time confidently. Have fun exploring the art of fabric-cover needlework – happy stitching!
5 Additional Tips and Tricks
- When threading an embroidery needle with 6 strands, it helps to separate the strands into two groups of 3. This makes it easier to hold and thread each group of threads into the eye of the needle.
- Before beginning to thread your needle, be sure to double check that you are using a needle that is suitable for embroidery and has an eye large enough to fit 6 strands.
- To help prevent knots in your thread, remember to start by pulling about 18 inches of thread through the eye of the needle before you start stitching. This will ensure that all 6 strands are properly secured in place, so they don’t become tangled or knotted during your project.
- If you’re having difficulty getting all 6 strands through the eye of the needle, try wetting the tip of the threads with some saliva or water- this can make them easier to thread.
- Don’t forget to periodically check that all 6 strands are still properly threaded through the eye of the needle- this will help you avoid any interruptions or frustration as you’re working on your embroidery project!
In conclusion, remember that with a little patience and practice, threading an embroidery needle with 6 strands can be a relatively straightforward task. Following the steps above can make managing each group of 3 threads easier and prevent knots in your thread. With these tips and tricks in mind, you’ll be able to enjoy a successful embroidery project!
5 Things You Should Avoid
- 1Avoid using a blunt needle. This can make pulling the thread through the fabric difficult and cause the thread to break.
- Don’t overlap threads when pulling them through the eye of your needle. Doing this will weaken the thread and make it prone to breaking or fraying over time.
- Avoid using too thick of thread in an embroidery project, as this can cause tension on the fabric and potentially tear or distort it while stitching.
- Don’t force too much floss into a single stitch, as this can overwhelm smaller areas and ruin your pattern design.
- Be careful not to knot too tightly when finishing off a stitch, as this could also distort or damage your fabric and design.
By following these simple tips, you can make sure you’re threading your embroidery needle 6 strands properly and creating beautiful projects every time! Whether it’s a pillowcase or a wall hanging, using the proper technique for threading is essential for success. With a few key steps and careful attention to detail, anyone can create stunning pieces of embroidery art. So get stitching today and show off your craftsmanship!
What Are the 6 Basic Stitches?
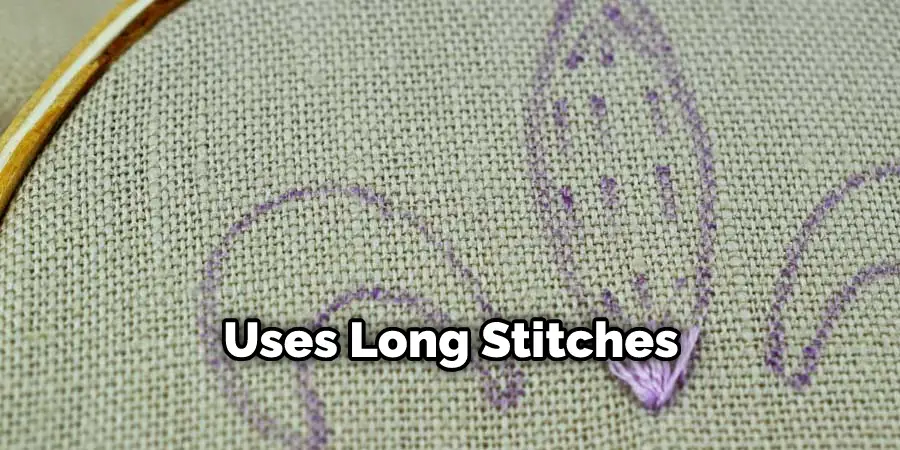
The 6 basic stitches that make up embroidery are running stitch, backstitch, split stitch, satin stitch, French knot, and chain stitch. A running stitch is a simple line of short stitches used to form outlines or to join two pieces of fabric together. Backstitch is similar to running stitch but uses long stitches for creating solid lines.
A split stitch is an even row of tiny stitches that intertwines the threads together for a textured effect. Satin stitch creates a smooth filling in areas with different shapes and sizes. French knot involves wrapping thread around the needle multiple times before reinserting it into the fabric for an ornamental look. Chain stitch is formed by looping thread around itself to create chains in different patterns.
With these 6 basic stitches, you can create almost any pattern or design imaginable!
The world of embroidery is full of creative possibilities. With a few tips and tricks, anyone can thread an embroidery needle with six strands and produce beautiful art pieces. So get stitching today and share your creativity with the world!
Conclusion
All in all, properly threading a six-strand embroidery needle is not as complicated as it seems. Although it may take some practice and patience if you’re just beginning to learn this craft, taking the time to follow the correct steps can make a world of difference in your end results. Trust that with each practice attempt, your finger dexterity will improve, and eventually, threading up a six strand needle will become second nature.
With enough practice and focus, you, too, can create stunning embroidered works of art using all six strands of floss. Hopefully, the article on how to thread embroidery needle 6 strands has been helpful. Whether you’re a beginner or an experienced stitcher, following these tips and tricks will help get your project off on the right foot. So get stitching today and share your creativity with the world! Happy sewing!