Are you looking for a creative way to spruce up your home décor while still being able to show off your personality and style? If so, learning how to put vinyl on canvas is the perfect solution! With a few simple supplies and instructions, anyone can become an expert at applying vinyl graphics onto canvas.

Whether you’re making custom gifts for loved ones or trying to give items around your house some extra pizzazz, adding vinyl can help bring out colors that will dazzle every room in the home. Keep reading if you want to learn just how easy it is to add vinyl onto canvases with these step-by-step directions!
Why May You Want to Put Vinyl on Canvas?
1 . To Create a Beautiful Image
If you’re wondering how to put vinyl on canvas, chances are you want to create an aesthetically pleasing piece of art. Vinyl is a great medium for creating images on canvases as it allows for sharp, vibrant colors and intricate details. Whether you’re looking to make a personalized gift or decorate your own walls, putting vinyl on canvas is an excellent way to create a beautiful image that will last for years.
2. To Personalize Your Space
Vinyl on canvas is perfect for personalizing your home, office or any space you want to make your own. You can choose from various designs, colors and sizes to fit the look and feel of your room. Moreover, vinyl is easily removable without leaving any residue, making it a great option for rental spaces or changing your décor frequently.
3. To Add a Personal Touch to Gifts
Are you tired of giving generic store-bought gifts? With vinyl on canvas, you can create one-of-a-kind personalized gifts that your loved ones will cherish. You can make custom designs to suit their interests and hobbies or even add a personal message. Whether it’s for birthdays, weddings, or any special occasion, vinyl on canvas is a unique and thoughtful way to show your love and appreciation.

4. To Explore Your Creativity
Putting vinyl on canvas allows you to let your creativity run wild. With endless design possibilities and the freedom to experiment with different colors and textures, creating art with vinyl on canvas can be a fun and therapeutic experience. You don’t have to be an artist or have any prior experience with traditional mediums – all you need is some vinyl, a canvas, and your imagination.
5. To Create Durable Artwork
Vinyl on canvas is not only visually appealing but also durable. Unlike paper posters or prints that easily tear or fade over time, vinyl on canvas can withstand wear and tear, making it a long-lasting investment. Plus, with proper care and maintenance, your vinyl art can look as good as new for years to come.
How to Put Vinyl on Canvas in 5 Easy Steps
Step 1: Gather Your Materials
Before you start putting vinyl on canvas, make sure you have all the necessary materials ready. These include:
- Canvas (make sure it is clean and dry)
- Vinyl transfer paper
- Scissors or craft knife
- Squeegee or credit card
Step 2: Prepare the Design
If you are using a pre-designed vinyl decal, skip this step. Otherwise, if you are creating your own design using a cutting machine or by hand, make sure to clean up any rough edges and remove excess vinyl.

Step 3: Transfer the Design
Place the transfer paper on top of your vinyl design with the sticky side facing down. Use your squeegee or credit card to firmly press down and smooth out any bubbles or wrinkles. Peel off the backing paper, leaving the vinyl design on the transfer paper.
Step 4: Apply the Design onto the Canvas
Carefully position your vinyl design on the canvas and use your squeegee or credit card to firmly press down and adhere it to the surface. Start from the center and work your way outwards to avoid air bubbles.
Step 5: Remove the Transfer Paper
Once the vinyl design is securely adhered to the canvas, slowly peel off the transfer paper at a 45-degree angle. Make sure to go slow and be gentle to avoid damaging the design or pulling up any edges. And voila! You now have your own personalized vinyl on canvas!
Some Extra Tips to Put Vinyl on Canvas
1 . Do Not Rush
Rushing when putting vinyl on canvas is one of the most common mistakes that people make. In order to put vinyl on canvas properly, you must take your time and follow the instructions carefully. Vinyl can be quite delicate, so rushing increases the chances of damaging or tearing it. Remember, patience is key.
2 . Use a Squeegee
A squeegee is a tool that is used to apply pressure evenly across vinyl, which helps in preventing air bubbles from forming. When putting vinyl on canvas, using a squeegee can make the process much easier and smoother. Make sure to use it gently so as not to damage the vinyl.

3 . Start from One End and Work Your Way Through
When applying vinyl on a large canvas, it is important to start from one end and work your way through. This helps in preventing wrinkles and air bubbles from forming as you go along. It also ensures that the vinyl is applied evenly across the entire canvas.
4 . Trim Excess Vinyl Carefully
After applying vinyl on the canvas, there may be excess vinyl on the edges or corners. Carefully trim the excess vinyl using a sharp blade or scissors. Take your time and make precise cuts to avoid damaging the canvas or leaving rough edges.
5 . Experiment with Different Techniques
There are various techniques that can be used to put vinyl on canvas, such as heat transfer, wet method, or dry method. It is important to experiment with different techniques and find the one that works best for you. This will depend on the type of vinyl, canvas, and personal preference.
6 . Practice Makes Perfect
Putting vinyl on canvas may seem daunting at first, but with practice, it becomes easier and more efficient. Don’t be discouraged if your first few attempts are not perfect. Keep trying different techniques and practicing until you find what works best for you. Remember, practice makes perfect.
Frequently Asked Questions
What Precautions Should I Take Before Putting Vinyl on a Canvas?
Before you start putting vinyl on a canvas, there are a few things you should keep in mind to ensure the best results. Here are some precautions you can take before starting the process:
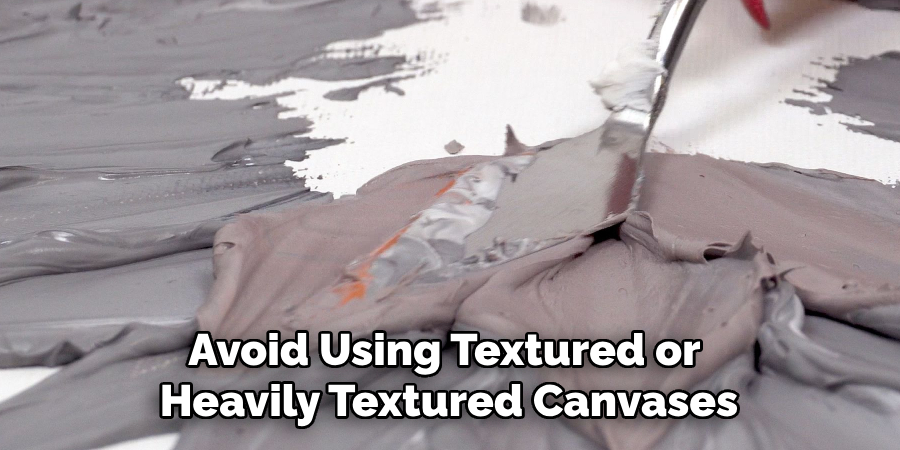
Make sure the canvas is clean and free of any dust or debris. This will help the vinyl adhere better to the surface. Choose a flat and smooth canvas surface for the best results. Avoid using textured or heavily textured canvases, as they may cause bubbles or wrinkles in the vinyl. Additionally, you may want to test out your design on a small piece of canvas first to get a feel for how the vinyl will adhere and look.

What Tools Do I Need to Put Vinyl on a Canvas?
To put vinyl on a canvas, you will need a few basic tools. These include:
- A cutting mat
- A sharp craft knife or scissors
- Transfer tape or contact paper
- An application tool, such as a squeegee or credit card
- Vinyl in the color and design of your choice
You may also want to have some extra masking tape on hand to help hold your design in place while you work.
Can I Put Vinyl on a Canvas With a Design Already Printed On It?
Yes, you can put vinyl on a canvas with a design already printed on it. However, keep in mind that the color and pattern of the canvas may show through the vinyl, potentially altering the final appearance of your design. To avoid this, you can either choose a vinyl color that complements or covers up the existing design, or you can add a layer of white vinyl as a base before applying your desired color and design on top.
How Do I Remove Vinyl From a Canvas?
If you ever need to remove vinyl from a canvas, it is important to do so carefully to avoid damaging the surface. Start by heating up the vinyl with a hairdryer for a few minutes. This will loosen the adhesive and make it easier to peel off. Then, use a sharp craft knife or scissors to gently lift one corner of the vinyl and slowly peel it back at a 45-degree angle. If there is any residue left behind, you can use rubbing alcohol or adhesive remover to clean off the surface.
Conclusion
Putting vinyl on canvas is a fun and creative way to personalize your artwork or decor. By following these tips and taking your time, you can easily achieve a smooth and professional finish. Don’t hesitate to experiment and have fun with different techniques.
Now you know how to put vinyl on canvas, go ahead and unleash your creativity! So grab your vinyl and canvas and get started on your next project. Happy crafting! Keep practicing and you’ll become a pro in no time!

