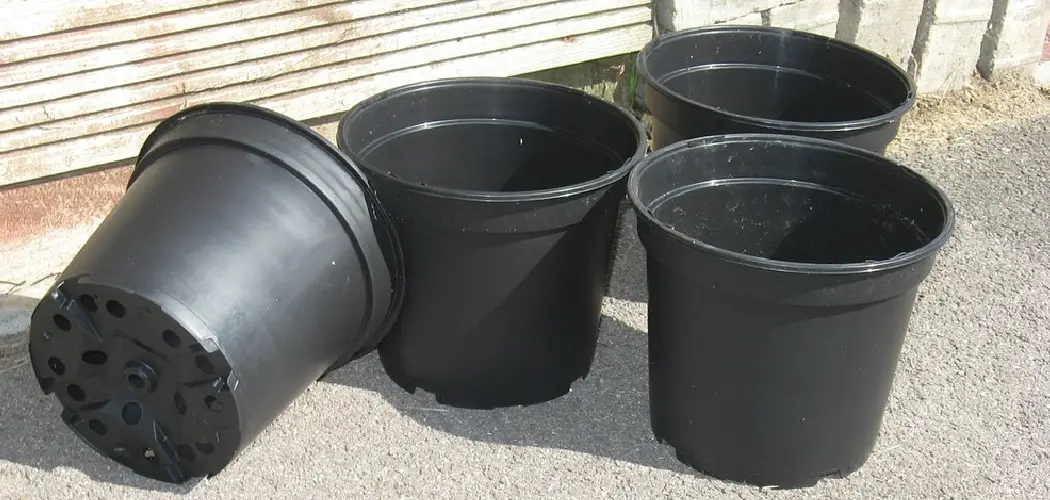
Are you looking for a way to spruce up your garden or balcony? Painting plastic planter pots is a great weekend project that can help transform your outdoor space in no time at all! You don’t need any special painting tools, and with these easy step-by-step instructions on how to paint plastic planter pots, you’ll be able to achieve the perfect painted look on even the most awkward of planters.
Plus, it’s an inexpensive way to add some personality and style to your garden without breaking the bank. So join us as we show you how easy it is to give those plain old plastic pots a unique new coat of paint and make them into something truly eye-catching!
Why May You Want to Paint Plastic Planter Pots?
1 . To Give Your Plant a New Look
Painting plastic planter pots is an excellent way to give a new look to your plants. Whether you want to match the pot with your interior decor or add some personality to your outdoor space, painting plastic planters can help you achieve that.
2 . To Customize Your Planter Pots
Plastic planter pots are usually available in a limited range of colors and designs. By painting them, you can customize them according to your preferences and add a personal touch to your planters.
3 . To Preserve the Plastic Material
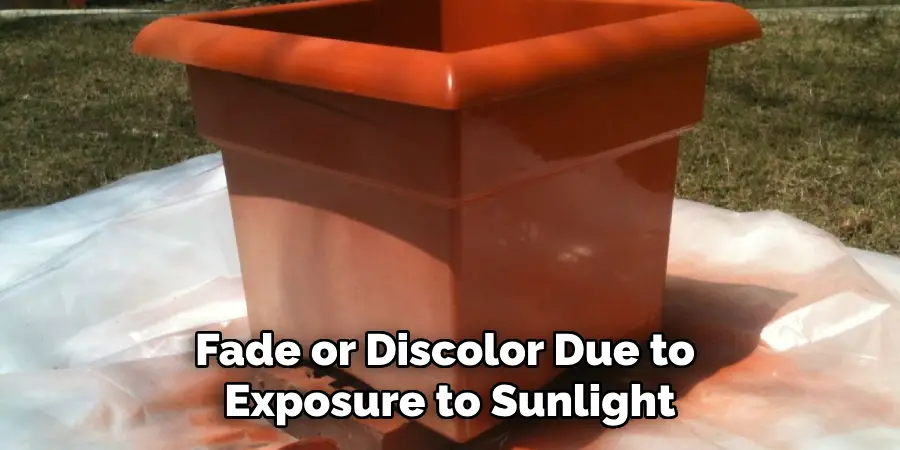
Plastic planter pots are not only lightweight and affordable but also durable. However, with time, they may start to fade or discolor due to exposure to sunlight and harsh weather conditions. Painting them can help preserve the plastic material and extend the lifespan of your planters.
4 . To Protect Your Plants
Some plastic planter pots may contain chemicals or toxins that are harmful to plants. By painting the inside of the pot, you create a barrier between the plant and the potentially harmful substances. This will not only protect your plant’s health but also prevent the chemicals from leaching into the soil.
5 . To Repurpose Old or Ugly Planters
Instead of throwing away old or ugly plastic planters, you can give them a new lease on life by painting them. This is not only an environmentally friendly option but also a cost-effective way to add more planters to your collection.
How to Paint Plastic Planter Pots in 6 Easy Steps
Step 1: Choose the Right Type of Paint
Before you start painting your plastic planter pots, it’s important to choose the right type of paint. It’s recommended to use spray paint specifically designed for plastic surfaces. These types of paints are formulated to adhere well to plastic and prevent chipping or peeling.
Step 2: Gather Your Materials
To successfully paint your plastic planter pots, you will need the following materials:
- Plastic planter pots
- Spray paint designed for plastic surfaces
- Sandpaper (optional)
- Primer (optional)
- Protective gear such as gloves and a mask
Step 3: Prepare the Pots
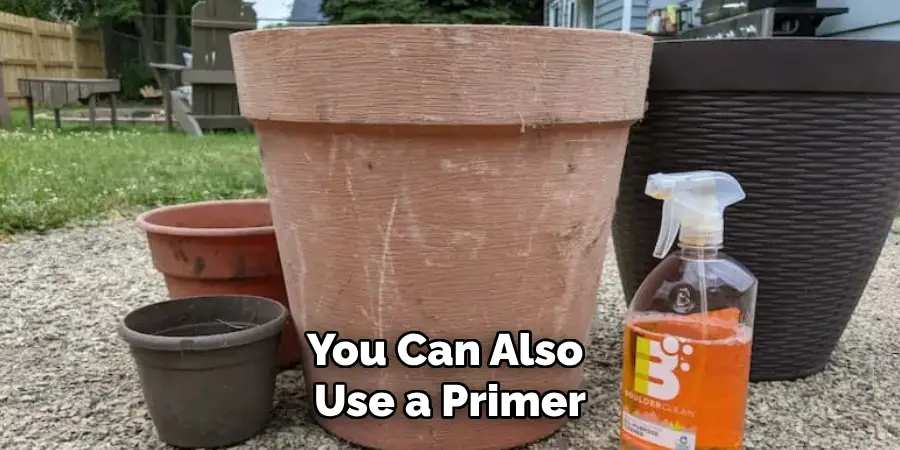
If your plastic planter pots have a glossy finish, it’s important to lightly sand them before painting to help the paint adhere better. You can also use a primer before painting for better results. Make sure to clean the pots thoroughly and let them dry completely before proceeding.
Step 4: Paint in a Well-Ventilated Area
When you’re ready to start painting, make sure you do it in a well-ventilated area such as outdoors or in a well-ventilated room. This will prevent any harmful fumes from building up.
Step 5: Apply Thin Coats of Paint
When painting plastic planter pots, it’s important to apply thin coats of paint rather than one thick coat. This will help prevent drips and ensure a smoother finish. Hold the spray can about 8-10 inches away from the pot and spray in a sweeping motion.
Step 6: Let the Pots Dry
After you’ve applied the first coat of paint, let it dry completely before applying a second coat. It’s important to follow the instructions on the spray can for drying time. Once the pots are dry, you can add additional coats until you achieve your desired look.
Tips for Painting Plastic Planter Pots
1 . Choose Light Colors
When choosing a color for your plastic planter pots, it’s best to go with lighter colors such as pastels or white. This will help prevent the pots from overheating in direct sunlight and also make them less prone to fading.
2 . Avoid Painting Inside the Pot
To maintain good drainage in your planter pot, avoid painting the inside of the pot. This will ensure that water can still drain properly and prevent any drainage issues.
3 . Personalize Your Pots
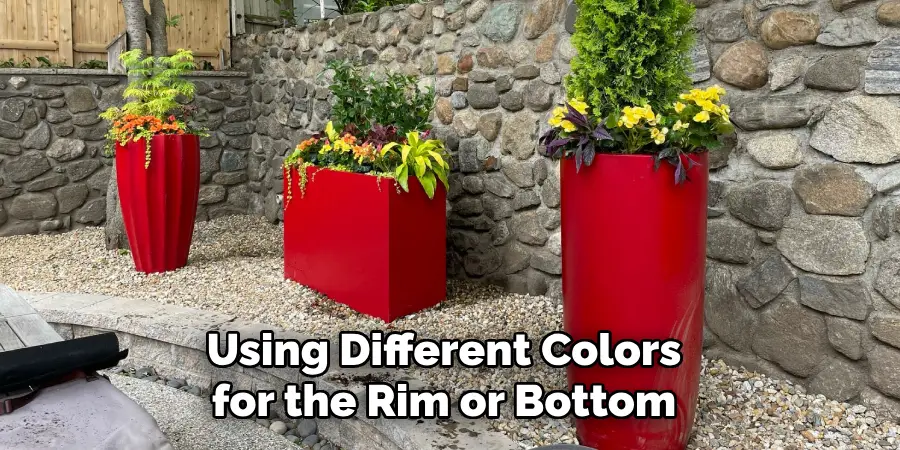
You can also use stencils or painter’s tape to create unique designs on your plastic planter pots. Get creative and make your pots stand out with personalized touches. Also, consider using different colors for the rim or bottom of the pot for a fun and unique look.
4 . Protect Your Painted Pots
To ensure your painted plastic planter pots last, it’s important to protect them from harsh weather conditions. Consider using a clear sealant or UV-resistant sprays over the paint to provide an extra layer of protection.
Frequently Asked Questions
What Precautions Should I Take When Painting Plastic Planter Pots?
When painting plastic planter pots, it is important to take the necessary precautions to ensure a successful and long-lasting finish. Here are some tips to keep in mind: Before starting your painting project, make sure to clean the pots with warm soapy water and let them dry completely. This will help the paint adhere better to the surface.
It is also recommended to lightly sand the pots with fine-grit sandpaper to create a slightly rough texture for better paint adhesion. When painting, use a high-quality spray paint or acrylic paint specifically designed for plastic surfaces. Make sure to apply thin and even coats of paint, allowing each coat to dry completely before applying the next one.
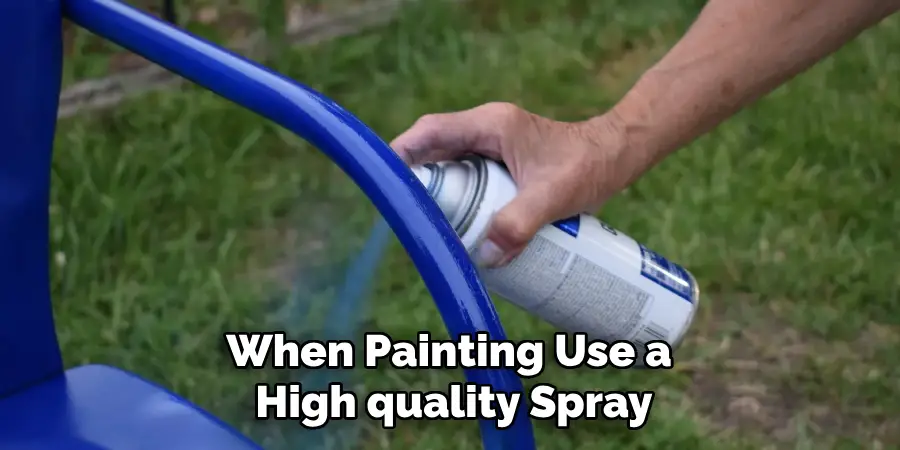
This will prevent drips and help achieve a smooth finish. Additionally, make sure to paint in a well-ventilated area to avoid inhaling fumes. Lastly, be patient and allow the pots to fully cure before using them, as this will improve the durability of the paint.
Can I Paint Plastic Planter Pots with Regular Paint?
While it is possible to use regular paint on plastic planter pots, it is not recommended. Regular paint may not adhere well to plastic surfaces and can easily chip or peel off. Specialized spray paints or acrylic paints designed for plastics are formulated with added adhesion properties that make them more suitable for painting plastic surfaces.
How Do I Get a Glossy Finish When Painting Plastic Planter Pots?
If you prefer a glossy finish on your plastic planter pots, there are a few steps you can take to achieve this. First, make sure to use a high-quality gloss spray paint or acrylic paint specifically designed for plastics. It is also important to properly clean and sand the pots before painting as mentioned earlier.
Once the pots have been painted and have fully cured, you can add a clear coat of gloss spray paint or use a glossy sealant to achieve a shiny finish. Just make sure to follow the instructions on the product and apply thin, even coats for best results.
How Do I Seal Painted Plastic Planter Pots?
If you want to seal your painted plastic planter pots for added protection and durability, there are a few options you can choose from. One option is to use a clear spray sealer specifically designed for plastics, which can help prevent the chipping and fading of the paint. Another option is to use a brush-on sealant or varnish. Just make sure to follow the instructions on the product and apply thin, even coats for best results.
Can I Paint Over Old Paint on Plastic Planter Pots?
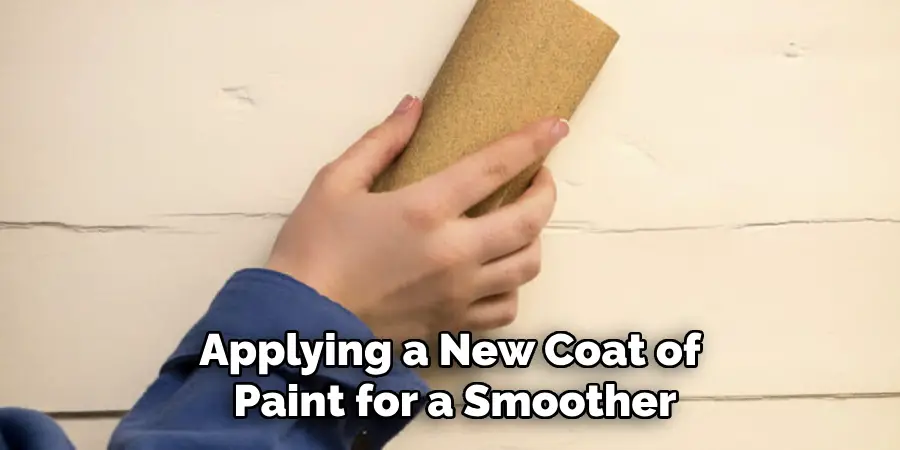
Yes, you can paint over old paint on plastic planter pots. However, it is important to properly clean and lightly sand the pots before painting to ensure proper adhesion of the new paint. If the old paint is chipping or peeling, make sure to remove it completely before applying a new coat of paint for a smoother finish. It is also recommended to use a paint primer designed for plastic surfaces before painting over old paint.
This will help the new paint adhere better and prevent any potential issues with the old paint showing through. So, these are some of the precautions that should be taken when painting plastic planter pots to achieve the best results possible. Keep them in mind and you’ll have beautifully painted plastic planter pots in no time!
Conclusion
With great patience and care, you can customize your plastic planter pots to fit any look or design that you’d like. Now that you know how to paint plastic planter pots, it’s time to let your creativity take hold! Shopping for supplies is the first step, followed by selecting the colors and designs that will bring your vision to life. After applying the primer coat, multiple coats of paint with even brushstrokes in between each layer will give them a professional finish.
Make sure they are completely dry before planting flowers or succulents for maximum durability. Ultimately, this creative project will beautify exterior spaces (or interior) with a custom decorative look that will be unique and memorable! Don’t hesitate to get started – try out painting plastic planter pots today!

