
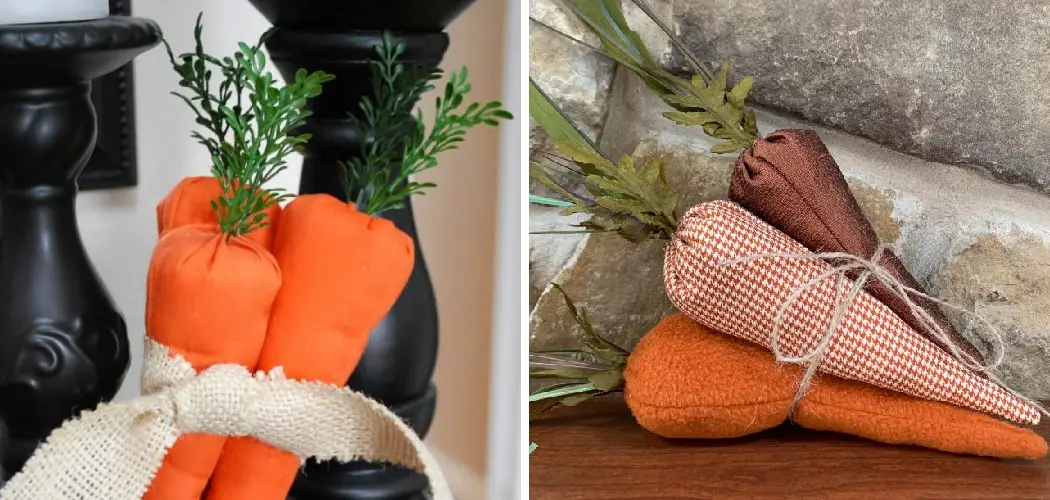
Fabric carrots are delightful and whimsical decorations that can add a touch of charm to your home decor or seasonal displays. Whether you’re decorating for Easter, creating a themed centerpiece, or simply adding a pop of color to your space, making fabric carrots is a fun and creative project.
In this article, we will guide you through the process of how to make fabric carrots from scratch. From selecting the right materials and measurements to cutting, sewing, and stuffing the carrots, we will cover all the essential steps.

Whether you’re an experienced crafter or a beginner, making fabric carrots is a simple and rewarding endeavor that allows you to showcase your creativity and bring a touch of whimsy to any setting. Get ready to embark on a crafty adventure and learn how to make fabric carrots that will add a delightful and playful element to your decor.
Benefits of Making Fabric Carrots
Making fabric carrots is a great way to add a unique and homely touch to your home décor. Not only are they easy to make, but they also bring with them a myriad of benefits!
One major benefit of making fabric carrots is that they’re relatively inexpensive compared to store-bought decorations. With minimal materials such as cotton fabric, stuffing and thread, you can easily create these carrots with minimal cost.
In addition, fabric carrots are eco-friendly since they’re made from natural materials that can be reused or recycled when the time comes to replace them. Moreover, unlike plastic decorations, they won’t contribute to environmental pollution after their use.
Additionally, fabric carrots make a great craft project for both adults and children alike! For adults, it’s a fun way to relax by focusing on making something creative and beautiful with your hands. And for kids, making fabric carrots is an enjoyable learning experience as they practice sewing skills while also being able to show off their finished product proudly!
Finally, these lovely fabric creations look great in any setting and can be used as decorations for any season or occasion. Whether you’re crafting for Easter, Christmas, a birthday party or simply to spruce up your home décor, fabric carrots are perfect for all sorts of occasions.
Factors to Consider for a Fun and Creative Project
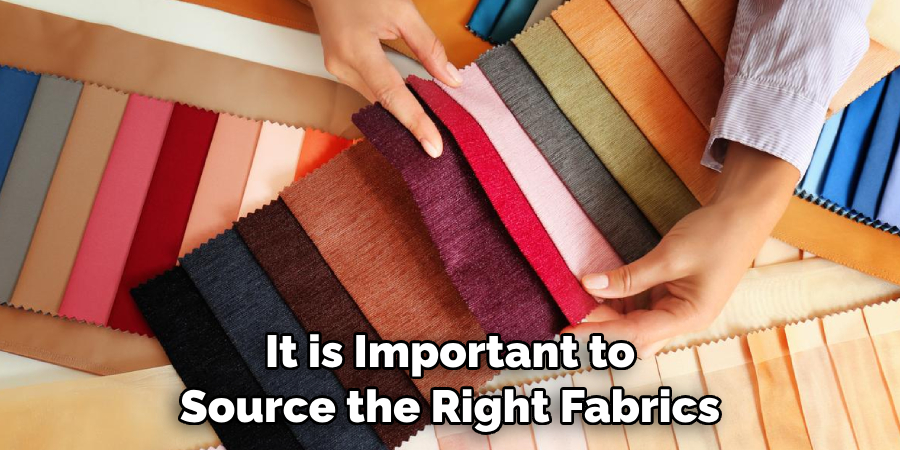
Before beginning your fabric carrot project, there are a few factors to consider for a fun and creative outcome. Firstly, it is important to source the right fabrics. Choose bright colors like yellow, green or even orange to get that lifelike look of a real carrot. Secondly, you will need to select the stuffing material. Polyester fiberfill works best as it is soft and lightweight.
When it comes to selecting the right thread for stitching, opt for thicker types like cotton or polyester. These will ensure a strong stitch that is able to hold the shape of your carrots firmly despite continued use or washing. Additionally, make sure you have adequate supplies such as scissors, pins, tape measure and fabric marker at hand so you are not stuck in the middle of your project without them.
Finally, be sure to make use of step-by-step tutorials available online to create your fabric carrots with ease. With these tips in mind, you can now begin making fabric carrots that are as fun and creative as possible!
Choosing Fabric with the Desired Texture and Color
The color and texture of the fabric is an important part of creating realistic-looking carrots. Choose a lightweight cotton in either orange or yellow to replicate the orange hue of most carrots. If you’d like to make white, purple, or red carrot varieties, select fabrics in these colors instead. For added texture, look for fabrics with raised patterns such as polka dots or floral prints. Once you’ve picked out the perfect fabric for your project, prewash it before getting started.
Creating Your Carrot Shapes
Using a pair of scissors, begin by cutting two long pieces from the fabric that measure approximately 6 inches wide and 12 inches long. Then round off one end of each piece to create carrot shapes with tapered tops. Stitch both pieces together side by side with a 1/4 inch seam allowance.
Adding Leaf Details and Finishing Touches
To create the leaves of the carrot, cut two 2-inch wide strips from the remaining fabric at a 45-degree angle. Place one end of each strip along the top edge of the carrot shape and stitch them in place. Finally, stuff your carrots with fiberfill to give them a realistic look before closing off the bottom edges with stitches. Your fabric carrots are now complete!

For an added decorative touch, you can also sew on raised details such as lines or dots to make your carrots look even more authentic. Have fun creating a variety of sizes and colors for a decorative display that’s sure to be the envy of all your friends and family.
10 Steps How to Make Fabric Carrots
Step 1: Gather Materials:
Start by gathering the necessary materials for making fabric carrots. This typically includes fabric (bright orange for the carrot and green for the foliage), stuffing material (polyester fiberfill or cotton batting), scissors, a sewing machine or needle and thread, a pencil or fabric marking pen, a ruler, and optional embellishments like ribbons or felt leaves.
Step 2: Create a Carrot Template:
Draw or print a carrot shape on a piece of paper to use as a template. The size of the template will depend on your desired carrot size. Use a ruler to ensure precise measurements. Cut out the carrot shape and place it on top of the fabric.
Trace the template onto the fabric with a marker or tailor’s chalk. While tracing, make sure to place the template in different sections of the fabric for more variety. When finished, cut out the traced carrot shapes. Repeat this process until you have the desired amount of carrots.
Step 3: Prepare the Fabric:
Lay the orange fabric flat on a clean surface, ensuring there are no wrinkles or creases. Place the carrot template on the fabric and trace around it using a pencil or fabric marking pen. Repeat this step to trace the desired number of carrot shapes. Cut out the carrot shapes, making sure to leave a small seam allowance around the edges.
Step 4: Cut the Fabric:
Use sharp scissors to carefully cut along the traced lines, following the shape of the carrot template. Make clean and precise cuts to ensure accurate carrot shapes. When cutting, if the fabric begins to unravel, simply put a dab of fabric glue along the edges and press together. This will help ensure that your carrot ends up looking nice and professional.

Step 5: Sew the Fabric:
Take two fabric carrot pieces and place them together with the right sides facing each other. Pin the edges to secure them in place. Using a sewing machine or needle and thread, sew along the edges of the carrot, leaving a small opening at the top for stuffing.
Step 6: Turn the Carrot Right-Side Out:
Gently turn the fabric carrot right-side out through the small opening. Use a blunt tool, such as a chopstick or the rounded end of a pen, to push out the corners and ensure a smooth shape. Flip the edges of the opening inward so that all raw edges are enclosed, then stitch them together using a hand-sewing needle and thread.
Step 7: Stuff the Carrot:
Begin filling the fabric carrot with stuffing material. Start by adding small amounts of stuffing through the opening, gradually filling it up. Use your fingers or a small stick to push the stuffing evenly into the tip of the carrot.
To get a more uniform shape, adjust the stuffing as needed and make sure that all parts of the carrot are evenly stuffed. Once you’re happy with the shape, sew up the opening using a needle and thread.
Step 8: Shape the Carrot:
Once the carrot is filled, manipulate it with your hands to achieve a tapered and realistic shape. Gently squeeze and mold the fabric, paying attention to the wider base and tapering towards the top. You can also use a pencil or knitting needle to help shape the carrot.
Step 9: Close the Opening:
To close the opening, fold the raw edges of the fabric inward and hand stitch or use a sewing machine to sew it closed. Ensure the stitches are secure and hidden within the fabric to maintain a neat and finished appearance. However, if desired, a fabric glue can be used instead of stitching.
Step 10: Add Decorative Elements (Optional):
For a finishing touch, you can add decorative elements to the carrot. Cut small pieces of green fabric in the shape of carrot foliage and attach them to the top using glue or hand stitching. You can also tie a ribbon around the stem of the carrot for added flair.

If desired, you can also add small embellishments such as beads or buttons to the carrot for extra decoration. With these simple steps, your fabric carrots will be ready to add a bit of sunshine and whimsy to your décor!
Conclusion
After reading this article, it is safe to say that creating fabric carrots is a simple and fun process. From gathering supplies to making the final product, each step can be done quickly and with minimal effort.
Carrots are such a classic Springtime symbol—whether for Easter or beyond—so these darling little items are the perfect way to add some festive cheer to your garden, window boxes, mantels, and more.
With fabric carrots by your side, you can bring Easter into any corner of your home in style. Now that you know how to make fabric carrots the old-fashioned way, why not try making some of your own? You will be sure to enjoy celebrating Easter with these cute little creations!