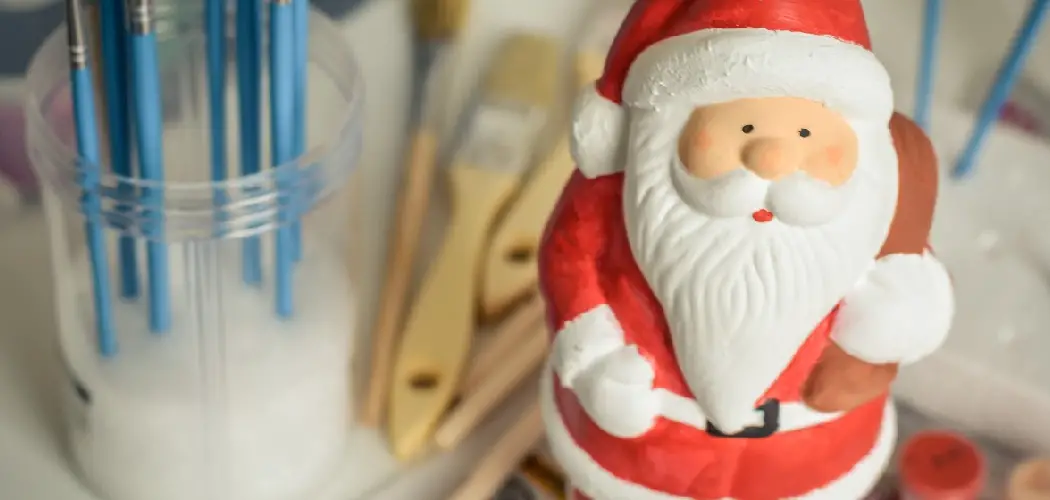
Transforming a plain clay Santa into a festive and personalized masterpiece is a delightful and creative endeavor that adds a unique touch to your holiday decorations. Painting clay Santas allows you to infuse your own style, colors, and personality into these charming figurines, making them stand out as cherished pieces in your seasonal decor.
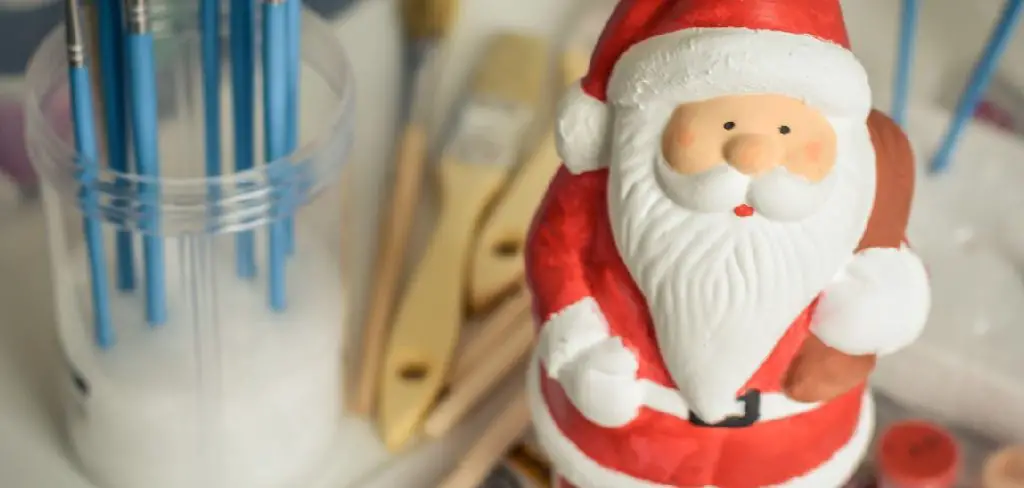
Whether you’re a seasoned artist or a beginner looking for a fun and rewarding project, this guide will walk you through the steps of how to paint clay santa. From choosing the right paint and brushes to exploring various techniques for detailing, we’ll provide the tips and tricks you need to bring your clay Santa to life. Get ready to unleash your artistic spirit, as we embark on a journey to turn ordinary clay figures into festive treasures that capture the joy and spirit of the holiday season.
Importance of Proper Painting Techniques for Achieving Desired Results
Mastering proper painting techniques is crucial when learning how to paint clay Santa, as it ensures the end result is both stunning and durable. Employing the right strokes and understanding the layering process can help you avoid common pitfalls such as smudging, uneven textures, and an unappealing finish.
Techniques such as dry brushing can bring out textures, while thin, even layers of paint help in building up a vibrant and consistent color without obscuring the details of your clay figurine. By honing these techniques, you gain the ability to translate your vision into a charming and colorful reality, transforming your clay Santa into a work of art that will shine in your holiday display.
Materials Needed for Painting Your Clay Santa
Before we delve into the painting process, you’ll need to gather all the necessary materials. Here’s a checklist of items that will help ensure a smooth and enjoyable painting experience:
- Clay Santa Figurine: A plain, unpainted clay figurine of Santa Claus.
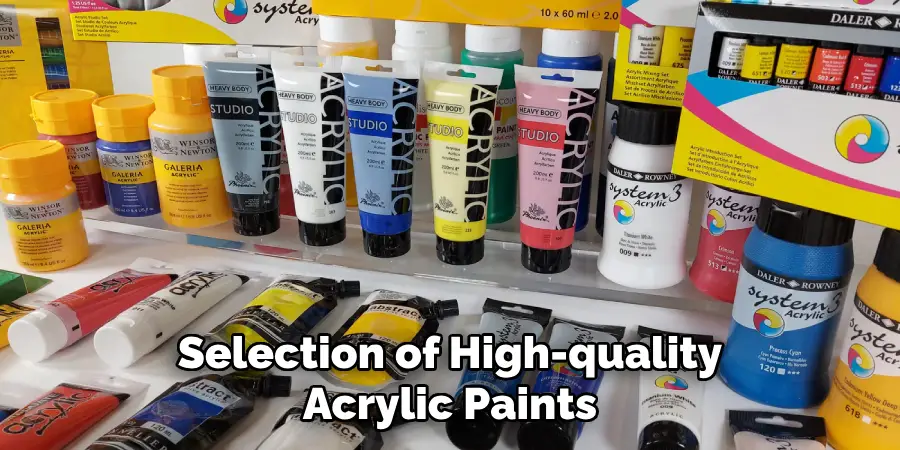
- Acrylic Paints: A selection of high-quality acrylic paints in various colors for base coats and detailing. Don’t forget traditional Santa colors such as red, white, black, and gold.
- Paint Brushes: An assortment of brushes in different sizes and shapes, including a fine-tip brush for details and a flat brush for broader strokes.
- Palette: A space to mix and blend your paints; could be a piece of disposable cardboard, a plastic tray, or a glass plate.
- Water Container: A small container for rinsing brushes between colors.
- Paper Towels or Cloths: For cleaning brushes and blotting excess paint.
- Clear Sealant: A spray or brush-on sealant to protect the finished paint job.
- Protective Covering: Newspaper, tablecloth, or plastic sheeting to protect your workspace from paint spills.
With these materials at hand, you’re ready to begin the process of transforming your clay figurine into a festive, painted Clay Santa.
Choosing Colors and Design for Your Clay Santa
Selecting the right colors and design is a vital step when you’re determined to learn how to paint clay Santa. Begin by envisioning your finished Santa Claus. Do you want a traditional look with signature reds and whites, or are you aiming for something more unconventional, perhaps with unique patterns or a theme?
Consider the color scheme carefully, as it will set the tone for your figurine. Classic holiday colors are always a safe choice, but don’t shy away from adding personal touches with non-traditional hues if it reflects your style. You could use metallic paints for a touch of sparkle, or matte finishes for a more understated look.
When it comes to design, think about the finer details that will bring character to your Santa. Will you paint intricate designs on his coat, or keep it simple with solid colors? How will you highlight the texture of his beard and hair? Sketching your ideas on paper can be a helpful way to visualize the final result before even picking up your brush.
10 Methods How to Paint Clay Santa
1. Choosing the Right Type of Clay
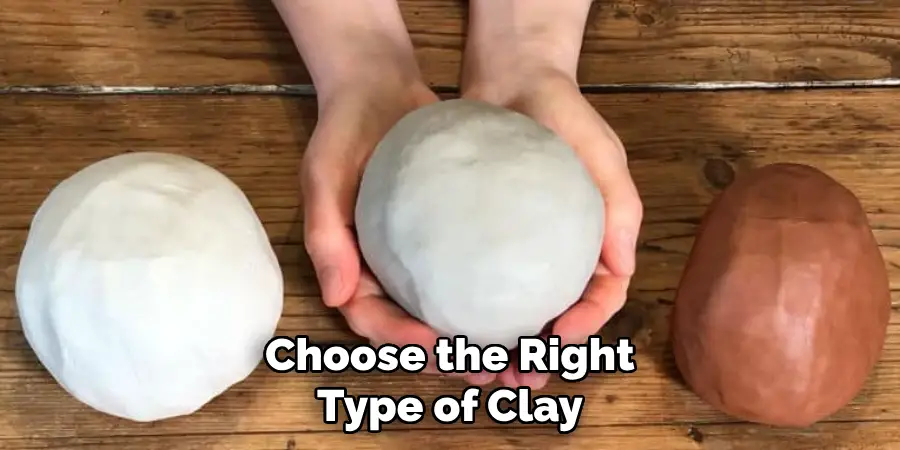
The first step to painting a clay Santa is to choose the right type of clay. There are different types of clay available, such as air-dry clay, polymer clay, and traditional ceramic clay. Each type has its own unique properties and will require different painting techniques.
2. Preparing the Surface
Before painting, it’s important to prepare the surface of the clay Santa. If using air-dry or polymer clay, make sure it is completely dry before painting. For traditional ceramic clay, it must be fired in a kiln before painting can begin.
3. Choosing Paint Colors
When selecting paint colors for your Santa, consider using acrylic paints as they adhere well to all types of clay. You can also mix colors to create custom shades for your Santa’s skin tone, clothing, and accessories.
4. Using a Base Coat
Applying a base coat of white or light-colored paint can help create a smooth surface for the rest of your paint layers. This is especially helpful if you’re using darker colors on your Santa.
5. Painting Facial Features
To give your Santa character and personality, carefully paint on facial features such as eyes, nose, mouth, and rosy cheeks. Use small brushes for precision and take your time to ensure each feature is symmetrical.
6. Adding Details with Shading and Highlights
Using darker shades of paint can add depth and dimension to your Santa’s features and clothing. Similarly, using lighter shades for highlights can make certain areas stand out more.
7. Creating Texture
To make your Santa look more realistic, consider adding texture with techniques like dry brushing or stippling. This can be done with a small brush dipped in paint and then dabbed onto the desired area.
8. Adding Details with Accessories

If you want to add extra details to your Santa’s outfit or accessories, consider using small embellishments like beads or glitter glue. These can add a touch of sparkle and make your Santa stand out.
9. Sealing the Paint
Once you’re happy with the painted design, seal it with a clear coat to protect it from chipping or fading. You can use a spray or brush-on sealant, just make sure it is compatible with your chosen type of clay.
10. Displaying and Caring for Your Finished Santa
After completing all the steps, display your beautifully painted clay Santa in a place where it can be admired. To keep it looking its best, avoid placing it in direct sunlight and handle it gently when moving or cleaning.
Painting Techniques for Your Clay Santa
Utilizing the right painting techniques is essential to achieve a professional finish when learning how to paint clay Santa. Use thin layers of paint and allow each to completely dry before applying the next; this prevents colors from bleeding into each other and also helps in building up a solid, opaque color coverage. Start with broader areas and work your way to the finer details.
For blending, the ‘wet-on-wet’ technique can be very effective, where you blend two wet paint colors on the clay surface for a smooth transition.
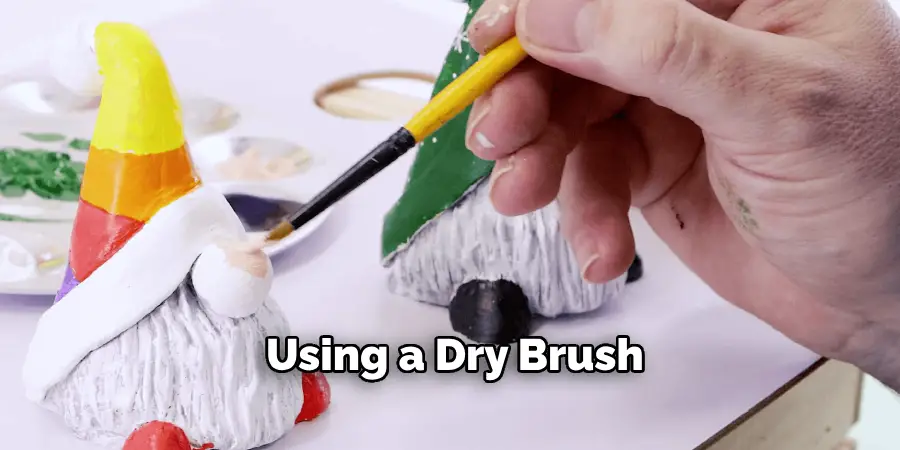
Another valuable technique is ‘dry brushing’, which involves using a dry brush with a minimal amount of paint to lightly apply color, creating a textured effect that is perfect for Santa’s beard and hair. For detailed patterns or lines, a ‘liner’ brush works well to maintain control and precision. Additionally, using a ‘dotting tool’ or the tip of a back of a brush can create perfect polka dots or eyes.
Drying and Sealing Your Painted Clay Santa
Proper drying and sealing are crucial final steps when you master how to paint clay Santa. After painstakingly applying each layer of paint, ensure that every coat has dried thoroughly. This could take several hours to a full day, depending on the thickness of the paint and the humidity level of your environment. Rushing this step can result in smudges or the blending of colors where it’s not intended.
Once completely dry, it’s time to seal your creation. This will add a layer of protection against wear and tear and help maintain the vibrance of the colors over time. Select a sealant that is appropriate for the type of paint and clay you’ve used. For polymer clay, a polyurethane varnish is a good option, while an acrylic sealer works well for air-dry clay. Apply the sealant in thin, even coats to avoid drips or bubbles. If using a brush-on sealer, apply with smooth, long strokes to minimize brush marks.
Conclusion
In conclusion, painting clay Santas can be a fun and creative way to get into the holiday spirit. From choosing the perfect clay Santa to adding intricate details and using different techniques to bring him to life, there is so much room for creativity and personalization with this project. Whether you are a seasoned painter or just starting out, this is a great activity for all skill levels and ages. And don’t forget, you can also use these same techniques to paint other holiday figurines such as snowmen or reindeer.
So gather your materials, put on some festive music, and let your imagination run wild as you bring your very own clay Santa to life. Hopefully, this article gave you some helpful tips about how to paint clay santa successfully, so now that you have the proper knowledge on how to get the job done, why not give it a try today?

