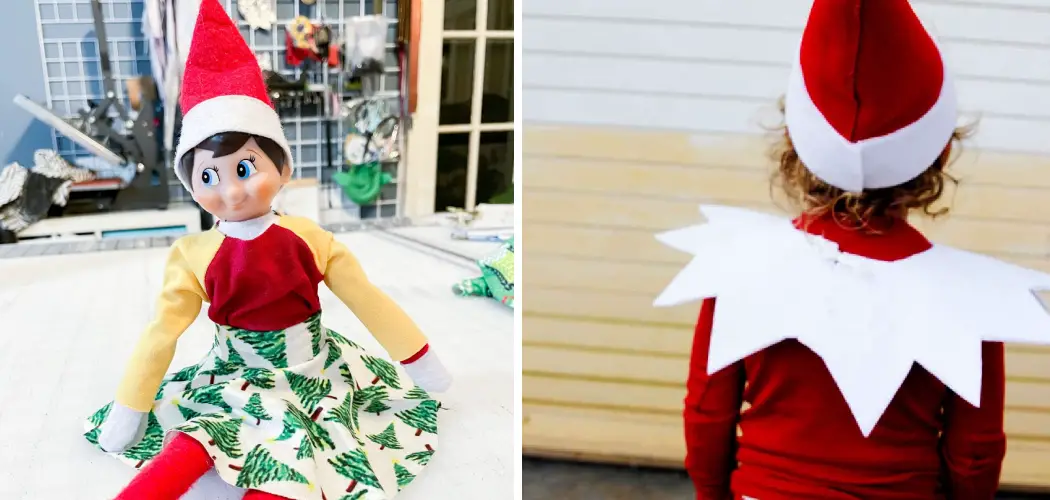
Are you looking for something festive and unique to make this holiday season? Look no further! With a few simple sewing skills, some felt fabric, and just an hour of your time, you can create custom clothes for your very own elf.
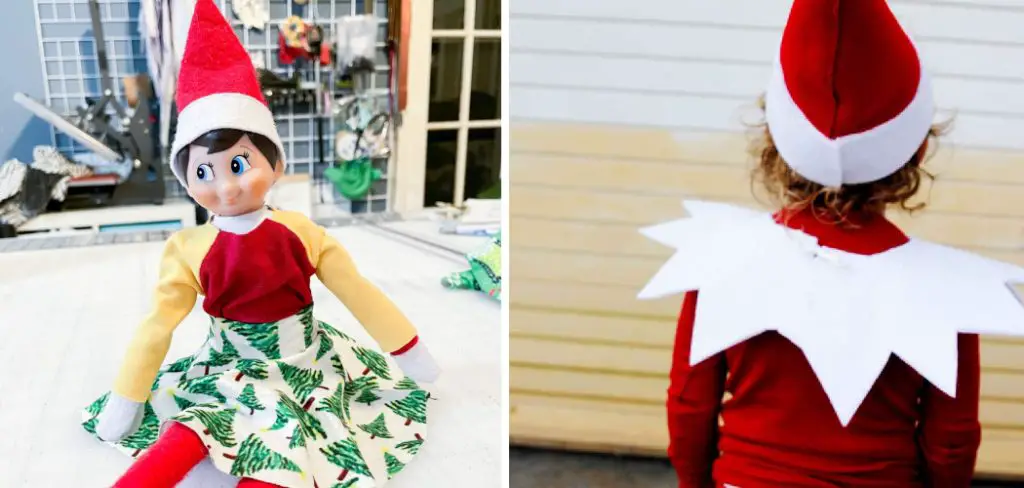
This fun DIY project allows you to be creative while crafting something special that is sure to bring Christmas cheer into any room — all while having fun in the process. Keep reading on how to make elf clothes f you’re ready to learn how you can make your own elf clothing in three easy steps!
Needed Materials
Given below is a list of all the materials you will need to complete this project:
- Felt Fabric
- Sewing Machine and Thread
- Embellishments Such as Ribbons, Buttons, Etc. (Optional)
- Scissors
- Hot Glue Gun (Optional)
- Needle and Thread (for Hand Sewing)
10 Step-by-step Instructions on How to Make Elf Clothes
Step 1: Measure the Clothes
Measure around the chest, waist, and hips to determine the size of fabric pieces needed. It is important to keep in mind that elves are typically quite slim, so you may need to adjust the measurements accordingly. You will also need to measure the length of the legs, arms, and sleeves. This will help you to determine the size of fabric pieces needed for each body part.
Step 2: Cut the Fabric Pieces
Cut out the pieces of fabric for the shirt and pants using a pair of scissors. Make sure they are symmetrical, as this will make sewing them together easier. It is important to note that the fabric pieces should be slightly larger than the measurements taken in step one.
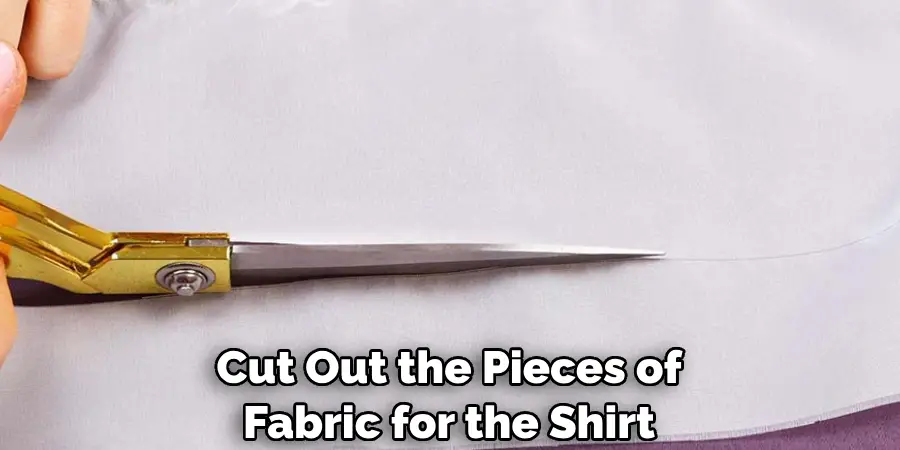
This will allow for a comfortable fit and easy sewing. It is also important to make sure the fabric pieces are cut on the fold so that you will not have to sew a seam down the middle when assembling the clothes.
Step 3: Sew Seams
Use a sewing machine to sew seams along the edges of each piece. This will create a neater, more professional look for your clothes. This step is also important for giving the fabric extra stability and preventing it from fraying. It is important to note that if you are using a sewing machine, you will need to use thread that matches the color of your fabric.
It is also recommended to use a zigzag stitch to give the seams extra durability. But if you don’t have a sewing machine, you can also hand sew the seams using a needle and thread.
Step 4: Hem the Edges
Hem each edge by folding it over and then stitching it down. This will help prevent fraying and keep your clothes looking neat. This step is also important for giving the clothes a professional finish. It is recommended to use a zigzag stitch when hemming the edges as this will make it more durable.
This step can also be done by hand if you don’t have access to a sewing machine. This step is optional, but it does give your clothes a more polished look. You can also use pinking shears to give the edges a more finished look.
Step 5: Add Embellishments (Optional)
Add any embellishments you’d like such as buttons, ribbons, or embroidery. This step is optional but can add visual interest to your clothing. It is important to note that if you are using a sewing machine, you will need to use thread that matches the color of your fabric.
If you don’t have a sewing machine, you can also use hot glue to attach the embellishments. This step is completely up to you and can make your clothes look even more festive and unique. It’s also a great way to show off your creative skills. This step is completely optional.
Step 6: Sew the Pieces Together
Line up the pieces and sew them together with a sewing machine. Make sure to sew in the same direction on each side for an even look. This step is also important for giving the clothes extra stability and preventing them from fraying.
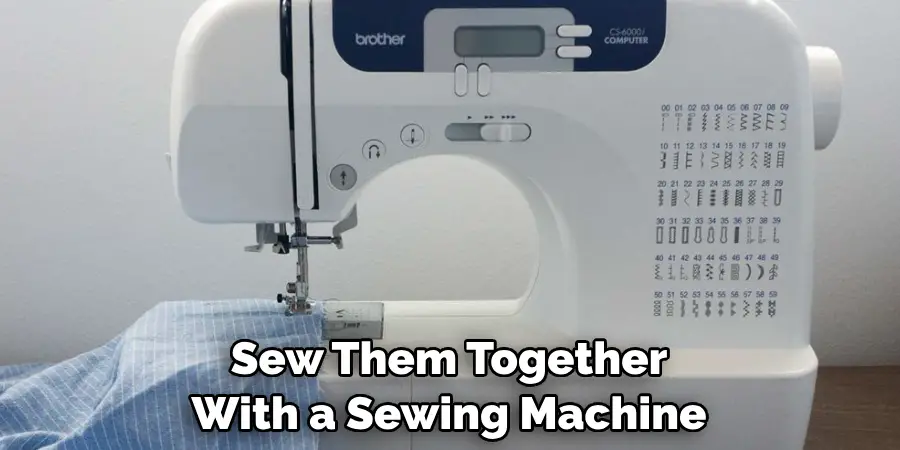
If you don’t have access to a sewing machine, you can hand stitch the pieces together using a needle and thread. However, it is not recommended as the stitches will be less durable than those made with a machine.
Step 7: Attach Sleeves (Optional)
If desired, add sleeves to your shirt by cutting out two additional pieces of fabric and then sewing them onto either side of the shirt using a sewing machine. It is important to note that the sleeves should be slightly larger than the measurements taken in step one so they are not too tight.
This step is optional, but it is recommended for a more polished look. If you don’t have access to a sewing machine, you can also hand-sew the sleeves using a needle and thread. Although this will take longer, it will still give your clothes a professional finish.
Step 8: Create a Hat (Optional)
Create a hat for your elf if desired. To do this, cut out two circles from felt fabric and hot glue them together at the edges. Then add embellishments like ribbons or buttons for decoration. This step is completely optional. It is an easy way to make your elf’s outfit look even more unique.
But if you don’t have access to a hot glue gun, you can also sew the circles together using a sewing machine or hand needle and thread. You could also purchase a pre-made hat if you prefer.
Step 9: Attach Accessories
Attach any accessories you’d like to your clothes such as suspenders, shoes, socks, etc. These can be made from felt fabric or purchased at a craft store. It is important to note that you will need to attach the accessories with either a sewing machine or hand needle and thread for extra durability.
If you don’t have access to either of these tools, then you can also use hot glue. This step is completely up to you and can make your clothes look even more festive and unique.
Step 10: Enjoy!
Your elf is now ready to rock the holiday season in style! Show off your new creation and enjoy the compliments it will surely receive. You can even use it to decorate your home for Christmas! It’s a great way to add a unique, handmade touch to your holiday decorations.
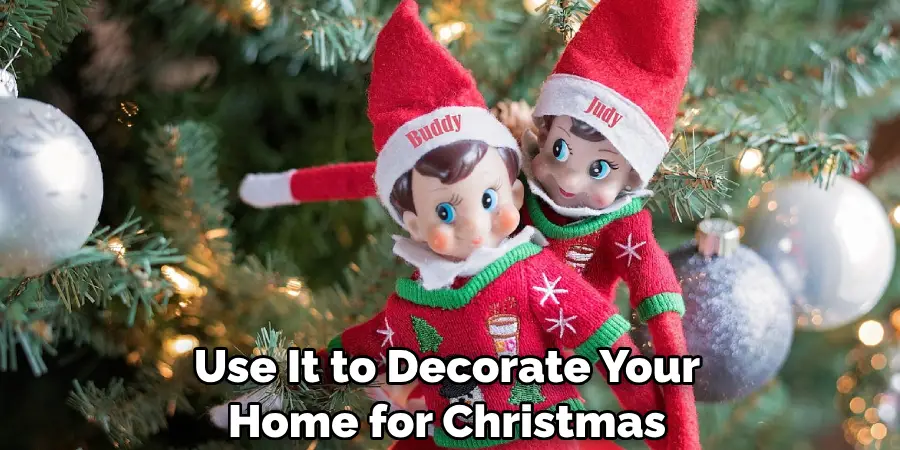
Always remember to have fun while creating your elf’s wardrobe! But most importantly, have fun! It’s a great way to express your creativity and let your imagination run wild. Enjoy!
With these easy instructions on how to make elf clothes, you can create one-of-a-kind clothing pieces that are sure to impress all of your friends and family this holiday season. Have fun crafting!
Frequently Asked Questions
Q: What Type of Fabric Should I Use for My Elf Clothes?
A: Felt fabric is the best choice for this project as it is easy to work with and produces a professional-looking finished product. It is also available in a variety of colors and patterns, so you can customize your clothing to match any holiday décor.
Q: Can I Hand Sew My Elf Clothes?
A: Yes, you can hand-sew your elf clothes if desired. However, this will take longer than using a sewing machine. It is recommended to use a machine if possible for best results. This will also help to ensure all seams are even and secure.
Q: What Kind of Embellishments Can I Add to My Elf Clothes?
A: You can add any embellishments you’d like such as buttons, ribbons, or embroidery. Use your imagination and have fun! It is also possible to purchase pre-made elf accessories such as shoes, hats, and suspenders at a craft store.
Q: How Long Does It Take to Make Elf Clothes?
A: This project can be completed in about an hour. If you’d like to add extra embellishments or accessories, it may take longer. But overall, it is a fun and easy project that will add some holiday cheer to your home.

Conclusion
Making your own elf clothes is an enjoyable project that you can do with your family or by yourself. The possibilities are endless when it comes to creating DIY elf costumes so let your imagination run wild and have fun!
You can purchase fabric from any fabric store in various colors and patterns, or visit a thrift store for some vintage pieces. No matter what you choose, you’ll be on your way to making something unique and special.
Whether you’re dressing up for a themed party, just having some fun in the holiday season, or using these ensembles for a play or production, you’ll be sure to feel the Christmas cheer with an elf costume of your own making. So pull out those glittery felt sheets and those glue guns, and start creating! Have fun and happy crafting! Thanks for reading this article on how to make elf clothes
.

