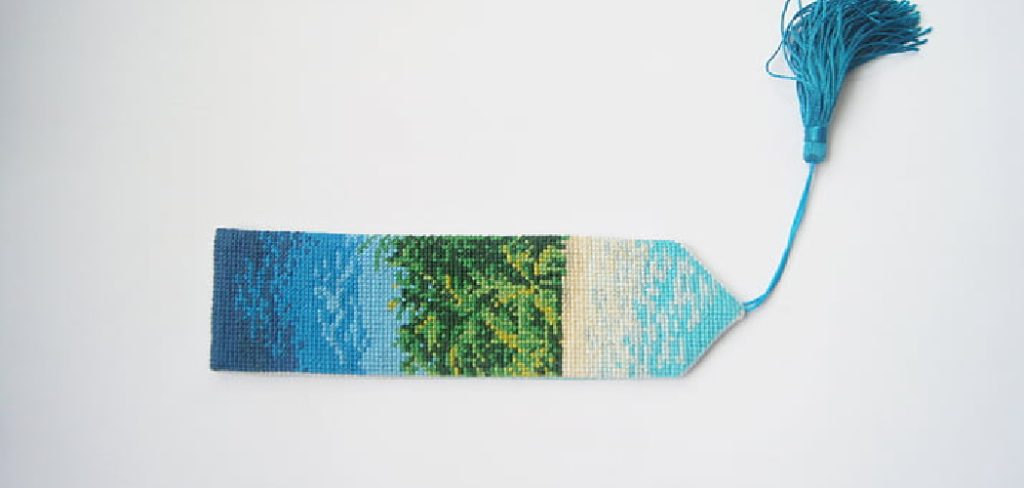
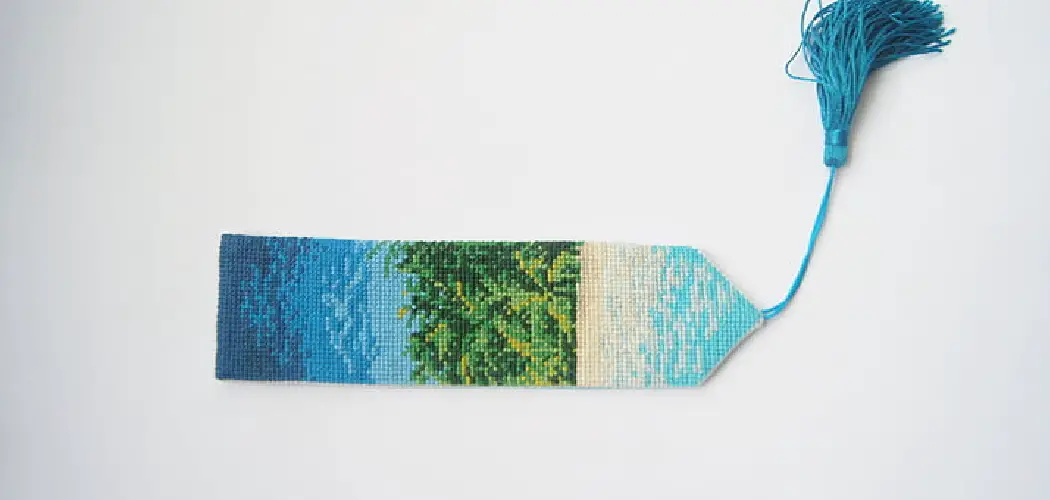
Are you someone who loves creating beautiful cross-stitch items? Whether it’s a bookmark or an item used to decorate other items, making sure your work is perfectly firm can be tricky.

Cross stitch bookmarking is a creative way to express your love of stitching and the craft of making something beautiful! It’s not just a great way to capture memories, but it can also be used to decorate notebooks, planners, or other items you use on a daily basis.
If you’re looking for an easy project that will leave you with an end product that looks polished and professionalized – cross stitch bookmarking is a perfect choice! But if you want your finished item to look even more refined, there are some steps to take in order to make sure your design isn’t too floppy once it’s complete.Keep reading for our tips on how to make cross stitch bookmark stiff!
What Will You Need?
- A stiffening solution of your choice
- A spray bottle or brush
- Your finished cross stitch bookmark (pre-washed)
- Disposable gloves if using a chemical based stiffener
Once you have all the materials, it’s time to get started!
10 Easy Steps on How to Make Cross Stitch Bookmark Stiff
Step 1: Preparing Your Stiffening Solution
Your first step is to prepare your stiffening solution. A great choice for this project is a mixture of equal parts fabric starch and water. This will give your finished item a stiffness that won’t look artificial or overly stiff. If you’re not a fan of the smell or texture of fabric starch, there are other stiffening solutions that you can use, such as diluted glue, gelatine, or even specialized spray-on stiffeners.

Step 2: Apply Your Stiffening Solution
Once you have your solution ready, it’s time to apply it to your finished cross stitch bookmark.
You can apply it using either a brush or a spray bottle – whichever works best for you and the size of your item! Start by brushing or spraying the solution onto one side of your bookmark before flipping it over and repeating the same process on the other side. Make sure to apply an even coat all over so that every part of your design is covered in the solution.
Step 3: Allow Time for Drying
Once you’ve finished applying your stiffening solution, it’s time to leave it to dry. Depending on how much of the solution you used, this could take anywhere from a few hours to a few days. Make sure that the area you are drying your bookmark in is well ventilated – ideally outside or near an open window – as some solutions may emit strong smells when drying.
Step 4: Carefully Iron (Optional)
If desired, you can give your cross stitch bookmark extra stiffness by ironing it with low heat and gentle pressure. This should be done carefully and with caution, as too much heat could damage the fibers of your fabric and cause it to shrink or fade. Be careful not to over-iron, as this may cause the fibers of your fabric to get stiff and brittle.
Step 5: Check for Stiffness
Once you’ve given your bookmark some time to dry, it’s time to check how stiff it is. Carefully pinch each side of your item between two fingers and see how much movement there is – if there isn’t much give, then you know that your bookmark has reached the desired stiffness level! If it feels too soft – apply a few more coats of stiffener and try again.
Step 6. Keep Storing Properly
Once your cross stitch bookmark is complete, it’s important to store it properly so that the stiffness doesn’t wear off over time. Avoid storing it in direct sunlight or wet areas, as this can cause the fibers of your fabric to weaken and become less stiff. Instead, you should keep your item in a dry area with good air circulation, such as a drawer or cupboard.
Step 7. Use a Ribbon (Optional)
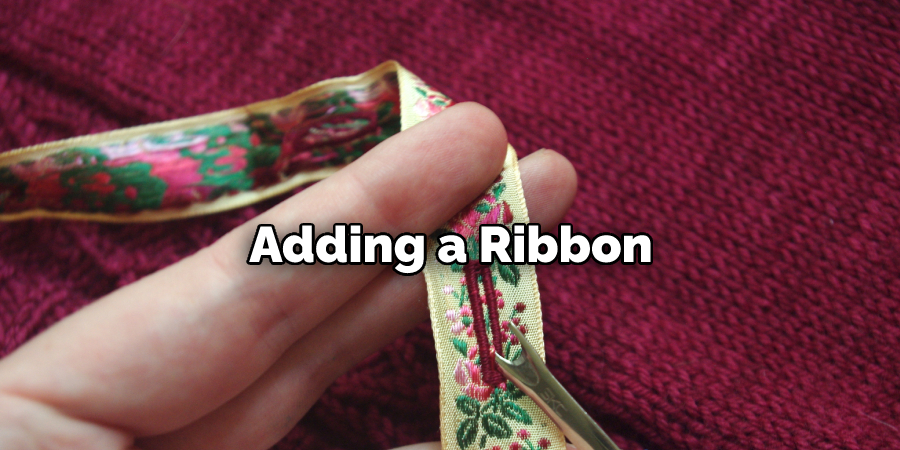
If you want to add a little extra stiffness to your bookmark, try adding a ribbon at the top and bottom – this will help keep your item’s shape when in use. You can find various ribbons in most craft stores or online. Additionally, it can also work as a great decorative accent to your item.

Step 8. Add Embellishments (Optional)
Want to give your bookmark an even more professional finish? Try adding some embellishments such as sequins, beads, or buttons – just make sure they’re securely attached, so they don’t fall off! This can be done either by hand stitching or using fabric glue.
Step 9: Present Your Bookmark
Your cross stitch bookmark is now ready to be presented and used! You could present it in a card or gift box for the perfect finishing touch – you can find lots of these online or in craft stores. Alternatively, why not frame your bookmark for a unique display piece? Remember to keep it in a dry, well-ventilated area when not used.
Step 10. Maintain Your Bookmark
Last but not least, make sure to take care of your bookmark to ensure that it stays in good condition. The stiffening solution you used should protect the fibers of your fabric from fraying or fading – however, it’s best to keep it away from water and direct sunlight as much as possible. You can also spot clean or dust any dirt or dust off with a soft cloth if needed.
Following these steps will help you create a beautiful cross stitch bookmark that is both sturdy and long-lasting! Good luck with your project!
You Can Check It Out to Weave in Ends While Knitting
5 Additional Tips and Tricks
1. Ironing: Once your bookmark is finished and you’ve cut away the excess fabric, you can iron it on a low heat setting to make it stiffer. This will help keep the stitching in place and even out any bumps or folds that have occurred during the process.
2. Starch: For an extra stiff result, spray starch can give your cross stitch bookmark a little extra body. Just be sure to cover the entire surface of the bookmark and allow it to dry before using or storing it.
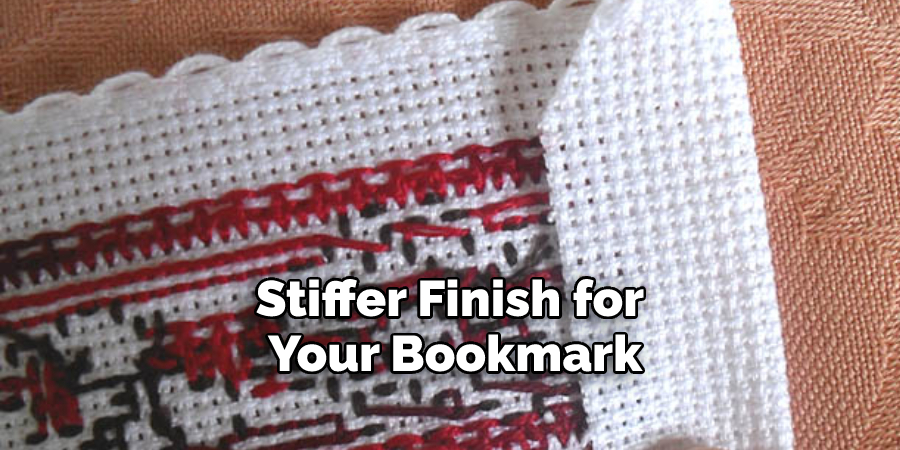
3. Cardboard: If you want an even stiffer finish for your bookmark, try inserting a piece of cardboard in between the fabric and the backing. This will help keep it from bending or curling over time.

4. Felt: Another great way to add stiffness to your cross stitch bookmark is by adding a layer of felt on the backside. Not only will this make it firmer, but it’ll also protect the stitching from fraying over time.
5. Glue: A quick and easy way to make your bookmark stiff is by gluing it together with fabric glue or a spray adhesive. Just be sure to allow the glue to dry completely before using or storing your bookmark.
By following these simple tips, you’ll be able to create a cross stitch bookmark that’s stiff, durable, and ready to be enjoyed for years to come. Good luck!
5 Things You Should Avoid
- Don’t use a thin bookmark backing. If the fabric is too thin, it won’t provide enough stiffness to your cross stitch project.
- Don’t use a large needle and thread for the backstitch on your bookmark. This will make the stitches lose and will prevent your bookmark from staying stiff.
- Don’t overstitch or pull the fabric too tight when stitching the bookmark. This can cause rips or tears in the material and will prevent it from staying stiff.
- Don’t use a low-quality thread for your bookmark. Low-quality thread is more likely to break, which can cause your stitches to become loose and not stay stiff.
- Don’t leave strands of yarn on the backside of your bookmark when you finish stitching. These strands can make it difficult for the bookmark to stay stiff, so be sure to cut them off with scissors before you complete your project.

By following these tips, you should have no problem creating a stiff, professional-looking cross stitch bookmark that will surely last for many years.
Conclusion
Making a cross stitch bookmark stiff is a process that can be completed with a few simple steps. With the help of some crafting materials, you can turn your cross stitch bookmark into a sturdy and long-lasting piece.
Follow these easy steps, and you’ll have a cross stitch bookmark that will be nice and stiff. This is great because it means your book pages won’t get wrinkled. Use whatever pattern you like, or follow the tutorial to create a simple but pretty design. Once you’ve stitched your bookmark, finish it with batting and fabric glue and let it dry overnight. In the morning, your bookmark will be all set to use!
Hopefully, the article on how to make cross stitch bookmark stiff was useful and helpful for your project. With the right resources, this book-saving tool can be a great addition to your library. Have fun, and enjoy crafting! Good luck!
You Can Check It Out to Knit the Bobble Stitch


