
Are you ready to get creative and try your hand at making something unique and gorgeous? Are you looking for a creative way to decorate the walls in your home? Whether you’re a beginner just starting out in the jewelry-making game or an experienced crafter looking for another challenge, this step-by-step guide will walk you through every part of crafting your own beaded stars.

If so, learning how to make beaded stars is the perfect project for you! Not only are they simple and quick to create, but these sparkling creations can become stunning decorations or meaningful gifts. Read on if you’re interested in taking your DIYing skills up a notch and making something truly unique!
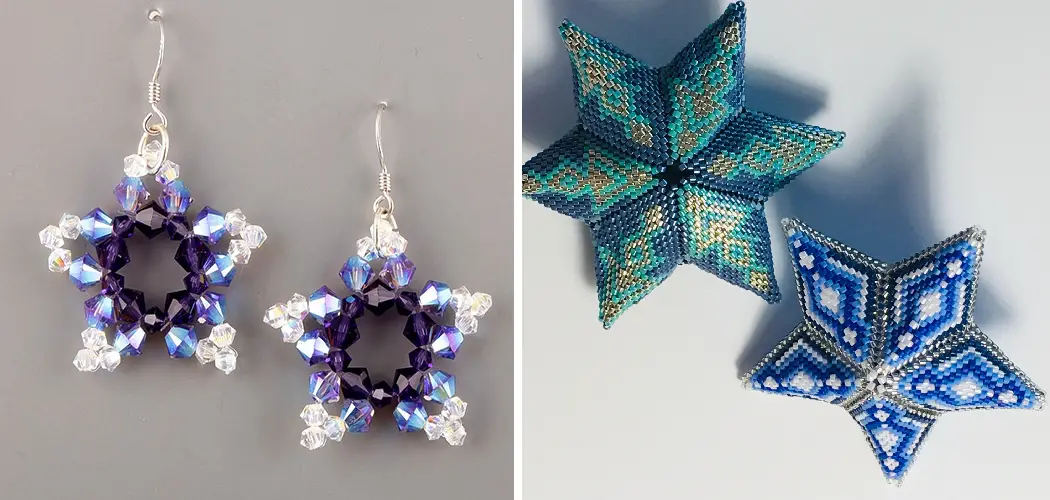
Things to Remember While Making Beaded Stars
- There are lots of different techniques used to make beaded stars. Consider what kind of look you want for your finished product when choosing a technique!
- You’ll need some basic tools and supplies like wire cutters, jewelry pliers, jump rings, and colored beads. Also, make sure to use the right type of wire for your project.
- Planning is essential! Before you start crafting, map out a design plan to ensure that each step of the process goes smoothly. Also, keep some extra supplies on hand in case you need to make any adjustments.
- Quality counts! The finished product should be as neat and polished as possible. Use jewelry pliers to help you securely attach the components of your design.
- Have fun with it! There’s no right or wrong way to design your stars – let your creativity shine through.
Required Items for Crafting Beaded Stars
Before you begin your beaded star-making adventure, make sure that you have the following items on hand:
- Beads of your choice
- Jewelry wire (preferably in a metal color to match the beads)
- Wire cutters
- Flat nose pliers
- A ruler
- A star template (you can find printable ones online)

5 Steps on How to Make Beaded Stars
Step 1: Preparing Your Template
Using your ruler and the star template, trace out five stars onto a piece of cardboard or heavy paper. Make sure that each star is roughly the same size. Once you have finished tracing, cut out all five stars.
Step 2: Stringing Beads Together
Start by using your wire cutters to snip off a length of jewelry wire. Then, use the flat-nose pliers to make a loop at one end of the wire. This will be where you attach the beads for each star point. Now, it’s time to start adding the beads! Thread them onto the wire until you have reached about 1.5 inches from the end. Then, cut off any extra wire and make another loop at the other end.
Step 3: Assembling Your Stars
Place one of your stars on a hard surface, such as a cutting board or countertop. Take your beaded wire and start threading it through the holes in the star. Make sure that you are pushing the beads right up to the edge of the star; this will help make your stars look even more beautiful once you’re finished.
Once all five points have been connected, use your flat nose pliers to clamp them tightly together.

Step 4: Connecting Your Stars
Now, take your second star and connect it to the first one. Start by taking a length of jewelry wire and looping one end onto one of the points on the first star. Then, thread that same wire through each point on both stars. Once all five points have been connected, use your flat-nose pliers to clamp them tightly together. If you want, you can also add more beads in between the two stars for a more unique look.
Step 5: Finish Up
Continue connecting your stars until all five have been connected into one big star shape. Once all of the connections are secure, you can finish up by using a bit of jewelry wire to connect the last two points together. To finish, cut off any excess wire and use your pliers to make sure that everything is secure.
And there you have it! You’ve just created a beautiful beaded star all on your own. Now you can hang it up as a decoration, give it away as a thoughtful gift, or even add it to a piece of jewelry.
No matter what you choose to do with your beaded star, we hope that you had fun while making it and that you’ll go on to make many more! With this guide in hand, the possibilities are endless. So get creative and have fun with it!
8 Common Mistakes to Avoid
Making beaded stars can seem like a daunting task—but it doesn’t have to be! Whether you’re a crafty novice or an experienced enthusiast, there are some common mistakes that should be avoided when making these unique and beautiful decorations. Here are 8 of the most frequent errors associated with making beaded stars:

- Not using enough beads. Using too few beads can make your star look unfinished, so be sure to use an adequate number of beads when constructing your star.
- Not using the right kind of thread. Using the wrong type of thread can weaken the overall structure and even cause it to unravel eventually! Be sure to select a strong yet flexible thread that won’t break or become frayed.
- Not measuring twice, cutting once. Make sure to measure the length of your thread before you start so that all of the strands are equal in size when finished. If you don’t do this step, your star could end up looking lopsided.
- Using too much glue. When applying glue to secure the ends of each strand, don’t use too much! Too much glue can prevent the strands from lying flat and give your star an uneven look.
- Not using the right kind of beads. Choosing a bead size that is too small will make your star lack dimension while using large beads can make it look bulky. Be sure to select beads with just the right size for the desired effect.
- Making the strands too long or too short. If your strands are too long, it can cause gaps in between the beads and make your star look incomplete. On the other hand, if they’re too short, they won’t have enough give when you go to connect them together.
- Not evenly spacing out the beads. It’s important to space out the beads evenly when creating your star in order for it to look symmetrical and balanced. If you’re having trouble, try using a template or pattern to guide you.
- Not taking the time to secure the strands. Taking extra time to firmly secure each strand is key for making sure that your star holds together! After all, what’s the point of making a beautiful beaded star if it’s going to fall apart soon after?
If you keep these 8 tips in mind when making your beaded stars, you’ll be sure to create something unique and stunning! And don’t forget to have fun—after all, that’s what crafting is all about.
5 Tips for Creating Unique and Eye-Catching Beaded Stars
Now that you know how to avoid making common mistakes, here are a few ideas for creating beaded stars that stand out from the rest!

- Choose beads with an interesting texture or pattern. This will add visual interest to your star and make it truly unique. Keep in mind that certain textures or patterns might require more glue to stay in place.
- Mix and match different colors of beads for a kaleidoscopic effect. You can create an ombre look by using lighter shades of the same color or use hues of contrasting colors to make your beaded star really stand out!
- Add a unique charm or pendant to the center of your star for an eye-catching centerpiece. Choose something that reflects your style and personality, like a heart-shaped charm or an animal figurine.
- Embellish your star with glitter or sequins. This adds a touch of sparkle and glamour to your beaded stars and makes them even more unique.
- Use vintage beads for an antique look. Incorporating vintage beads into your design will give it an old-world charm that is sure to please!
Creating unique and beautiful beaded stars is a great way to show off your creativity. Whether you’re making them for a special occasion or just for fun, these tips will help you make the most of this craft!
Conclusion
Making beaded stars can be a wonderfully creative activity, allowing your artistic side to shine. With a few simple tools and a bit of craftsmanship, you can create gorgeous stars with beads that will spruce up any room in your home. Not only do they look beautiful, but creating such works of art can also help boost mental clarity and focus.
Once you master the basics of how to make beaded stars, the possibilities are virtually endless. You can experiment with shapes, colors, and sizes to come up with all sorts of star designs. So get ready to tap into your inner creativity and start crafting beautiful stars out of beads!