
Do you love crafting and want to find a fun activity for the whole family? Making big paper stars is an engaging and simple craft that kids of all ages can enjoy. With just a few supplies, this project can easily be tailored to your tastes—pick any color or patterned paper you’d like, cut out shapes in any size, and experiment with different designs!
Whether it’s for holiday decorations, room decor, party decorations, or simply something fun to do together as a family, making big paper stars is sure to bring smiles all around. Read on for full instructions so you can learn how to make a big paper star!
How Difficult Is It to Make a Big Paper Star?
Making a big paper star is not as difficult as it may seem. With the right tools and a bit of patience, anyone can make a beautiful star with ease. The tools needed are simple: scissors, craft glue, and five sheets of paper in your desired color. After cutting all five pieces of paper into five equal-sized strips, you will need to fold each strip in half and then again in half until the entire piece forms an “X” shape.
Next, take one of the folded strips and stand it up on its end so that it resembles a triangle. Apply glue to two adjoining sides and stick them together; this is now the first point of your star. Repeat this process four more times to form the remaining five points of your star. Once all points are connected, trim any excess paper from around the edges, and your big paper star is now complete!
With the proper tools and a bit of patience, making a big paper star is relatively easy. Its simplicity makes it an ideal craft project for children and adults alike, so why not give it a go today? Have fun creating your own beautiful stars! Additionally, with the help of a few embellishments or decorations, you can make your star even more unique and special!
The most important thing to remember when making a big paper star is to take your time and be patient. With the right tools and a bit of creativity, anyone can create their own beautiful stars in no time! So why not give it a try today? You’ll be amazed at how easy it is to make a big paper star!
10 Steps How to Make a Big Paper Star
1. Choose your Paper.
You can use any type of paper you like for your star, but construction paper or cardstock will be the easiest to work with. Avoid using tissue paper, as it will be too flimsy. If you want a more vibrant star, choose several colors of paper.
Once you’ve chosen your paper, cut it into strips. For a large star, use 11 strips that are 1 inch wide and 12 inches long. For a smaller star, use five strips that are 1/2 inch wide and 6 inches long. Try to make the strips as even in length and width as possible.
2. Cut Out a Star Shape from Your Paper.
Use a ruler and a pencil to draw a star shape onto your paper, then cut it out with scissors. Make sure that all of the points of the star are equal in size. You can trace a star shape onto your paper if you prefer. If you want to make a big paper star, draw the star with a larger size.
To create a symmetrical star, fold your paper in half and draw one side of the star shape, then cut out both pieces at once. Try to use thicker paper, such as cardstock or construction paper, to make a larger star.
3. Fold the Star in Half.
Fold the star in half so that two of the points touch each other. Unfold the star and then fold it in half again in the opposite direction so that two different pairs of points touch each other. Unfold the star once more. Though it may not look like it, the star is now divided into four equal sections.
Once the star is divided into four sections, you can start to make the folds for each of the points. Take two opposite points and fold them together as shown in the picture. Be sure to fold at a slight angle–you want your points to be slightly curved, not flat! Make sure that your folds are even and symmetrical. Unfold the star once more.
4. Make a Crease at Each Point of the Star.
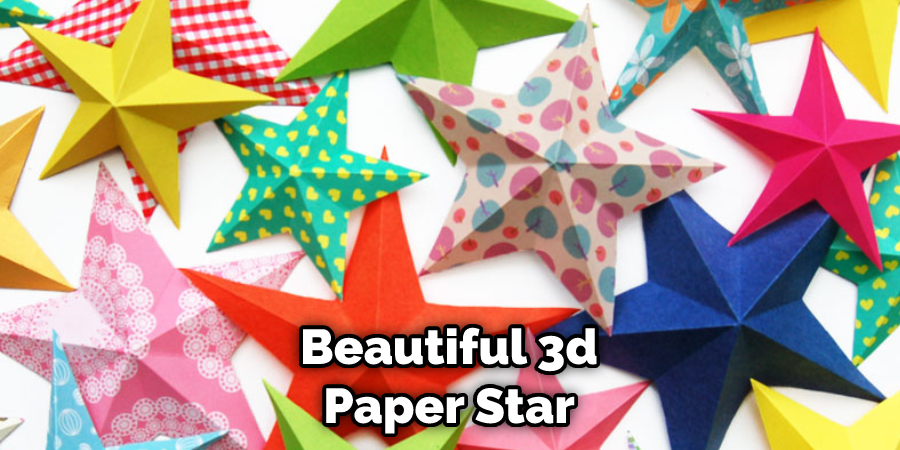
Starting at one end of the folded star, make a small crease in one of the points. Continue making creases in each point until you reach the end of the star. This is an important step that helps make the star look more 3-dimensional and gives it extra stability.
If you want, you can fold the corners of each point inward slightly to give your star a more finished look. However, this step is optional. Make sure the creases are not too deep or too tight, as this might damage the star.
5. Unfold the Star and Flatten the Creases.
Unfold the star, and then use your fingers to flatten out all of the creases that you made. The star should now be significantly thinner than it was before. You may want to use a light touch of glue to make the star more sturdy, but this is optional.
To complete the star, you can use scissors to trim off any extra pieces of paper. While a big paper star looks nice and hangs nicely, smaller stars are more manageable to pick up and move. Additionally, the smaller stars are more suited for adding decorations, such as glitter or stickers.
6. Fold up Every Other Point of the Star.
Fold up every other point of the star so that they stand upright, then unfold them halfway so that they form a V shape. Repeat this step on the remaining points of the star. When you are finished, the star should look like it is made up of eight V-shaped points. While folding, be sure to take care not to crease the paper too much.
7. Push Inward on Alternate Points of the V’s.
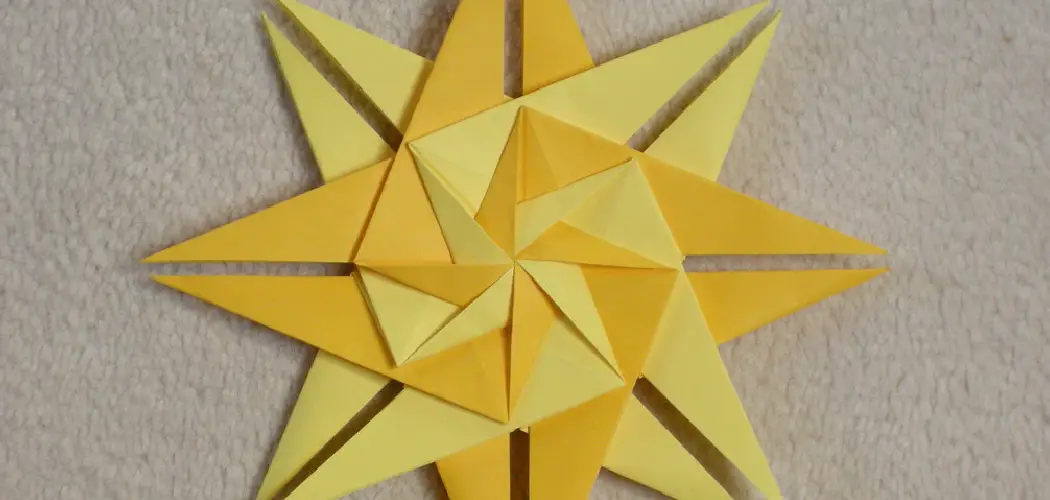
Starting at one end of the star, push inward on every other point so that it forms a triangle shape with two points touching at the apex. Continue this process on every other side until all 8 V’s have been pushed inward. Once you’ve completed this step, the star should start to take shape! To get it to look more like a star, you may need to pinch and twist some of the edges.
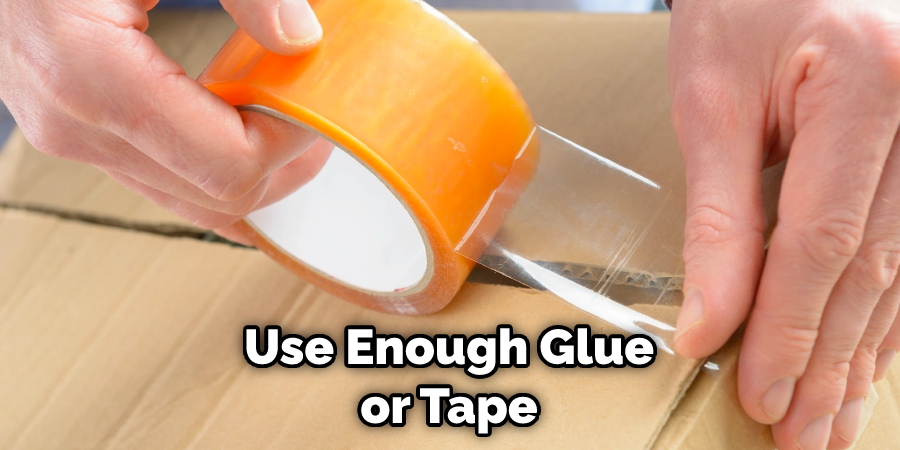
8. Glue or tape together opposite points of each triangle.
Starting at one end of the star, glue or tape together opposite points of each triangle so that they form a star shape. Make sure that each of the points are lined up evenly with the others around it, and make sure to use enough glue or tape so that the star maintains its shape when finished. Finally, trim off any excess paper if necessary.
Your big paper star is now complete! You can hang it in a window or from the ceiling or use it as part of a larger craft project. No matter how you choose to use your star, you can be proud knowing that you have created something beautiful with just paper and a little bit of effort!
9. Hang up your 3D paper and start!
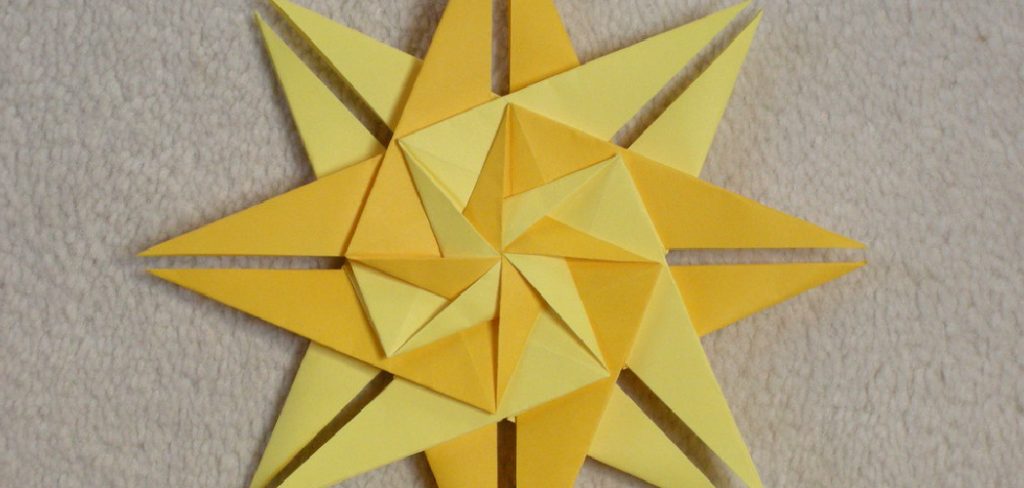
Once all of your triangles have been glued or taped together, and your 3D paper star is complete, you can hang it up in any room to bring a festive touch. You can choose to hang it from the ceiling with fishing wire or string or even tape it to the wall.
Any way you display your finished paper star will create a beautiful decoration for any holiday or special event! With 3D paper stars, you can decorate your home with a unique and eye-catching piece that will be sure to dazzle!
10. Enjoy your handiwork!
Stand back and admire your beautiful 3D paper star! You can hang it up by punching a hole in the center of the points and then threading a string or ribbon through, or you can use tape to stick it to your wall or window.
Depending on which materials you use, your paper star could even last for many years – with proper care and storage. Moreover, if you want to make a bigger star, you can use the same process and simply increase the size of your paper pieces. Have fun with it, and get creative! No matter what you do, your big paper star will be a unique piece that adds dazzle and festive cheer to any space.
Conclusion
Our big paper star is complete! It may look difficult to make at first, but the steps are simple and easy once we have it all laid out. This craft can be done alone or with friends, making it a great activity for all ages and skill levels. When we have our stars on display, we can enjoy their whimsical charm as much in our homes as professional holiday decorations in any store.
We hope this guide on how to make a big paper star was helpful. Please share it with your friends on social media if you find it useful. And be sure to check back here soon for more informative guides like this one.