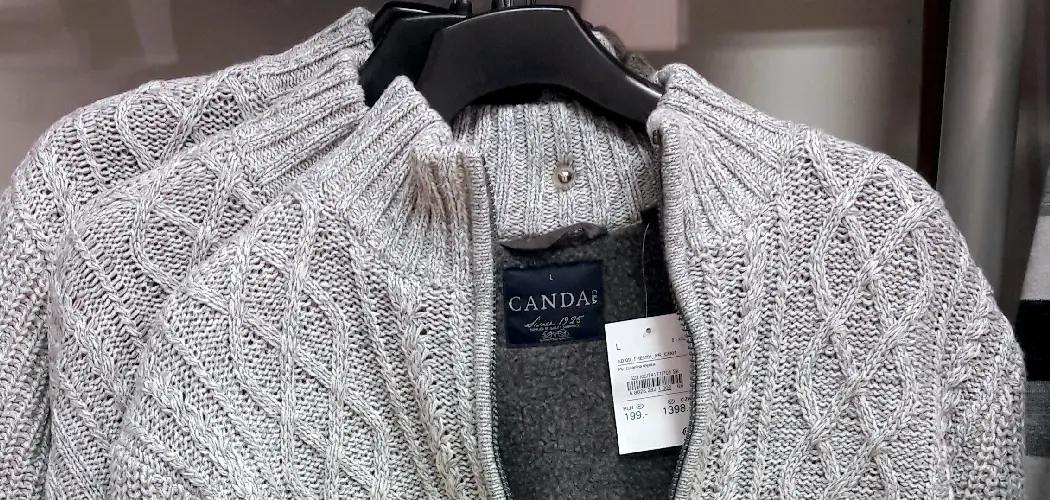
Are you looking for a fun new craft project resulting in a stylish and practical piece of clothing? Knitting is the perfect hobby to provide both challenges and rewards.
If you’re a beginner looking to knit a man’s cardigan, don’t worry—it’s not as daunting as it may seem! With the right supplies and step-by-step instructions, you can create an impressive piece of clothing that will awe your friends and family.
Fortunately, we’ve got an easy guide on how to knit a men’s cardigan for beginners – no matter what your skill level! From selecting the right yarn type and needle size through key techniques like shaping armholes and sewing pieces together, this blog post will have you crafting crisp-looking sweaters with ease. So grab those knitting needles, pick out some colorful yarn — let’s get started!
What Will You Need?
Before you can begin knitting your cardigan, there are a few supplies that you’ll need to pick up. Here’s a list of the most basic items to have on hand:
- Yarn (choose a yarn that is recommended for the pattern instructions)
- Needles (make sure they’re the size recommended by the pattern)
- A tapestry needle
- Scissors
- Measuring tape or ruler
- Stitch markers (optional)
Once you’ve got all of your supplies, it’s time to start!
10 Easy Steps on How to Knit a Men’s Cardigan for Beginners
Step 1: Understanding the Pattern
The first step in knitting a men’s cardigan is to understand the pattern you’ve chosen. A pattern will guide you on the type of stitch to use, the number of stitches per row, and the overall structure of the cardigan. Spend time reading through your pattern until you feel comfortable with the instructions. If you’re new to knitting, feel free to choose a beginner-friendly pattern with clear, simple instructions.

Step 2: Casting On
Casting on is the process of creating the initial stitches on your needle. The number of stitches you should cast depends on your pattern instructions. Make sure to use a stretchy cast-on, as this will allow the edge of your fabric to expand comfortably.
If you need help with how to cast on, plenty of online video tutorials demonstrate the technique. Practice a few times until you feel confident. This is the foundation of your cardigan, so take your time to get it right.
Step 3: The Knit Stitch
The knit stitch is the most basic in knitting and is likely the first stitch you’ll learn as a beginner. This stitch forms the basis for your cardigan, so it’s important to master it. To make a knit stitch, insert the right needle into the first stitch on the left needle from left to right.
Wrap the yarn around the right needle, then pull it through the first stitch. Finally, slide the old stitch off the left needle. Continue this process for each stitch in the row, according to your pattern.
Step 4: The Purl Stitch
The purl stitch is another fundamental stitch in knitting. It’s often worked alternately with the knit stitch to create various textures and patterns. To purl, enter the right needle into the first stitch on the left needle from right to left. Loop the yarn over and around the right needle.
Pull that loop through, creating a new loop on the right needle, and let the old stitch slide off the left. Much like the knit stitch, continue this method for each stitch in the row, following the guidelines of your pattern. Mastery of knit and purl stitches will allow you to knit various patterns and designs.
Step 5: Creating the Ribbing
Ribbing is a common type of stitching used in knitting, resulting in a stretchy fabric. It’s often used for cuffs, hems, and borders and is perfect for the edges of your cardigan. Ribbing is created by alternating between knit and purl stitches within the same row.
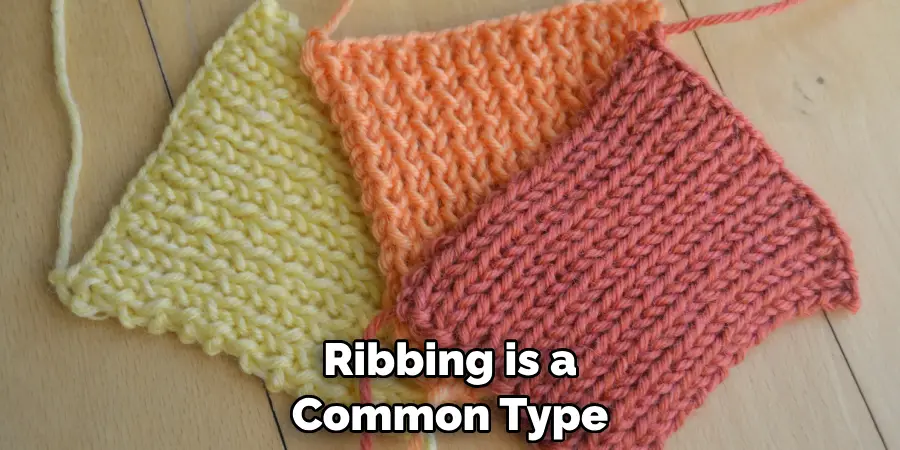
A common type of ribbing is 2×2 ribbing, which means you’ll knit two stitches, then purl two stitches, repeating this pattern across the row. This creates a fabric with raised “ribs” and gives your cardigan a professional and polished look.
Step 6: Shaping the Armholes
Once you’ve knitted the body of the cardigan to your desired length, it’s time to start shaping the armholes. This involves ‘binding off’ or ‘casting off’ a certain number of stitches at the beginning of the row to create an opening for the arm.
The exact number of stitches to bind off and how many rows to do this for will be specified in your pattern. After binding off the necessary stitches, continue to knit or purl as directed by the pattern until you reach the desired depth for the armhole.
Step 7: Knitting the Sleeves
Knitting the sleeves for your cardigan is similar to knitting the body. You’ll start by casting on the number of stitches indicated in your pattern. A common method is to knit the sleeve ‘in the round’, using a set of double-pointed needles or a circular needle.
This ensures a seamless, neat finish for your sleeve. Continue knitting according to your pattern, incorporating any desired ribbing or stitch patterns. You should also increase or decrease the number of stitches in certain rows to shape the sleeve properly. Once you’ve knitted the sleeve to the desired length, bind off your stitches and repeat the process for the second sleeve.
Step 8: Joining the Parts Together
Now that you’ve knitted the body and sleeves of your cardigan, it’s time to join everything together. This step involves seaming, essentially sewing the pieces together using a tapestry needle and a strand of your yarn.
Start by aligning the armholes of the body with the top of the sleeves, ensuring that the right sides face each other (the right side is usually the side that will be visible when wearing the cardigan).
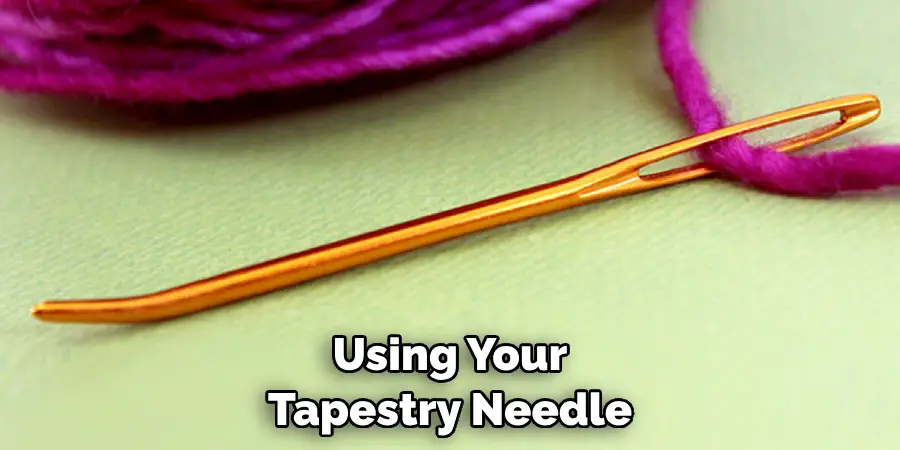
Using your tapestry needle, begin stitching the pieces together following the edge of the fabric. Make sure to secure your seams well so they can withstand wear and tear.
Step 9: Knitting the Collar
The collar of the cardigan is another important element that adds to the overall style and functionality of the garment. Start by picking up stitches along the neckline using your knitting needle. The number of stitches you pick up should be specified in your pattern.
The collar is typically knitted in a ribbing pattern similar to the cuffs and hemline, providing a nice cohesive look to your cardigan. Continue knitting until you achieve the desired width for your collar.
Step 10: Finishing Touches
The last step in making your men’s cardigan involves some final finishing touches. This includes weaving in loose ends with your tapestry needle, securing any remaining seams, and adding buttons or other closures if desired.
Make sure all knots are tied securely, and trim any excess yarn. If buttons are part of your design, evenly space them along one side of the cardigan’s opening, and create buttonholes on the opposite side. Lastly, give your cardigan a gentle wash according to the yarn’s care instructions, and let it dry flat to maintain its shape.
By following these steps, you’ll be able to create a variety of knitted cardigans for men in any size, style, or color. With practice and patience, this classic garment will become easy to make and can provide you with warm, stylish clothing for years to come. Enjoy!
5 Things You Should Avoid
- Avoid Choosing the Wrong Yarn: When you’re starting out, it might be tempting to pick up any yarn that catches your eye. However, not all yarns are suitable for knitting a men’s cardigan. Opt for medium-weight yarns that are soft yet durable. Yarns with a bit of stretch will make the knitting process easier for beginners.
- Avoid Underestimating the Knitting Time: Knitting a men’s cardigan can be time-consuming and challenging, especially if you’re just starting out. Make sure you plan ahead and give yourself enough time to finish the project.
- Avoid Making Mistakes Without Remedying Them: Mistakes are inevitable when you’re learning to knit a men’s cardigan. However, you must identify and fix the mistakes as soon as possible. Taking your time when fixing mistakes will help ensure that you have a neat and well-fitting garment.
- Avoid Complicated Patterns: When starting, avoid complicated patterns or overly intricate designs. Stick to simple patterns that are easy to follow. Start with a basic pattern and work your way up as you get more confident in your knitting skills.
- Avoid Skipping the Blocking Process: Blocking is important in ensuring your knit fabric looks neat and professional. Take the time to block your cardigan to look its best when finished. Blocking will help keep the stitches even and ensure all your hard work doesn’t go to waste.
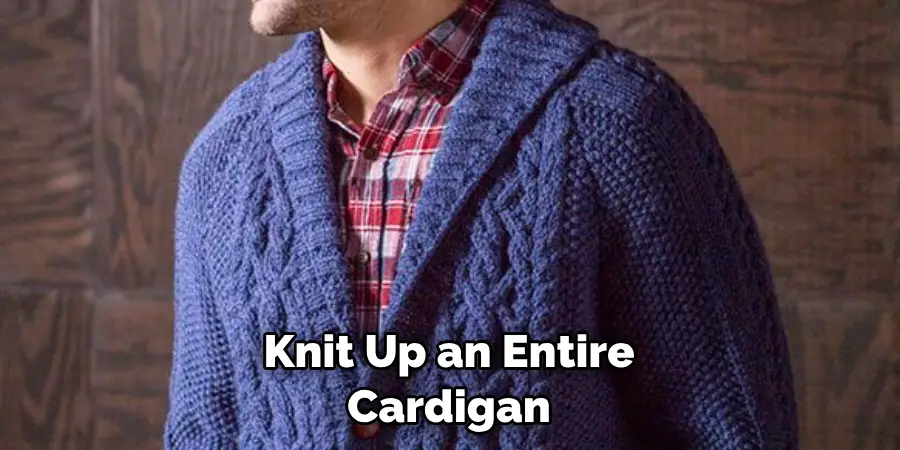
Avoiding these five mistakes will help ensure you get a handsome, well-fitting cardigan. With practice and patience, you can master the art of knitting a men’s cardigan.
Conclusion
Now you know how to knit a men’s cardigan for beginners, don’t forget to try it on and check for fit. A true masterpiece is in the details, so take some extra time to adjust your piece until you are happy with every section. And once you’ve happened upon that satisfaction, enjoy wearing a garment you made all by yourself.
Every stitch marks a memory that will last forever, so don’t be afraid to revel in your accomplishment–you have every right to! From figuring out gauge and swatching to mastering cables and buttonholes, knitting up a men’s cardigan was no easy feat.
Congratulations on rising up and taking on the challenge; know that if you can knit up an entire cardigan, there won’t be a task too difficult for you from here on out! So wear them proudly and keep challenging yourself. Who knows how great of heights your passions could take you!

