Are you looking for a creative way to show someone you care? Angel crafts are the perfect gift, not only to give but also to make! Whether it be a special friend or family member, these cute and heartfelt angels will surely put smiles on their faces. From homemade angel figurines to origami designs and more, there is something angelic for everyone! So if you’re feeling crafty and want an easy-to-follow guide on how to create the perfect angel this post on how to make angel has just what you need. Let’s get started!
What is an Angel?
Before we dive into the crafting process, let’s take a quick look at what makes up an angel. In many cultures and religions, angels are seen as celestial beings who serve as messengers or guardians of humans. They are often depicted as having wings, halos, and pure white robes. In popular culture, they are symbols of peace, love, and protection. Now that we have a better understanding of what an angel is, let’s move on to crafting one!
What You’ll Need
- White, Yellow, and Flesh-toned Felt or Paper
- Scissors
- Glue Stick
- Pencil or Pen
- Small Decorative Embellishments (optional)
11 Step-by-Step Guidelines on How to Make Angel
Step 1: Create the Angel’s Body
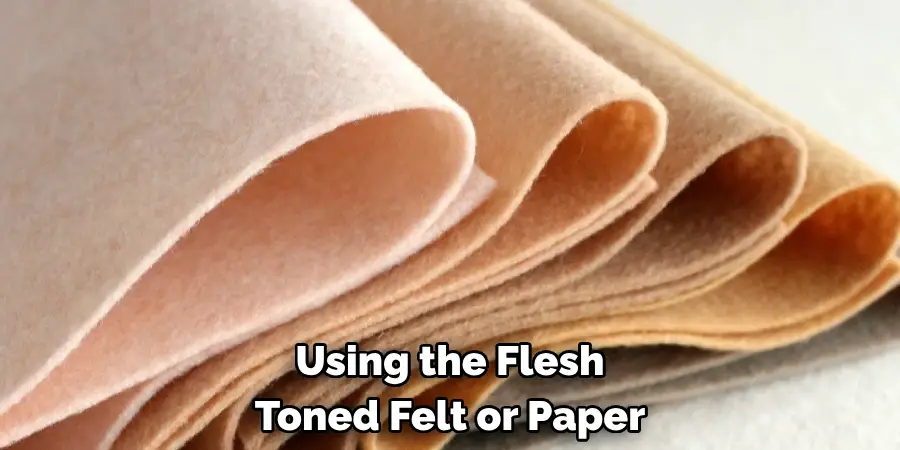
Using the flesh-toned felt or paper, cut out a rectangle measuring approximately 3 inches by 5 inches. This will be the base of your angel’s body. If you want to make your angel larger or smaller, adjust the measurements accordingly. It’s always better to start with a larger piece and trim it down if needed. But hey, it’s your angel, so feel free to get creative with the body shape!
Step 2: Cut out the Wings
Using white felt or paper, draw and cut out a pair of wings that are slightly larger than the body. You can go for traditional feathered wings or opt for something more unique like butterfly or heart-shaped ones. This is your chance to add a personal touch to your angel. If you’re making multiple angels, you can experiment with different wing shapes and sizes. You can also cut out a second pair of smaller wings to layer on top of the larger ones for a 3D effect.
Step 3: Make the Angel’s Head
Take the yellow felt or paper and cut out a circle that is slightly smaller than your angel’s body. This will be the head. You can use a small lid or round object to trace a perfect circle, or you can freehand it for a more organic shape. Cut out two small teardrop shapes for the angel’s ears. It’s up to you if you want the ears to stick out or be tucked behind the head.
Step 4: Glue the Head onto the Body
Using a glue stick, attach the head to the top of your angel’s body. Make sure it is centered and secure. You can also use a small amount of glue at the bottom of the head to attach it to the body for extra reinforcement. But be careful not to use too much glue, as it can make the felt or paper wrinkle. If you’re using paper, wait for the glue to dry completely before moving on to the next step.
Step 5: Add the Wings
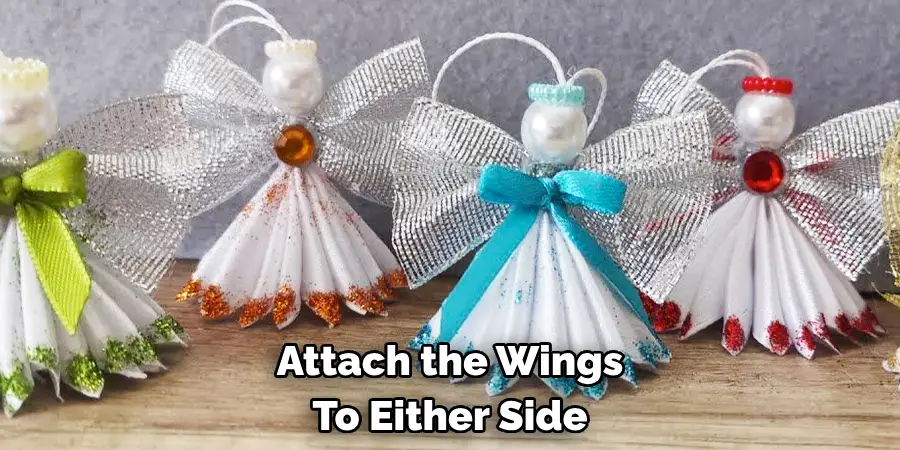
Using the same glue stick, attach the wings to either side of your angel’s body. Make sure they are evenly placed and secure. You can also add some glue along the edges of the wings for a neater finish. It’s okay if the wings extend beyond the body; it adds to the whimsical charm of your angel. You can also slightly overlap the wings for a more layered look.
Step 6: Create the Face
Take your pen or pencil and draw on your angel’s face. You can go for a simple smiley face, or you can get creative with different expressions. Let your imagination run wild! If you’re not confident in drawing, you can use googly eyes or small decorative embellishments to represent the eyes and mouth. You can also use a thin black marker or pen to add details like eyelashes or eyebrows. Although these are optional, they can add a lot of personality to your angel.
Step 7: Add Hair (optional)
If you want to give your angel some hair, cut out thin strips of yellow felt or paper and glue them onto the head. You can also use yarn or ribbon for a different texture and look. You can make the hair as short or long as you’d like, and you can place it in different styles like a ponytail, braid, or curly locks. But remember, this step is optional, and your angel will still look adorable without hair!
Step 8: Create the Halo (optional)
Using white felt or paper, cut out a small circle to represent the halo. You can also use a gold or silver metallic pen to draw on the halo if you prefer. Attach it above your angel’s head using glue or double-sided tape. This step is entirely optional, but it adds a nice touch to your angel and reinforces the celestial theme.
Step 9: Decorate the Angel (optional)

This is where you can really let your creativity shine. Using different decorative embellishments like glitter, sequins, beads, or stickers, adds some flair to your angel’s body and wings. You can also use fabric paint or markers to add patterns or designs. The possibilities are endless, and you can make each angel unique with different decorations.
Step 10: Personalize Your Angel (optional)
To make your angel truly special, you can add a personal touch by writing a name or message on the body or wings using a thin black marker or pen. You can also use a gold or silver metallic pen to make it stand out even more. This is perfect for giving your angel as a gift or keepsake. However, feel free to skip this step if you prefer a more minimalistic look.
Step 11: Display Your Angel
Once your angel is complete, find the perfect spot to display it. You can place it on your desk, or bookshelf, or use double-sided tape to attach it to a wall. You can also create multiple angels and make a beautiful mobile for a baby’s nursery or festive holiday decoration. The possibilities are endless, so let your imagination run wild!
And there you have it, your very own handmade angel. Share your creations with friends and family, and spread some celestial love and joy! So go ahead, grab your supplies, follow these steps, and learn how to make angel that is uniquely yours. It’s a fun and easy project that is perfect for all ages. Happy crafting!
Frequently Asked Questions
Q: Can I Use Different Materials Instead of Felt or Paper?
A: Absolutely! You can use any material you have on hand, such as fabric, foam sheets, or even recycled materials like cardboard or egg cartons. Get creative and experiment with different textures and materials to make your angel truly one-of-a-kind.
Q: Can I Make Different Sized Angels?
A: Of course! You can adjust the size of your angel by using larger or smaller templates for the body, wings, and head. Just make sure all the pieces are proportional to each other so that your angel looks balanced.
Q: How Long Will It Take to Make an Angel?
A: This project can take anywhere from 15-30 minutes, depending on your crafting speed and the level of detail you add. It’s a fun and easy project that is perfect for a relaxing afternoon activity or as a quick last-minute gift idea.
Q: Can I Make Different Types of Angels Besides the Traditional Christmas Angel?
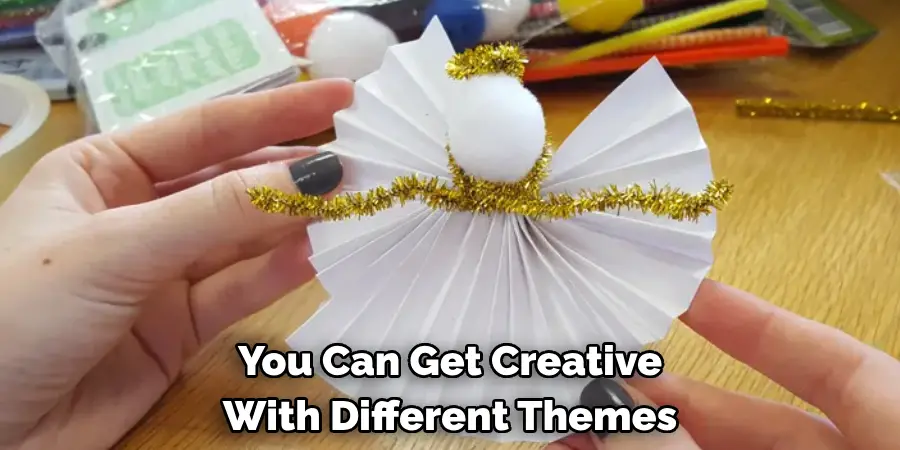
A: Absolutely! You can get creative with different themes and designs, like a fairy angel with butterfly wings or an angel inspired by your favorite movie or book character. Use your imagination and have fun creating different types of angels.
Conclusion
Now that you’ve read through the steps of how to make angel food cake, it’s time to give it a go yourself! With a little practice and some practice pans, you too can become a master baker and have your creations adored by all your guests. It might seem intimidating at first, but proper measuring, correct sifting, gentle folding and careful whisking will all get you there.
If you don’t succeed the first time, don’t be discouraged – baking is a skill best mastered with trial and error. Keep trying until you get the perfect rise and light texture!
Finally, if all else fails, why not ask a friend for help? Baking doesn’t have to be done alone – invite someone over and you can both whip up an impressive cake together. So what are you waiting for? Get into the kitchen and start baking your way towards making delicious angel food cakes!

