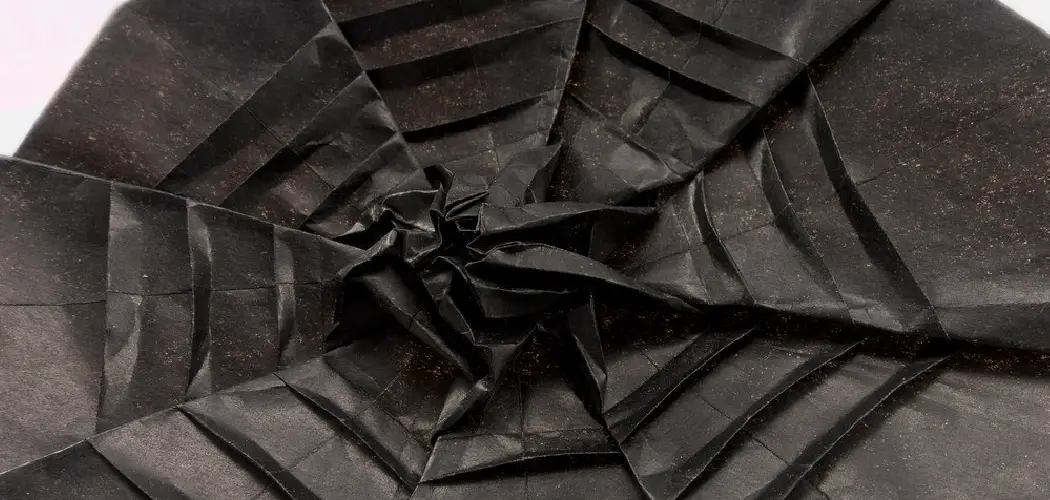
Are you looking for a creative new way to decorate your homemade cards, gifts and other paper crafts? If so, why not try cutting spiderwebs out of paper? This unique decoration is sure to add an extra layer to your creations.
With just a few tools, you can create your own spider web cut-outs from paper. Not only do these enigmatic webs look beautiful, but they’re also surprisingly simple to make! In this blog post, I’ll give you step-by-step instructions on how to design and meticulously cut out your very own intricate paper spider web using nothing more than scissors and cardstock.
Keep reading to learn how to cut a spider web out of paper. With just a few supplies, some simple instructions, and a bit of creativity, you’ll soon be making dazzling spider web cutouts that can turn ordinary crafts into something truly beautiful.
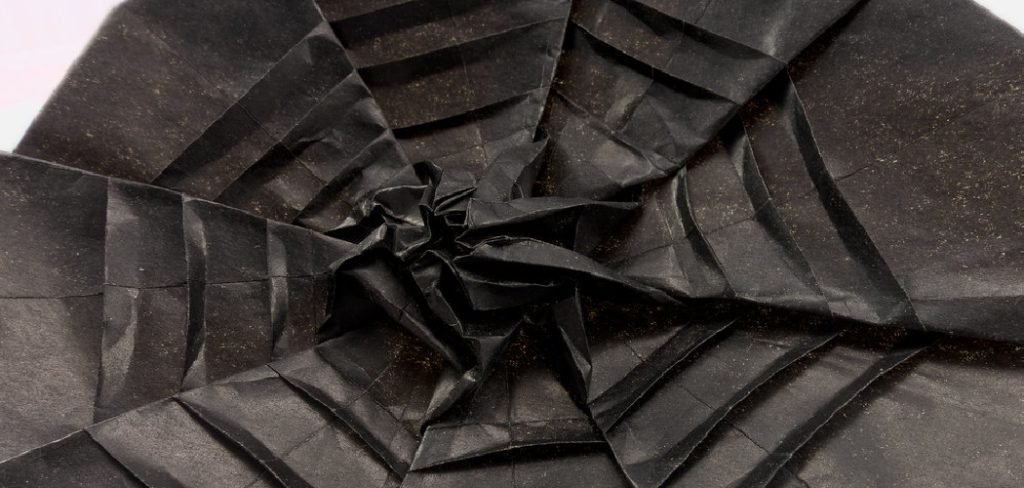
What Will You Need?
To cut a spider web out of paper, you will need the following basic supplies:
- Cardstock or other thick paper to use as your base material
- Scissors or a cutting tool
- A ruler or straight edge for marking and tracing your design
- A pencil for sketching and drawing your spider web design
Once you’ve gathered your supplies, the first step is to sketch out the basic design of your spider web.
10 Easy Steps on How to Cut a Spider Web Out of Paper
Step 1. Decide Your Size:
The size of your spider web will depend on how you plan to use it. If you are making a simple decoration for homemade cards or other small crafts, you can make your design fairly small, using a cardstock about 5-6 inches wide. Ensure that your paper is fairly thick so that the finished spider web holds its shape.
Step 2. Sketch and Trace Your Design:
Using your ruler, sketch the basic outline of your spider web. Once you have a rough outline drawn out, use a pencil to trace over your design – this will help you mark and precisely cut out all the intricate details of your spider web. If you find it helpful, you can sketch out a more detailed template on a separate sheet of paper to use as a guide.
Step 3. Cut Out the Grid:
Now that you have your design set and traced onto your cardstock, it’s time to begin cutting! Use your scissors or other cutting tools to cut out the outer web outline of your spider web – this will create the basic grid structure for your design. You may need to go over some areas multiple times to ensure that all of the lines are clear and crisp.

Step 4. Create Your Inner Web:
The next step is to create the inner web structure of your spider web by creating small cuts along the design’s outer edges at regular intervals. These small cuts should be less than 1/4 of an inch apart and can either be straight or curved in shape. Be careful not to cut through the outer web outline when making your inner cuts – you want the outer edges to remain intact.
Step 5. Fill In with Webbing:
Once you have your basic inner web structure set, it’s time to begin filling in the spaces between the cuts with small webs. To do this, cut small strips of cardstock roughly 1/8 – 1/4 inch wide and about 2-3 inches long. Then, carefully weave these strips into the grid of your outer web to create a thick webbing effect within your spider web design.
Step 6. Cut and Shape Your Spiders:
Next is creating realistic-looking spiders to add to your spider web cut-out. To do this, simply cut out small squares of cardstock and use a pair of scissors to create a jagged or curved shape along one side of each square – this should give your spiders a bit more dimension and texture. You can also add eyes or other small details to your spiders using pencils, glue, glitter, or other materials.
Step 7. Add Other Details:
Once you have the basic outline of your spider web design set filled in with webs, you may wish to add some extra decorative touches to make it pop. Some ideas for embellishing your spider web include adding strands of curled thread running from the outer edges into the main body of the spider web; creating small, dangling strands from the tips of your spiders; or using different colors and patterns to create a fun, festive look.
Step 8. Set Your Design:
Once you have finished adding all of your extra details, it’s time to set your spider web design in place. Simply use tape or other adhesive materials to secure your spider web cut-out onto any surface – this could be a homemade card or gift box, a wall decoration, or an embellishment on your child’s bedroom door. It will add a fun, festive touch to any space. Enjoy your beautiful spider web creation!
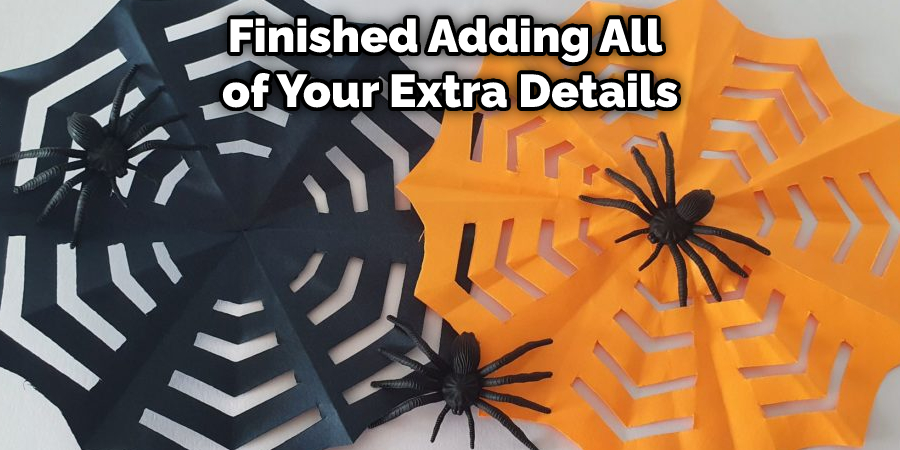
Step 9. Add the Final Touches:
Finally, try adding some finishing touches to complete the look of your spider web cut-out. You could use glitter or stickers to enhance the edges of your design or add a string for hanging your spider web on a wall. Just have fun with it and be creative – the more unique and eye-catching your finished product is, the better!
Step 10. Enjoy Your Beautiful and Creative Spider Web Cut-out!
Whether you are using it as a decoration or gift, this fun craft will surely add character and flair to any space. So go ahead, let your creativity shine and enjoy cutting out your very own unique spider web today! Remember, the key to creating an impressive and eye-catching spider web cut-out is all in the details – so take your time, have fun, and enjoy crafting!
By following these steps, you can easily create an elegant and eye-catching spider web cut-out that is perfect for adorning any space or room in your home. So get creative and have fun with this fun craft project today!
5 Additional Tips and Tricks
- Carefully cut along the edges of your paper spider web with sharp scissors or a craft knife. This will ensure that you get clean, crisp lines around your web.
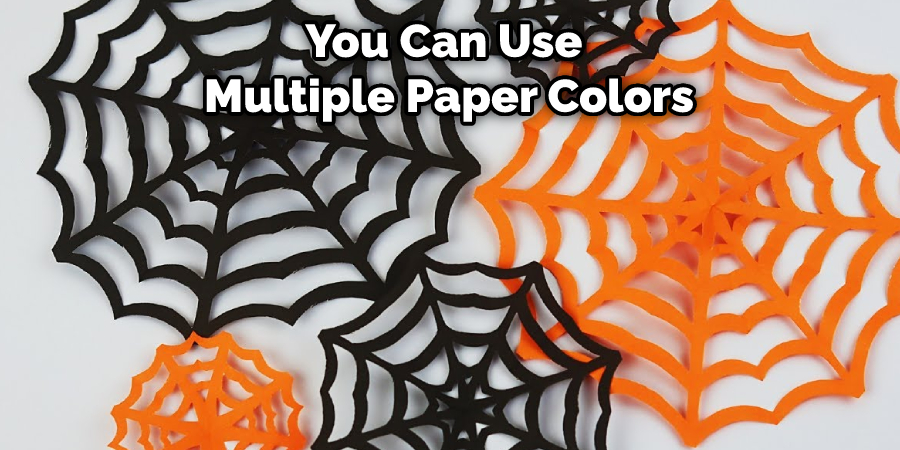
- If desired, you can use multiple paper colors to create intricate and colorful designs in your spider web. Simply cut out different-colored shapes from your paper, and layer them on top of one another to create an eye-catching pattern.
- Keep in mind that how you cut out your spider web will affect how it looks when it’s finished. Experiment with cutting patterns and techniques (such as crisscrossing cuts) to see what gives you the most realistic results.
- For extra flair, consider adding embellishments like beads, sequins, or glitter to the center of your spider web. This can help make it really stand out and look like a real piece of nature-inspired artwork.
- Finally, once you’ve finished cutting out your spider web, consider framing it or displaying it in another creative way. This will help preserve your hard work and allow you to enjoy your creation for years to come!
Whether you’re looking for a fun crafting project for yourself or trying to spruce up your home with an eye-catching piece of wall art, learning how to cut a spider web out of paper is a great way to add some natural beauty and whimsy to any space. With these simple tips and tricks, you’ll be able to create stunning paper webs in no time!
5 Precautions You Can Take
- When cutting out your spider web, be sure to use sharp, clean tools and work in a well-lit area to help prevent cuts or other injuries.
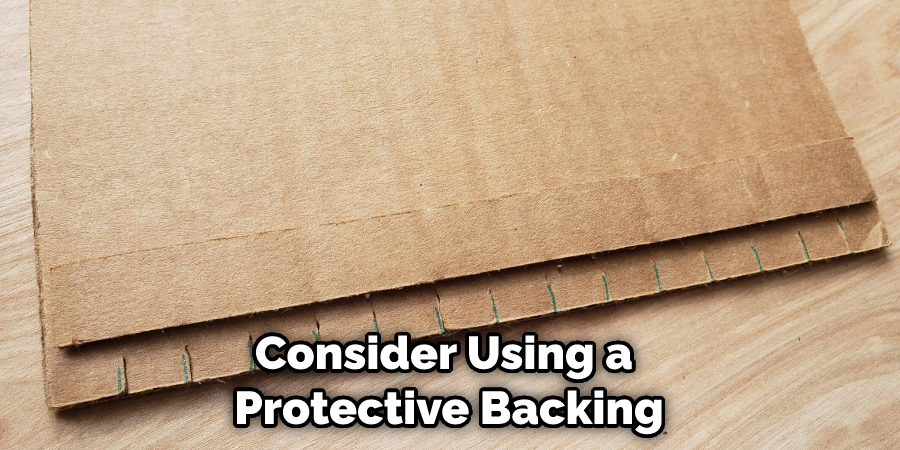
- To avoid damaging your finished spider web cut-out, consider using a protective backing like cardboard or foam core to support the paper while you are working on it.
- If you have young children helping with this project, supervise them closely and provide any necessary safety equipment like safety scissors or craft knives to minimize the risk of accidents or injuries.
- Finally, remember that while crafting can be fun and rewarding, it is important to take all necessary precautions to ensure your personal safety both during and after your project.
- If you are new to crafting or working with paper, consider starting out with simple projects and practicing your cutting techniques before attempting a more intricate spider web cut-out design.
With some time and patience, you’ll be an expert crafter in no time!
Conclusion
People often fear spiders because of how they look. However, spiders are actually very helpful creatures that kill harmful insects. If you find a spider web in your home, the best thing to do is to remove it gently so that the spider can build its web again elsewhere.
So there you have it—some easy steps to cutting a spider web out of paper. With a little bit of practice, you’ll be able to cut perfect spider webs every time.
Hopefully, the article on how to cut a spider web out of paper has helped you not just learn how to create this beautiful craft but also has helped you to appreciate the important role that spiders play in our environment. So go ahead and try it out today—your home is sure to look amazing with a spider web cut-out adorning your walls or windows!
You Can Check It Out to Make Paper Fireflies

