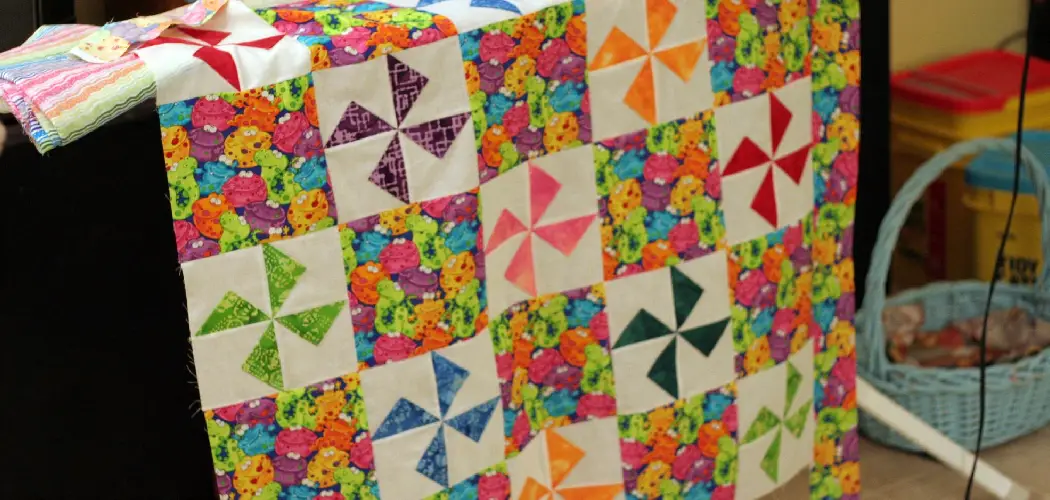
Are you looking to make a beautiful quilt but need more time or experience? Look no further!
Embarking on a quilting project may conjure images of lengthy, labor-intensive work reserved for the patient and skilled artisan. However, creating a beautiful and functional quilt in a day is an achievable and deeply satisfying endeavor.
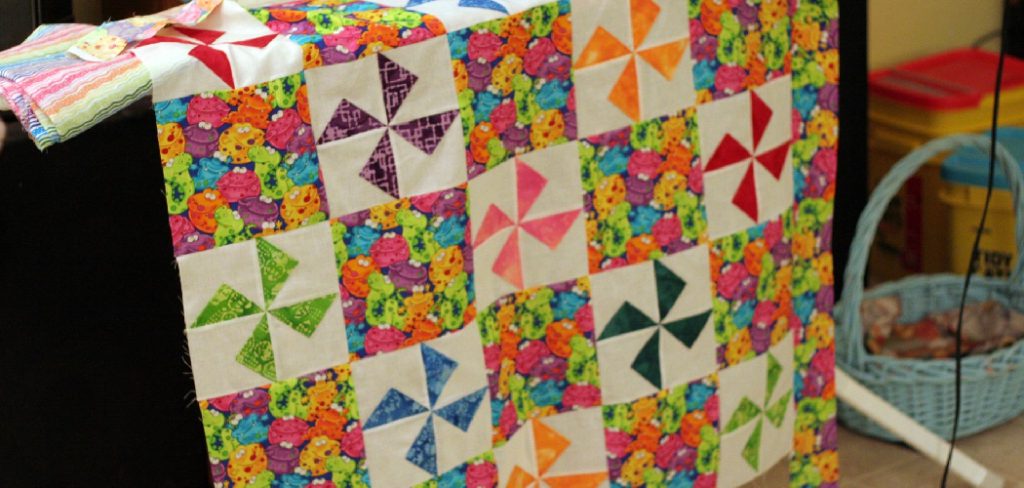
This guide on how to make an easy quilt in a day, is crafted for beginners and seasoned quilters alike, looking to weave warmth and beauty into their craft without the long-term commitment. We will cover the basic materials you’ll need, straightforward cutting and piecing techniques, and tips to streamline the process.
Whether you want to create a cozy gift or add a touch of homemade comfort to your home, follow these steps to transform simple fabric pieces into a cherished keepsake in just one day.
What is the Use of Quilts?
Quilts have been used for centuries, often as a functional piece of bedding to keep warm on cold nights. However, they also hold significant cultural and personal meanings as heirlooms, works of art, or symbols of love and connection. Quilts can be passed down through generations, reflecting the history and stories of those who created them.
Additionally, quilts can serve as decorative elements in a home, adding color and texture to a room. They can also be used for picnics, beach outings, or wall hangings. Another practical use of quilts is as a protective cover for furniture or other items during moves or storage.
Overall, the uses of quilts are diverse and personal, making them a versatile and meaningful addition to any home.
What Will You Need?
To make an easy quilt in a day, you will need:
- Fabric: Choose your desired fabric for the front (top) and back of the quilt. This can be one solid piece or multiple coordinating pieces.
- Batting: This insulating material goes between the front and back layers to add warmth and thickness to your quilt.
- Sewing Machine: While not necessary, using a sewing machine will greatly speed up the quilting process. If you don’t have one, you can hand stitch your quilt, but it may take longer.
- Scissors: Sharp scissors are essential for cutting fabric accurately and efficiently.
- Rotary Cutter and Mat (optional): These tools can also be used for cutting fabric, but scissors will suffice if you don’t have them.
- Ruler: A clear ruler with measurements will help ensure precise cuts.
- Pins: These will come in handy for holding fabric pieces together while sewing.
- Iron: An iron will press seams and create crisp edges.
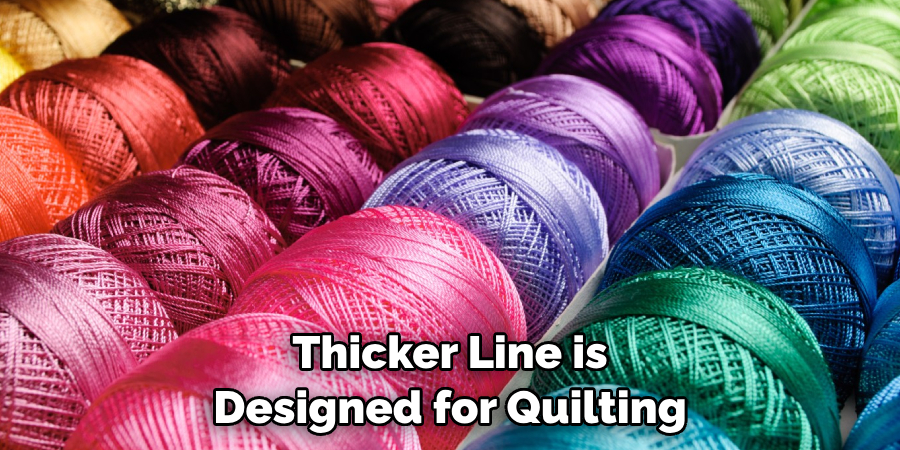
- Quilting Thread: This specialized, thicker line is designed for quilting and will securely hold the layers of your quilt together.
Once you have gathered your materials, it’s time to get started on your quilt!
10 Easy Steps on How to Make an Easy Quilt in a Day
Step 1: Plan Your Design
Before cutting and sewing, take a moment to plan your quilt’s design. This will aid in staying organized and ensuring the finished product matches your vision. Decide on the size of your quilt – do you want it to be snuggle-sized for the couch, a twin for a bed, or a smaller throw for a child?
Think about color schemes and patterns; perhaps you’d like a harmonious palette or a vibrant patchwork. Sketching your quilt on paper or using a quilting design app can also help visualize the result. Planning is critical to a successful, one-day quilt project.
Step 2: Preparing Your Fabric
Once your design is set, the next step is to prepare your fabrics. Begin by washing, drying, and ironing all your fabric to prevent any unwelcome shrinkage or warping after completing your quilt. Next, using your ruler and rotary cutter, trim your fabric squares or scraps into uniform shapes.
This will ensure that your pieces will fit together neatly and your quilt will lay flat once assembled. Precision at this stage will pay off later, simplifying the piecing process and contributing to a more professional-looking final product.
Step 3: Arrange Your Quilt Squares
With your fabric pieces prepared, lay them out on a flat surface to design the layout of your quilt. This is where you can experiment with the arrangement, swapping, and shifting pieces until you are satisfied with the pattern and overall look. Take a photograph of your final layout to serve as a reference during the piecing process.
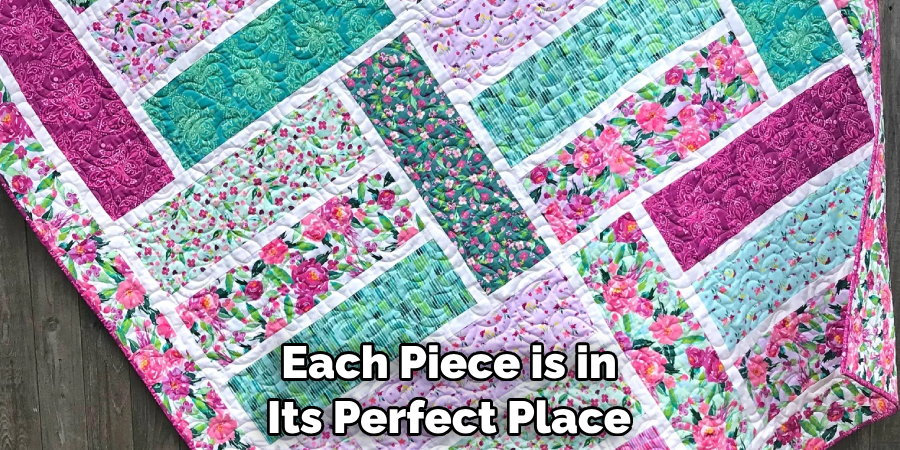
It’s helpful to do this step in an area where you can leave the format undisturbed for a while, such as on a spare bed or design wall. Ensuring that each piece is in its perfect place before sewing can save time and add to the ease of assembly.
Step 4: Sew Your Quilt Squares Together
Begin by sewing your quilt squares together into rows. Place the courts with right sides facing each other and sew using a standard quarter-inch seam allowance. Once the rows are completed, press the seams with an iron, making your quilt lay flat and look more professional. Next, sew the rows together, aligning the seams carefully. Press the seams once again after each row is attached. Continue this process until all rows are sewn together and your quilt top is complete.
Step 5: Create the Quilt Sandwich
Once your quilt top is assembled, it’s time to create the “quilt sandwich.” Lay the backing fabric on a large, flat surface, wrong side up. Spread the batting over the backing, smoothing out any wrinkles or folds.
Next, position your quilt top over the batting, right side up. Ensure all layers are flat and smooth. To keep the layers from shifting during the quilting process, you can either pin the layers together using safety pins or use a basting spray to adhere the layers temporarily. This step is crucial as it sets the foundation for a well-constructed quilt.
Step 6: Quilting Your Sandwich
Now that your quilt sandwich is basted, you’re ready to start quilting, which means stitching through all three layers to hold them together. For beginners, simple straight-line quilting or “stitch in the ditch,” where you sew along the seams of your blocks, is recommended. Start from the middle and work your way out to avoid puckering.
You can use your sewing machine’s walking foot to help manage the layers. If you’re feeling adventurous or have more experience, try free-motion quilting with a darning foot. Keep your stitches even, and don’t rush this part – taking your time will ensure a smoother, more even quilt.
Step 7: Trimming and Squaring Up
After you’ve finished quilting, the next step is to trim the excess batting and backing, ensuring your quilt is even and square. This can be done with a rotary cutter and a ruler. A large cutting mat with grid lines is beneficial here, as it can guide you in achieving straight cuts.
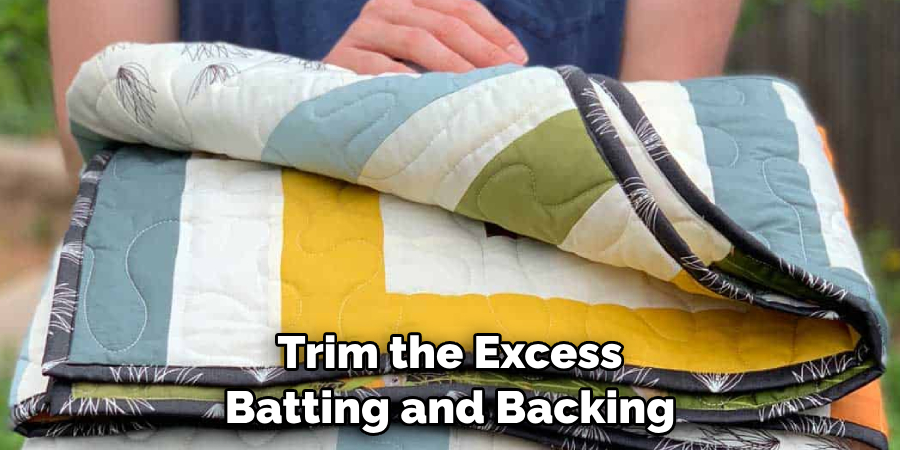
Carefully measure and cut around the quilt, leaving about a quarter inch from where the quilt top and the quilted lines end. This step is crucial for preparing your quilt for binding, as an even edge will make attaching the binding much easier.
Step 8: Binding Your Quilt
The final step in finishing your quilt is binding the edges, which encloses the raw edges and gives the quilt a neat finish. Cut strips of fabric four inches wide to create the binding. Sew the strips together end-to-end using diagonal seams, then press them in half lengthwise, wrong sides together, to create a long strip.
Align the raw edges of the binding with the raw edges of the quilt’s front side and sew using a quarter-inch seam. When you get to a corner, fold the binding precisely to create a mitered look. After attaching the binding around the perimeter, fold it over to the back of the quilt and hand stitch it. This secures the quilt layers and adds an aesthetic finish to your creation.
Step 9: Adding the Finishing Touches
Once your binding is securely in place, it’s worth spending a little extra time on the finishing touches that can make your quilt stand out. Consider adding a label on the back corner with your name, the date, and the occasion for which the quilt was made.
This personalization turns your quilt into a keepsake. Additionally, include a decorative border or embroidery to add to its charm. Lastly, give your quilt one final press with the iron to ensure all seams are flat and the quilt lays perfectly. Your handmade quilt is now a beautiful and functional piece of art, ready to be enjoyed for many years.
Step 10: Caring for Your Quilt
A quilt that’s been lovingly made deserves to be well cared for. To preserve your quilt’s beauty and prolong its life, wash it sparingly and carefully. Use mild detergents and wash gently with cold water, or hand wash if you’re concerned about wear and tear.
Avoid strong chemicals and bleaching agents. Tumble dry on a low setting, or, for the best results, air dry on a flat surface out of direct sunlight to avoid fading. Proper care ensures that your quilt remains a cherished item, full of memories, that can be passed down through generations.

By following these steps, you can create a beautiful and unique quilt that is both functional and meaningful.
5 Additional Tips and Tricks
- Pre-Cut Fabrics: Save time by purchasing pre-cut fabrics. Look for charm packs or layer cakes that already come in coordinated prints and colors to take the guesswork out of matching.
- Chain Piecing Method: Speed up your sewing by feeding pieces through your sewing machine one after another without cutting the thread in between. This technique minimizes time spent starting, stopping, trimming, and handling individual pieces.
- Iron as You Go: Keep your iron hot and close by. Pressing seams immediately after sewing helps to ensure that your quilt top lies flat and that all pieces align correctly.
- Simple Quilting Patterns: Choose uncomplicated quilting designs. Straight-line quilting or using a walking foot can be effective and quick, requiring less setup and adjustment than more intricate patterns.
- Assembly Line Layout: Organize your workspace so you can work in stages without moving around too much. Set up your cutting area, sewing station, and ironing board in a workflow line to maximize efficiency.
With these additional tips and tricks, you can easily make a quilt in just one day. However, don’t be discouraged if you still find yourself pressed for time or struggling to complete your project.
5 Things You Should Avoid
- Overcomplicating the Design: Steer clear of intricate patterns that involve complex piecing or numerous small pieces. Stick to simple block designs to save time and minimize frustration.
- Skipping the Pre-Wash: Avoid not pre-washing your fabrics, as they may shrink or bleed colors after your quilt is finished, ruining your hard work.
- Neglecting the Planning Phase: Don’t dive in without a clear plan. Having a cutting and piecing strategy can save time and materials.
- Using Low-Quality Materials: Do not compromise on the quality of thread and fabrics. Poor quality materials can cause more trouble than they’re worth, from breaking threads to warping fabrics.
- Ignoring Your Machine’s Needs: Remember to check the maintenance of your sewing machine beforehand; don’t wait for a malfunction to slow you down mid-project.
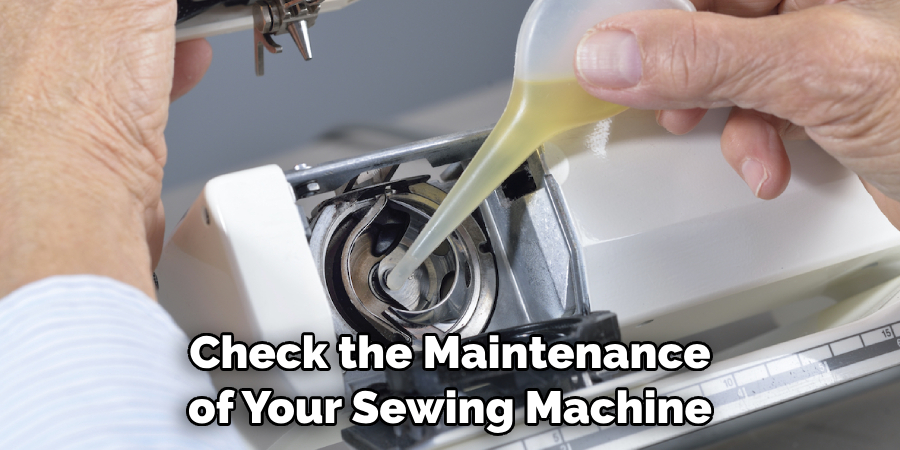
By avoiding these pitfalls, you can ensure a smooth and efficient quilting process. With the right techniques and care, you can create beautiful quilts in no time!
5 Different Quilting Techniques to Try
- Applique: This technique involves sewing fabric shapes onto a background piece, creating a decorative design on top of the quilt.
- Patchwork: Patchwork quilts are made by piecing together small fabric scraps to create a larger design. This is a great way to use leftover fabrics and achieve unique patterns.
- Foundation Paper Piecing: This method involves sewing fabric directly onto a paper template, ensuring precise and accurate piecing.
- English Paper Piecing: Similar to foundation paper piecing, this technique uses pre-cut paper templates to create intricate designs using hand sewing.
- Hand Quilting: Unlike machine quilting, hand quilting involves stitching the layers of the quilt together by hand, creating a unique and traditional look.
Experiment with different techniques to find your favorite, or mix and match them for even more creative possibilities!
Can You Quilt With Any Fabric?
While you can technically quilt with almost any fabric, certain fabrics work better than others. Choose 100% cotton or a cotton blend for best results, as they are easier to work with and hold up well over time. Avoid fabrics like silk or stretchy materials that are more difficult to handle and cause issues during quilting. It’s also important to consider the weight and thickness of your fabric, as thicker materials may be more challenging to sew through multiple layers.

Ultimately, it’s up to personal preference and experimentation to find the best fabric for your quilting project.
Can a Quilt Be a Blanket?
Yes, a quilt can be a blanket for warmth and comfort. Many people make quilts specifically for that purpose. The layers of fabric and batting provide insulation, and the decorative top adds an extra layer of style.
However, remember that not all quilts are created equal regarding warmth; some may be lighter or heavier depending on the materials used. Additionally, some quilts may be more delicate and not suitable for heavy use as a blanket. Consider the purpose of your quilt and choose fabrics and techniques accordingly.
Overall, quilts are versatile and can serve as functional bedding and decorative pieces. With the right care and attention to detail, you can create a beautiful quilt that will bring warmth and joy for years to come.
Is a Quilt Stuffed?
Traditionally, quilts have three layers: the quilt top, batting (or filling), and backing fabric. The batting provides warmth and insulation, while the backing fabric acts as a protective layer for the quilt’s design. Therefore, quilts are stuffed with batting. However, not all quilts require batting; some may only have two layers, and the top may be made with a heavier fabric for warmth instead of batting.
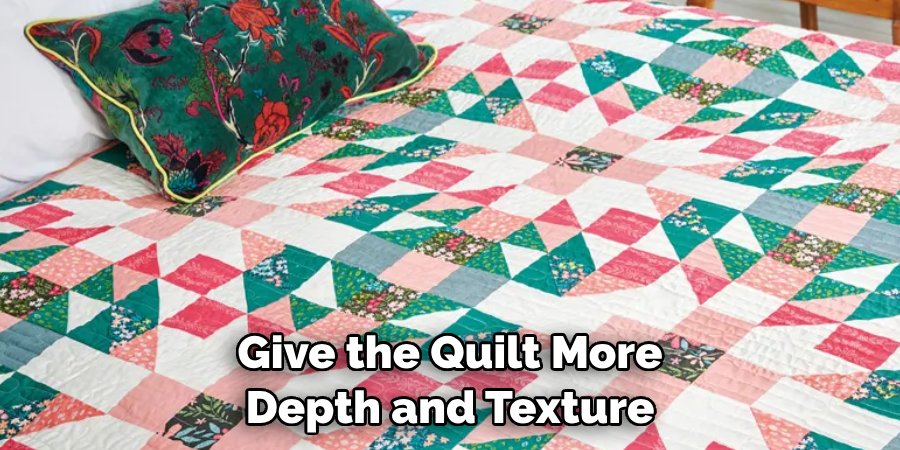
In addition to batting, some quilters also choose to add extra embellishments or decorations, such as embroidery or applique, that can give the quilt more depth and texture. Ultimately, the amount of “stuffing” in a quilt depends on the desired level of warmth and thickness.
Conclusion
In conclusion, how to make an easy quilt in a day is entirely possible with the proper preparation and approach. By selecting a simple design, employing time-saving techniques, and avoiding common pitfalls, even beginners can produce a work of art that is both practical and pleasing to the eye.
Remember to choose appropriate fabrics, prepare materials, and ensure your sewing machine is in good condition before starting. Quilting is not just about the finished product; it’s about the joy in each stitch and the pride of crafting something unique and personal.
Embrace the process, and before you know it, you’ll have a wonderful quilt to show for your efforts—proof that great things can be accomplished one stitch at a time.

