
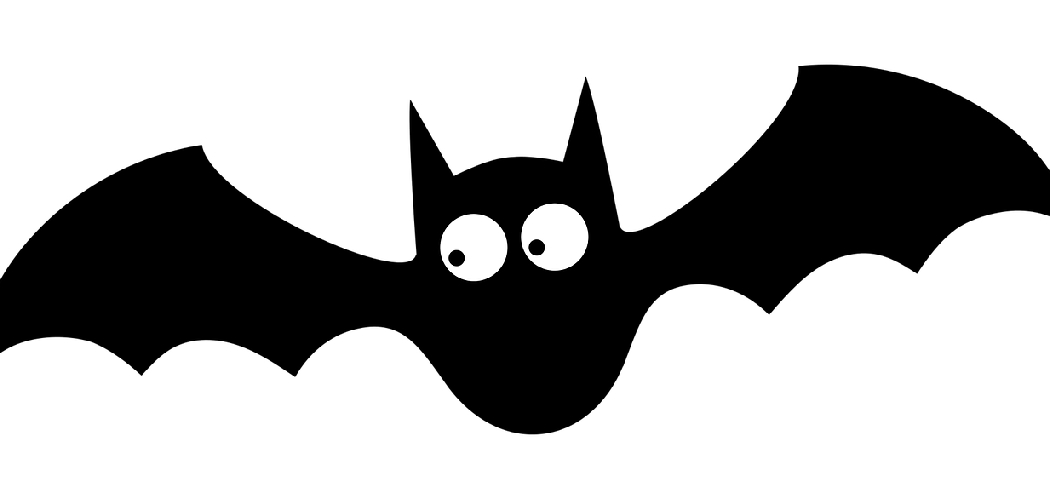
Halloween is just around the corner, and it’s time to think about how we can create nifty decorations for our homes. One of the simplest yet most creative pieces you can make as a DIY project is a paper bat!

Making this spooky critter only takes basic household tools, such as scissors and tape, and doesn’t require any complicated techniques that might be off-putting if you’re new to crafting. Follow this guide on how to make a paper bat step by step, and you’ll have your own unique paper bat in no time!
Why Do Bats Hang upside?
Before we dive into making our paper bat, it might be helpful to understand why bats hang upside down in the first place. In the wild, bats will often use cave walls and tree trunks as a safe spot for roosting, and hanging upside down helps them latch onto these surfaces more easily with their claws.
By having this grip, bats can sleep securely without having to use up extra energy. Additionally, hanging upside down can help them stay cool in hot temperatures and evade predators.
You Can Check It Out To Make a Bow from Leftover Wrapping Paper
Tools that you will need:
- Scissors
- Pen or pencil
- Tape
- Thin black cardboard (or any other dark paper)
- White or light gray paper
- Glue stick
- Craft knife (optional)
7 Ways How to Make a Paper Bat Step by Step
1. What You’ll Need
To make a paper bat, you’ll need a sheet of black construction paper, a pair of scissors, and some clear tape. You may also want to use a pencil to help trace the template onto the construction paper. If you don’t have construction paper, you can also use regular printer paper. Although, the construction paper is sturdier and will make a better-looking bat.

2. Find the Template
The first step is to Find the bat template. You can find the template by clicking here. Once you have the template, print it out on a sheet of white paper. Be sure to cut out the template so that it fits on the bat. However, it is important to note that the template is designed for a standard-sized bat, so you may need to adjust the template depending on the size of your bat.
3. Trace the Template
Next, use a pencil to trace the bat template onto the black construction paper. Make sure to trace both sides of the template to have two identical bat shapes. Cut out the two bat shapes very carefully with scissors.
If needed, use a ruler to get straight edges on each side of the bats. While cutting out the bats, make sure to leave a little bit of the pencil lines along the edges so that they can be seen when the bats are hung up. After cutting out the pieces, use a glue stick to attach them together at the edges. The result should be one solid bat shape with pencil lines along the edges.
4. Cut Out the Bats
Once you have traced the bats onto the construction paper, use scissors to cut them out. Be careful not to cut yourself. If you have a pair of safety scissors, these are the best option for young children. For older kids, regular scissors are fine. Though, it is always a good idea to have an adult help out with this part of the project. Make sure to cut out the bats as neatly as possible, so that they look great when you are done!

5. Fold the Bats in Half
Now it’s time to fold the bats in half. To do this, simply take one side of the bat and fold it over to meet the other side in the middle. Once you have done this, crease the fold so that it stays in place. Repeat this step for both bats.
If you are having trouble folding the bats, you can use a ruler or other straight edge to help get a neat fold. While you want to make sure that the sides of the bats line up, it doesn’t have to be perfect. Just make sure that you press down hard enough to get a good fold. When you are done, the bats should look like two half-moon shapes.
6. Tape the Bats Together
The next step is to tape the two bats together at their edges to form one bat shape with two wings. To do this, simply place a strip of clear tape along one edge of one bat and then attach it to the corresponding edge of the other bat.
Repeat this step until all four edges are taped together. While you are taping, make sure not to overlap the bats or leave any air pockets in between them. Once all edges have been securely taped together, your bat shape should be complete.
7. Hang Your Bat!
Your paper bat is now complete! You can hang it up in your room or office using clear tape or push pins. If you want, you can even add some googly eyes to your bat for an extra spooky touch. If you want to add a modern twist, gather a few of your friends and hang paper bats in different colors from a string. This would make an awesome decoration for any Halloween party or gathering.
However you decide to show off your paper bat, we are sure it will look fabulous! Enjoy your craft, and have a fun and safe Halloween season!

By following this easy paper bat tutorial, you can create a fun and festive decoration for your home or office. Hang it up on the walls, ceilings, windows, or wherever you would like to display it. Your paper bat will make a great addition to your Halloween decorations this season!
Happy Crafting!
Things to Consider When Making a Paper Bat
1. Choose Sturdy Paper
Paper bats made from thick craft paper, card stock, or any other type of strong paper will be more durable and better able to hold their shape. Avoid using thin printer paper, as it will be too flimsy for a bat.
2. Draw Out the Design
Using a pencil, draw out a rough design of your bat on the chosen paper. Be sure to include two wings and define any other details you would like included. If you are feeling creative, you can add additional features such as eyes or teeth.
3. Cut Out the Bat
Once your design is complete, use scissors to cut out the bat shape from the paper. Make sure that each edge is cleanly cut and there are no jagged edges remaining. Carefully separate the top layer of paper from the bottom and discard one of the pieces.
4. Assemble Your Bat
Now you are ready to assemble your paper bat! Use tape, glue, or a stapler to secure the wings and any other details in place. The most important step is making sure both sides of the bat are securely connected so that it will be able to stand on its own.
5. Decorate as Desired
Finally, decorate your paper bat however you like! You can use markers, crayons, glitter, or anything else you have on hand for some extra flair. Just make sure not to overload the paper with too much weight, or it could collapse!
Once your work of art is complete, proudly display it wherever you like! Paper bats make a great addition to any Halloween display or costume. Have fun and be creative with your design!
How Do You Make a Model Bat?
Making a model bat is relatively simple and can be done with just a few materials. You will need dowel rods, wood glue, sandpaper, and some type of paint or finish.
First, cut two pieces of dowel rod to the desired length for the bat. This is usually about 36 inches long for an adult-sized bat. Glue the pieces together at a slight angle (between 15-20 degrees) to form the handle and barrel of the model bat.

Once the glue has dried, sand down any rough edges or areas that may need it. Next, decide on a shape for the barrel of your model bat. This can either be done by hand-shaping with a file or chisel or using a jigsaw and some sandpaper to achieve the desired shape.
Once you have finished shaping the barrel of your model bat, it’s time to finish it off with paint or a sealant, depending on the look you want. You may want to prime and seal before painting in order to get an even coat of color over the entire surface. When applying paint, use light coats – too much paint will make it difficult to achieve smooth coverage and could affect the performance of the bat.
Conclusion
Now you know how to make a paper bat step by step! This fun and easy craft are perfect for Halloween or any time you need to decorate your home with some spooky bats.
With just a few cuts and folds, you can have your own little colony of bats flapping around in no time. So get creative and have fun making these cute creatures!
You Can Check it Out to Make Paper Pine Cones