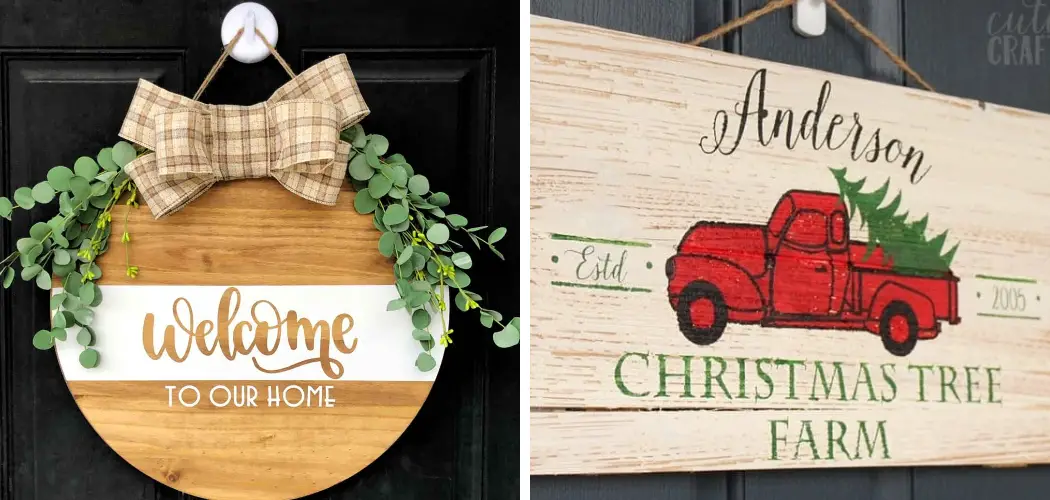
Creating a personalized wood sign with Cricut opens up a world of possibilities for adding a unique touch to your home decor or special events. Whether you’re crafting a custom sign for your wedding, adding a personalized message to your gallery wall, or creating a thoughtful gift for a loved one, mastering the art of making a wood sign with Cricut is both fulfilling and practical.
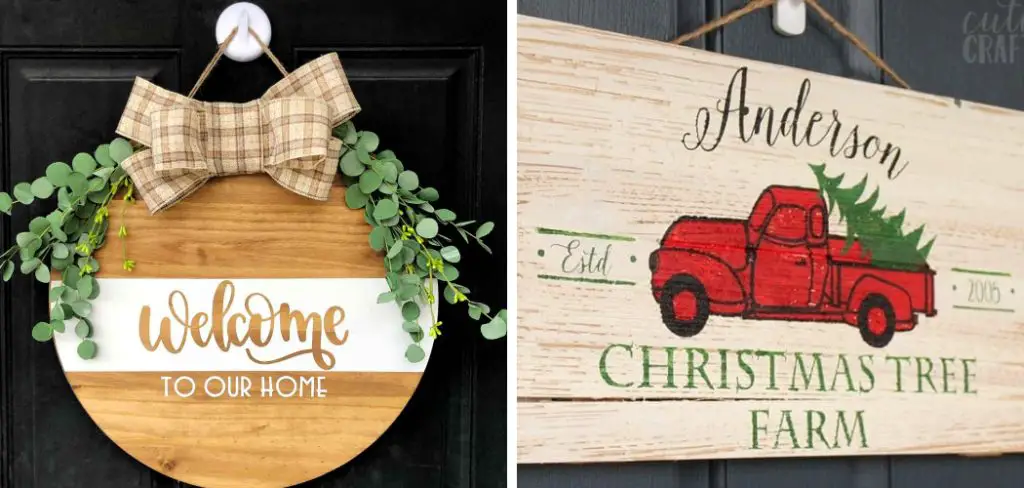
In this article, we’ll explore step-by-step instructions and tips for how to make a wood sign with cricut. From selecting the right materials to mastering the design process and applying the finishing touches, you’ll learn everything you need to know to embark on your wood sign-making journey with confidence and creativity. Let’s dive in and discover how to turn your ideas into beautifully crafted wood signs with the help of Cricut technology.
The Versatility of Using a Cricut Machine for Crafting
The Cricut machine is a remarkable tool for anyone who loves to craft and create. With its precision cutting and versatility, it can handle a wide range of materials including vinyl, paper, cardstock, and even thin wood, which is perfect for your sign-making projects. The possibilities are truly endless when it comes to the designs you can execute—from intricate lettering and delicate patterns to bold graphics and layered effects.
This machine is not just limited to wood signs; it can be used for creating custom t-shirts, personalized greeting cards, stickers, and so much more. Having a Cricut is like having a personal craft workshop at your fingertips, enabling you to turn your creative visions into tangible works of art.
Selecting the Right Wood for the Sign
Choosing the perfect wood for your Cricut sign project is a critical step that influences the outcome and durability of your craft. When looking for wood, you want a flat piece that doesn’t have too much texture or warping, as these can interfere with the smooth application of your design. Birch plywood is a popular choice for its smooth surface, affordability, and practical thickness.
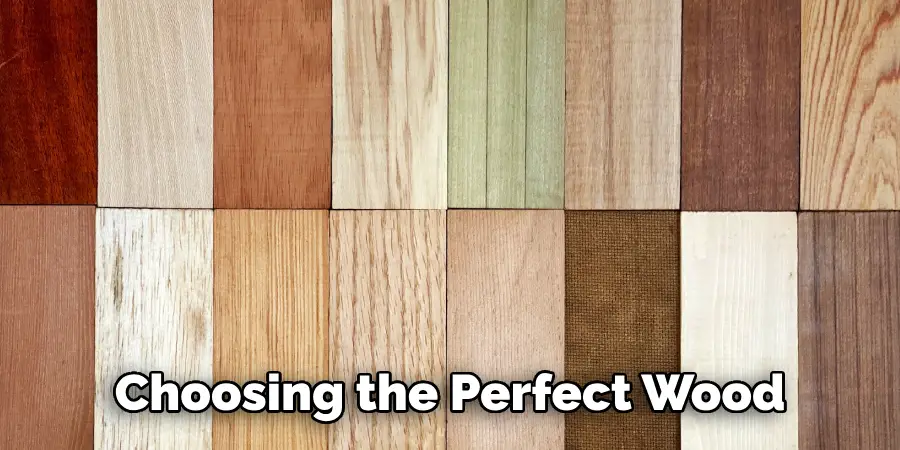
Alternatively, for a more rustic appearance, consider using reclaimed wood or pallets, which can add character to your sign. Remember to ensure the wood size matches the specifications of your Cricut machine to accommodate the design you have in mind. Selecting the right type of wood sets the foundation for a stunning and professional-looking wood sign.
10 Steps How to Make a Wood Sign with Cricut
Step 1: Gather Your Materials
Before you begin making your wood sign, gather all the necessary materials. You’ll need a piece of wood cut to your desired size and shape, sandpaper, paint or stain, a paintbrush or foam roller, transfer tape, adhesive vinyl or stencil material, and your Cricut machine. Additionally, ensure you have a weeding tool, scraper, and scissors or craft knife on hand for the cutting and application process. However, you can always use other materials like chalk paint or a wood burning tool to create unique designs on your sign.
Step 2: Prepare the Wood
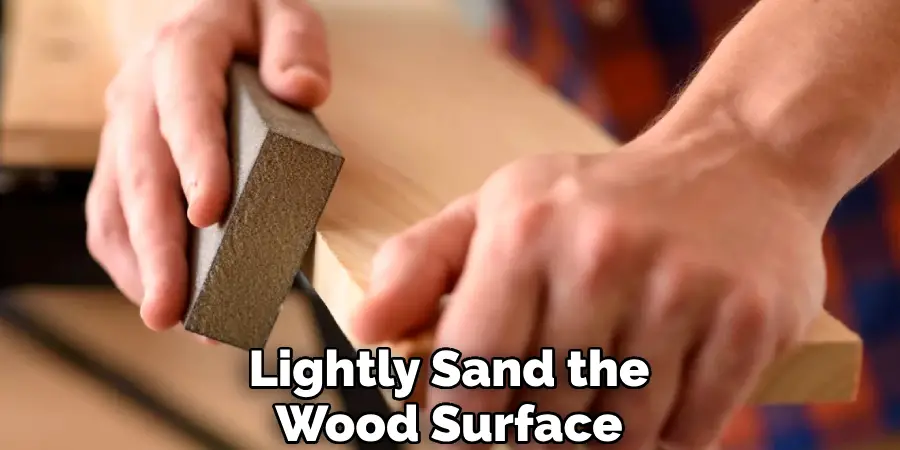
Prepare your wood surface by sanding it smooth to remove any rough edges or imperfections. Wipe away any dust with a clean cloth. If you plan to paint or stain the wood, apply your chosen finish evenly using a paintbrush or foam roller. Allow the paint or stain to dry completely before proceeding to the next step.
You should also apply a coat of sanding sealer to the wood surface for additional protection and smoothness. This will help prevent any damage or warping over time.
Next, use a fine-grit sandpaper to lightly sand the wood surface again, paying extra attention to any remaining rough spots or imperfections. Wipe away any dust with a clean cloth.
Step 3: Design Your Sign in Cricut Design Space
Launch Cricut Design Space and create a new project. Choose the dimensions that match your wood sign, then select or create the design you want to cut. You can browse through Cricut’s pre-made designs or upload your own custom design. Adjust the size, colors, and layout of your design as desired, ensuring it fits within the dimensions of your wood sign. Once you are satisfied with your design, click “Make It” in the top right corner.
You will then be prompted to choose your material. Select “Basswood” from the list of materials, or search for it if it is not readily available. This setting will ensure that your Cricut machine cuts through the wood without damaging it.
Next, prepare your wood sign by lightly sanding the surface and wiping it clean with a cloth to remove any dust or debris. Place your basswood sheet onto your Cricut cutting mat and load it into the machine.
Step 4: Set Up Your Cricut Machine
Prepare your Cricut machine for cutting by ensuring it is connected to your computer or mobile device and powered on. Select the appropriate material setting for your vinyl or stencil material (such as adhesive vinyl, stencil vinyl, or wood veneer), and load the cutting mat into the machine. Follow the on-screen prompts to load the mat and blade, then press the “Go” button to begin cutting. If you are using a stencil material, make sure to mirror the image before cutting.
Once the machine has finished cutting, unload the mat and remove your design from the mat. Use a weeding tool to remove any excess vinyl or stencil pieces from your design. For adhesive vinyl, use transfer tape to lift and place your design onto your desired surface. For stencils, carefully place the stencil onto your surface and use a squeegee to firmly adhere it.
Step 5: Cut Your Design
Once your design is loaded into Cricut Design Space and your machine is ready, initiate the cutting process. Watch carefully as the machine cuts your design, ensuring that the blade follows the correct path and cuts through the vinyl or stencil material cleanly. Once cutting is complete, unload the mat from the machine and carefully remove the cut design from the mat. You now have a beautifully cut design, ready to be applied to your chosen surface.
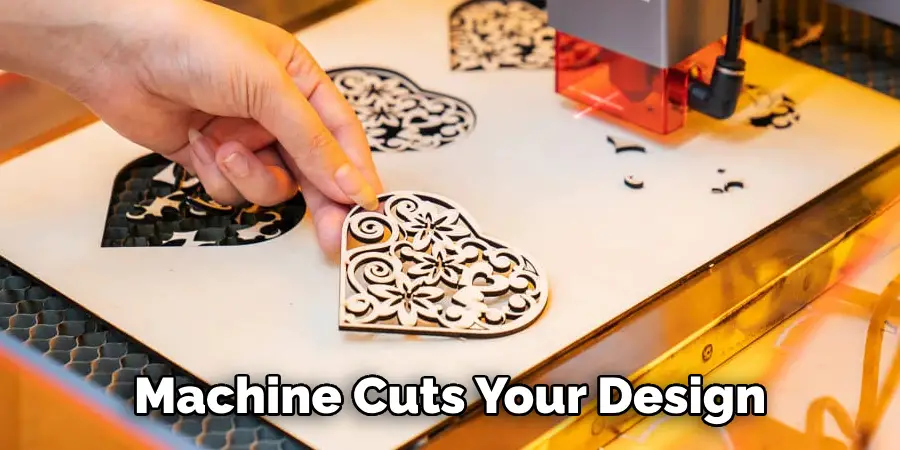
It is important to note that the cutting process may take some time depending on the complexity of your design and the material being used. It is also important to regularly check and clean your cutting blade to ensure it remains sharp and able to cut through materials cleanly.
Step 6: Weed Your Design
Using a weeding tool, carefully remove the excess vinyl or stencil material from around your design. Pay close attention to small or intricate details, ensuring that they remain intact while removing the excess material. Take your time and work slowly to avoid damaging the design or leaving behind any unwanted pieces.
Once the weeding process is complete, you should be left with a clean and crisp design ready to be transferred onto your desired surface. If there are any imperfections or mistakes in the design, now is the time to make any necessary touch-ups before moving on to the next step. However, if you are satisfied with your design, then congratulations! You have successfully completed the weeding process.
Step 7: Apply Transfer Tape
Cut a piece of transfer tape slightly larger than your design and place it over the cut vinyl or stencil material. Use a scraper tool to firmly press the transfer tape onto the design, ensuring it adheres securely. Gently peel away the backing paper from the vinyl or stencil material, leaving the design adhered to the transfer tape.
Once the backing paper is removed, carefully align the design onto your desired surface. Use a scraper tool to smooth out any air bubbles and press the design onto the surface. Slowly peel away the transfer tape, leaving the vinyl or stencil material in place on the surface.
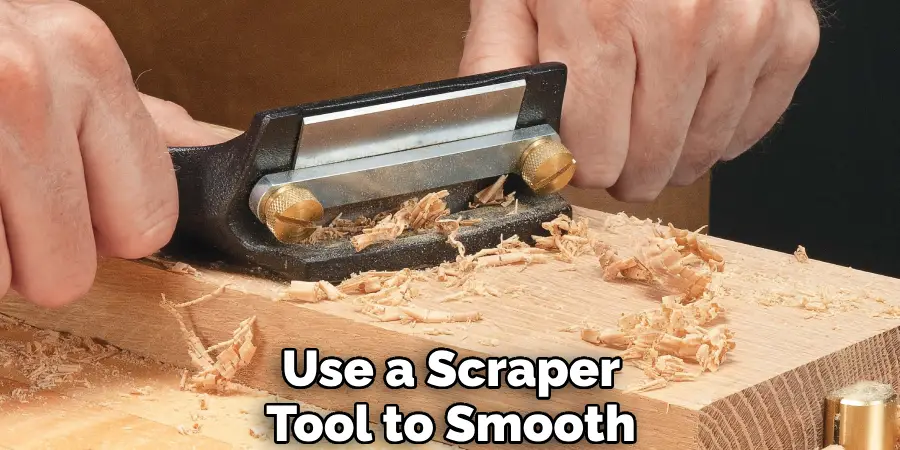
It’s important to be careful during this step as you want to avoid any wrinkles or air bubbles that may occur during the transfer process. If necessary, use a small tool to gently lift and reposition any parts of the design that may have shifted during transfer.
Step 8: Transfer Your Design to the Wood
Carefully position the transfer tape with the vinyl or stencil design onto the prepared wood surface, ensuring it is centered and aligned correctly. Once in position, use the scraper tool to firmly press the design onto the wood, ensuring it adheres securely. Slowly peel away the transfer tape, leaving the vinyl or stencil design adhered to the wood surface.
If you are using vinyl, gently rub over the design with your fingers to ensure it is well-adhered and there are no air bubbles. If you are using a stencil, use a small paintbrush or foam brush to carefully fill in the design with paint of your choice. However, be sure to use a light hand and gentle strokes to prevent any bleeding under the stencil.
Once you have completed transferring the design onto the wood surface, carefully remove any excess transfer tape or stencil material. You can also use an X-Acto knife to trim any edges or details for a cleaner finish. Your design is now ready for the next step!
Step 9: Remove the Transfer Tape
After transferring the design to the wood, gently remove the transfer tape from the surface, taking care not to lift the vinyl or stencil material. Work slowly and methodically to ensure that the design remains intact and adheres securely to the wood. Use the scraper tool to smooth out any air bubbles or wrinkles in the design.

Once the transfer tape is removed, take a step back and admire your work! You now have a beautiful custom design on your wood surface. If you notice any small imperfections or areas that didn’t fully adhere to the wood, you can carefully use a craft knife to touch up these spots. Though, keep in mind that a handmade touch can add character to your design.
Step 10: Add Finishing Touches
Once the vinyl or stencil design is securely adhered to the wood, take a step back and admire your handiwork. If desired, add any additional embellishments or finishing touches to enhance the overall look of the sign. You can add painted accents, embellishments, or protective coatings to customize the sign further and make it truly your own.
It’s also a good idea to sand down any rough edges or imperfections in the wood before adding these finishing touches. This will ensure a smooth and professional-looking final product. However, be careful not to sand away too much of the design or letters.
Once you are satisfied with the overall appearance and feel of your sign, let it dry completely before displaying or gifting it. This will ensure that all components are securely attached and any paint or coatings have fully dried.
Load the Design into the Cricut Machine
Before loading your design into the Cricut machine, make sure all previous cuts have been cleared away and the machine is set up for a new project. With your design finalized in Cricut Design Space, ensure that the material settings on the machine match the type of vinyl or stencil material you are using. Secure the material to the cutting mat, aligning it according to the guidelines. Now, load the mat into the machine by pressing the flashing ‘Load/Unload’ button.
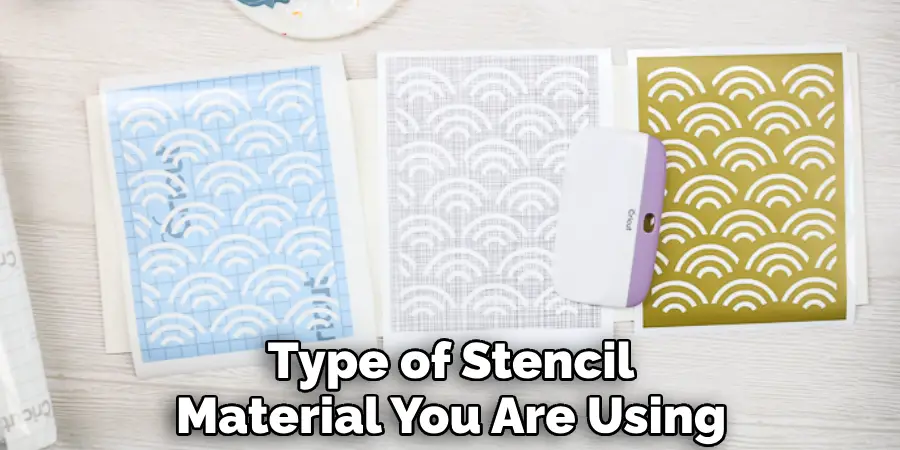
Verify once more that your design is correctly oriented and sized within the Design Space before you begin cutting. Then, press the ‘Go’ button to start the cutting process. Observe the initial cuts carefully; if adjustments are required, you can pause the machine and make corrections as needed. Continue to supervise the machine throughout the cutting process to confirm everything runs smoothly.
Cutting and Weeding Vinyl
With your Cricut machine loaded and the design set in Cricut Design Space, it’s time to begin cutting your vinyl. Start the process by selecting the ‘Cut’ feature in the software, ensuring your machine’s blade and settings are adjusted according to the type and thickness of vinyl you are using. Watch attentively as the machine starts to cut the design, ready to pause if any misalignments or errors occur.
After the cutting is complete, unload the vinyl from the Cricut machine and begin weeding with a weeding tool. This involves carefully removing all the excess vinyl from around your design as well as the insides of any letters or intricate patterns. Be sure to work in a well-lit area and take your time; precise weeding is essential for a polished end result. Keep a small trash bin close by to collect the discarded vinyl pieces and keep your workspace orderly. As you weed, periodically check against the original design to ensure that no parts of the design have been accidentally removed, and the vinyl that remains is exactly what you intended to transfer.
Applying Transfer Tape to Vinyl Design
After your vinyl design is fully weeded, the next step is to apply the transfer tape. This tape will help you move the design from its backing to the final surface without losing alignment or detail. Start by cutting a piece of transfer tape slightly larger than your vinyl design. Peel off the backing and lay the transfer tape over the top of the vinyl, using a scraper tool to smooth it down and eliminate any air bubbles.
Ensure that the transfer tape adheres well to the vinyl design by pressing firmly with the scraper tool. This pressing action is crucial to ensure that every element of the design will stick to the transfer tape rather than the vinyl backing when it is time to apply it to your chosen surface.
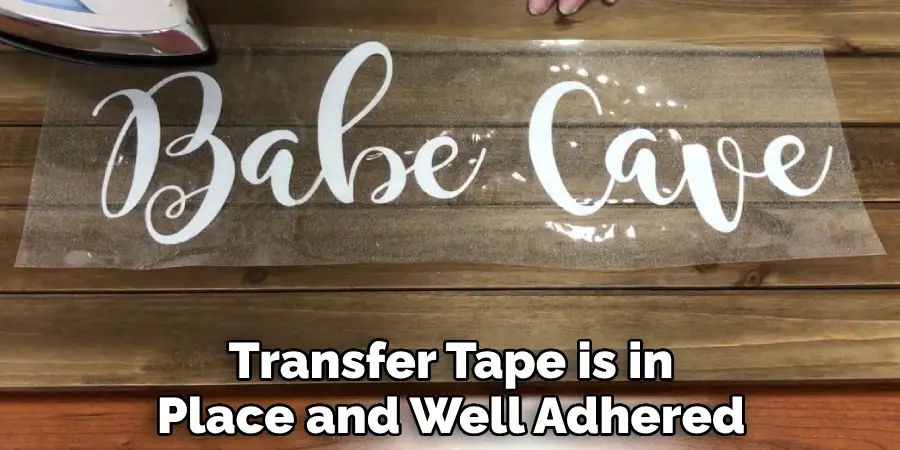
Once the transfer tape is in place and well adhered, it’s time to carefully peel away the vinyl’s backing. Go slowly, making sure the vinyl design remains on the transfer tape. If any part of the design lifts with the backing, gently replace the tape and press down again with the scraper tool. Your design is now ready for placement on your final product, such as a mug, t-shirt, wall, or sign.
Conclusion
In conclusion, mastering the process of making a wood sign with Cricut opens up a world of creative possibilities for adding personalized touches to your home decor or special occasions. By following the step-by-step instructions and tips for how to make a wood sign with cricut, you’ve gained the knowledge and confidence to design, cut, and transfer vinyl with precision and ease. Whether you’re a seasoned crafter or new to working with Cricut machines, creating stunning wood signs is within reach with the right tools and techniques.
With practice and experimentation, you’ll hone your skills and develop your own unique style, allowing you to create beautiful and meaningful wood signs that reflect your personality and enhance any space. So, gather your materials, unleash your creativity, and let your Cricut machine inspire you to craft beautifully customized wood signs that will be cherished for years to come.

