
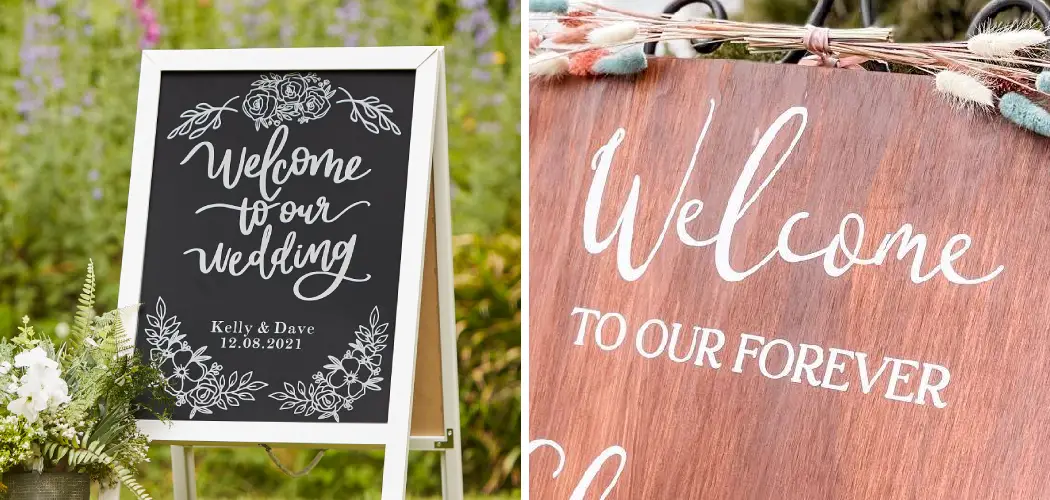
Are you looking for a creative way to decorate your wedding? Creating personalized wedding signs with your Cricut machine is a great way to add unique touches to your special day. Making signs with a Cricut machine may be just the solution you’ve been searching for.
Using an electronic cutting tool, such as the Cricut, will enable you to make custom-made wedding signs that incorporate your unique design and style.

Whether you plan to craft something special for each of your guests or simply want some amazing decorations that are out of this world, using Cricut is easy and convenient.
In this blog post, we’ll show you everything you need to know about how to make wedding signs with cricut — from selecting the right supplies and materials to choosing fonts and graphics that truly reflect who you are as a couple. Whether this is your first time working with a Cricut or if you’re an experienced user just looking for some tips and tricks- let’s get crafting! So read on.
The Benefits of Making Wedding Signs With Cricut
1. Add Personal Touch
Creating wedding signs with Cricut is a great way to add your own personal touch to your special day. Not only will you save time by being able to design the perfect sign, but using a Cricut also allows for precise cutting and an overall beautiful finished product.
With this electronic cutting tool, it’s easier than ever before to make sure everything is perfectly spaced and cut, which will give your wedding signs that extra special touch.
2. Save Money
Making wedding signs with Cricut is also cost effective. You can save money by not having to purchase pre-designed decorations or hire someone to create them for you. Instead, you can make exactly what you want for a fraction of the price!
3. Endless Possibilities
Using a Cricut machine to create wedding signs also gives you the freedom of creativity. With so many options available, you can select specific fonts and shapes to perfectly match your unique style. There are no limits when it comes to what you can make with Cricut — from classic black and white signs to more intricate designs and decorations, the possibilities are truly endless.
Now that you know why creating wedding signs with Cricut is such a great option, let’s take a look at what supplies and materials you will need to get started.
Supplies Needed for Making Wedding Signs With Cricut
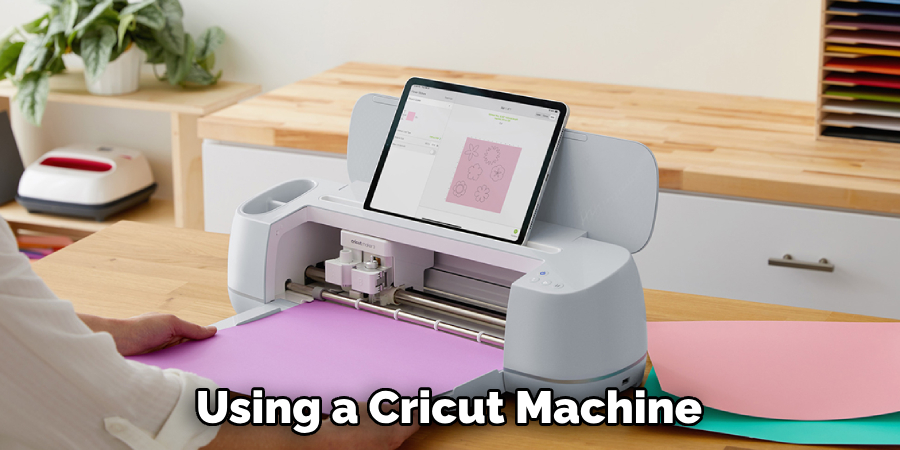
1. Cricut Machine- The most important part of this project is obviously the Cricut machine itself. Be sure you have all the tools and parts necessary for your machine to work properly, as well as a cutting mat that’s compatible with the kind of material you will be using.
2. Vinyl- Vinyl is an incredibly versatile material that can be used in many different projects, including creating wedding signs. Depending on what type of design you’re going for, you can choose from a variety of colors and designs.
3. Transfer Tape- Transfer tape is used to transfer the vinyl design onto your sign or surface. Make sure to buy transfer tape that is compatible with the type of vinyl you have chosen in order to get the best results.
4. Sign Material- You will also need to choose a sign material that matches your desired design. There are several options available, including wood, plastic, or metal — just make sure the material you select is suitable for use with your Cricut machine.
Once you have all of the necessary supplies and materials in hand, it’s time to get started on making wedding signs with Cricut. The process is actually quite simple.
10 Ways How to Make Wedding Signs With Cricut
1. Design your Sign
Start by designing the perfect wedding sign using images, text, and shapes on Cricut Design Space. Be sure to consider font size and spacing when designing your sign for the best results. Perfect design takes time so don’t be afraid to experiment and make revisions until you get the sign just the way you’d like it.
2. Place Vinyl Onto Cutting Mat
Once your design is complete, place your vinyl onto a compatible cutting mat and load it into your Cricut machine. Make sure to select the correct settings for vinyl on your machine. Placing the vinyl onto the cutting mat will help ensure that your design is cut perfectly every time.

3. Cut Out Design
Using your Cricut machine, begin to cut out your design on the vinyl. Depending on how intricate your design is, this may take some time — but be patient and let the machine do its work for best results.
4. Weed Excess Vinyl
Once the cutting is complete, it’s time to weed out any excess vinyl from your design. Be sure to take your time and use a tool like tweezers or an x-acto knife to help remove any small pieces that may be left behind.
5. Apply Transfer Tape
After weeding out all of the excess vinyl, it’s time to apply transfer tape. This will help you move your design onto the surface where you want to place it without destroying or misplacing any of the pieces.
6. Place Design on Sign Surface
Once your transfer tape is in place, carefully place your design onto your sign material — making sure that all pieces are secure and aligned correctly. You may need to use a tool such as an x-acto knife or tweezers for more intricate designs.
7. Secure Design With Masking Tape
Using masking tape, secure the edges of your design onto your sign material so that it doesn’t move or come off while you are working on it. This will help ensure that your sign looks perfect when it’s finished.
8. Peel Off Transfer Tape
Once everything is in place and secure, slowly begin to peel off the transfer tape, making sure all of the pieces of vinyl stay on the surface. If any pieces don’t stick, you can use tweezers or an x-acto knife to help secure them.
9. Hang and Enjoy!
Once you’ve removed the transfer tape, your sign is ready to be hung and enjoyed! Depending on where you want to hang it, you may need additional supplies such as nails or double-sided tape. Hanging your sign is the last step — but definitely not the least!
10. Clean Up and Store Supplies
Once your sign is up, it’s time to clean up any messes and store away all of your supplies until next time. Be sure to properly dispose of any extra vinyl or transfer tape you may have used in the process. This will help ensure that you are able to reuse your materials for future projects.
Making wedding signs with Cricut is a great way to add a personal touch to your big day. With so many supplies and tools available, it’s easier than ever before to make beautiful decorations that will last long after the wedding has ended. Just be sure to take your time and follow the steps outlined above to ensure your signs turn out perfectly!

5 Common Mistakes to Avoid When Making Wedding Signs With Cricut
Making wedding signs with a Cricut machine is a great way to create personalized decorations. However, it’s important to know the common mistakes to avoid when making wedding signs with Cricut so that you can have a beautiful and successful end product. Here are 8 of the most common mistakes people make when crafting their Cricut wedding signs.
1. Not Choosing the Right Materials
It’s important to choose a material that will work best for your sign. Some materials are better suited for indoor signs while others are better for outdoor use. Make sure to read up on which materials are most suitable before getting started.
2. Not Measuring Accurately
When creating your sign, it’s essential to measure it accurately. Make sure that you use a ruler or measuring tape for precision. After all, an incorrectly sized sign can ruin the end result.

3. Skimping on Adhesive
It is crucial to use plenty of adhesive when attaching the materials to each other and to their respective surfaces. This will ensure that your sign is secured and doesn’t come apart over time.
4. Not Giving the Project Enough Time
Creating a wedding sign with Cricut can be a time-consuming process, so it’s important to give yourself enough time to complete the project without feeling rushed or overwhelmed by deadlines.
5. Not Preparing the Surface
Before beginning your project, make sure that you’ve prepared the surface where you plan to put your sign. This could involve sanding or painting it to ensure that it looks great for years to come.
Conclusion
Making wedding signs with a Cricut may seem hard, but the truth is that it is not. With some simple research on how to make wedding signs with cricut and practice, anyone can make beautiful signs for their special day. Not only do they look great, but they allow you to personalize every minute detail of the event down to the very font used in each sign.
If you’re feeling creative and want to add an extra sparkle to your wedding day, consider crafting your own wedding signs with a Cricut machine – the result will be nothing short of extraordinary!
From hand-crafted seating charts detailing everyone’s place settings to custom banners hung up in celebration of the most joyous occasions, Cricuts could make all your wildest decorating dreams come true! So get creative and let your crafting skills shine at your next wedding.