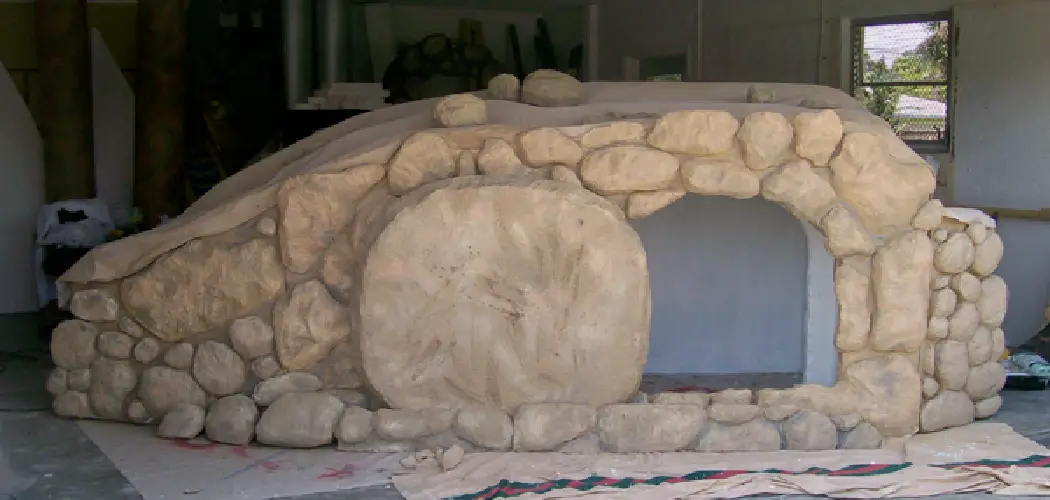
When it comes to crafting, there are endless possibilities and mediums to choose from. One such medium is paper, which can be transformed into various shapes and structures with just a few folds and cuts. Making a tomb out of paper is one such creative project that not only allows you to showcase your artistic skills but also teaches you valuable techniques along the way.
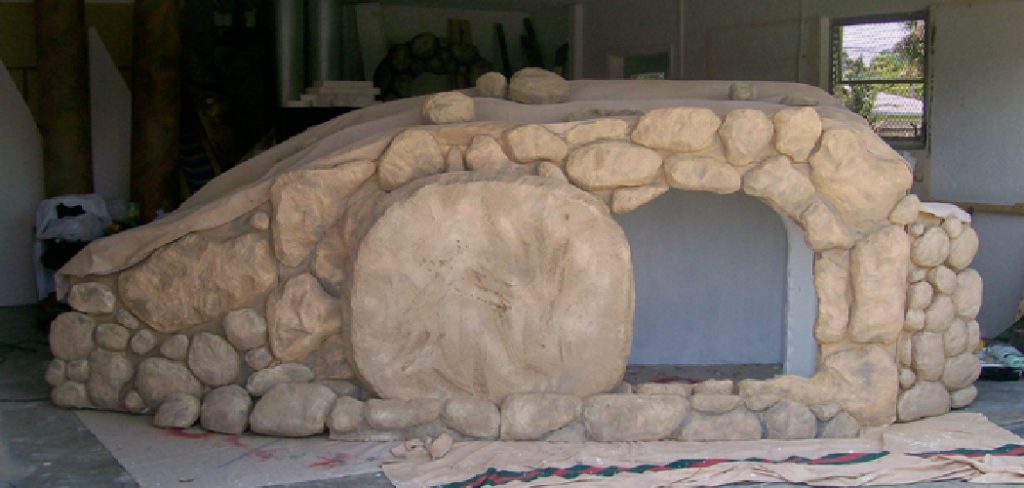
The main advantage making a tomb out of paper is that it allows you to create a unique and personalized decoration for various occasions. Whether it’s for Halloween, Day of the Dead, or even just as an art project, making a paper tomb can be both fun and rewarding. In this blog post, You will learn in detail how to make a tomb out of paper.
Materials You Will Need
- 2 sheets of black construction paper
- 1 sheet of grey or brown construction paper
- Scissors
- Glue stick or tape
- Pencil and ruler
- White crayon or chalk
- Black marker
- Red or yellow tissue paper
- Toothpick
- Optional: Paper cutouts of skeletons, bats, or other Halloween-themed decorations
Step by Step Processes for How to Make a Tomb Out of Paper
Step 1: Inspect the Paper
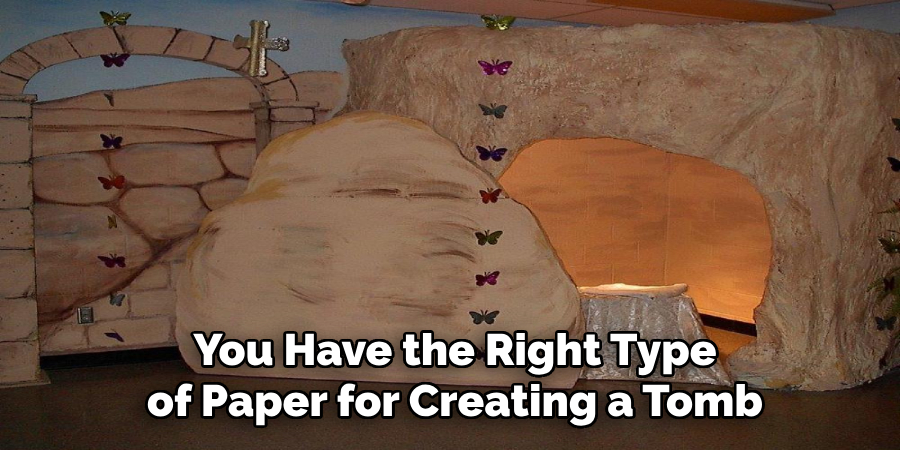
First and foremost, you want to make sure that you have the right type of paper for creating a tomb. Ideally, you should use a thicker paper such as cardstock or construction paper, which will give your tomb more stability and durability.
Step 2: Gather Your Materials
Aside from paper, you will also need scissors, glue or tape, and a pencil or pen. Optional materials include markers, crayons, or paints for decorating your tomb. Decide how large you want your tomb to be and use a ruler or measuring tape to mark out the dimensions on your paper. You can also create a template using cardboard if you want a more precise shape.
Step 3: Cut Out Your Tomb Shape
Once you have determined the size and shape of your tomb, use your scissors to carefully cut out the outline. Be sure to make clean cuts to ensure a smooth and precise finish. Using another piece of paper, fold it in half lengthwise and then widthwise to create a sturdy base for your tomb. This will serve as the foundation and support for the walls of your paper tomb.
Step 4: Attach the Tomb Walls to the Base
Using glue or tape, attach your previously cut out tomb shape onto the folded paper base. Make sure to secure all edges and corners so that your tomb stands upright on its own. This is where you can get creative! Use markers, crayons, or paints to add any details or decorations to your tomb. You can draw on doors, windows, or even intricate designs to make your tomb more visually appealing.
Step 5: Create a Lid for Your Tomb
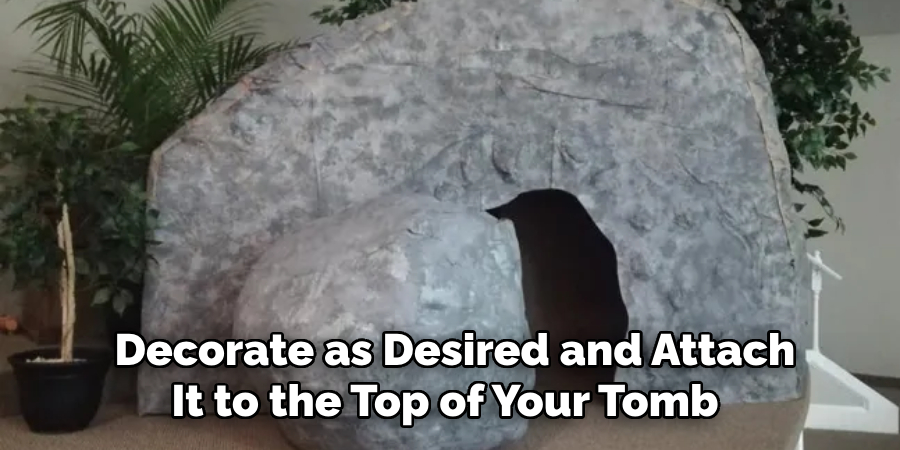
To create a lid for your paper tomb, cut out another piece of paper that is slightly larger than the top of your tomb. Decorate as desired and attach it to the top of your tomb using glue or tape. Once your tomb is fully constructed, you can add any final touches such as glitter, stickers, or even fake moss to make it more realistic.
Step 6: Display Your Paper Tomb
Congratulations, you have successfully made a tomb out of paper! Display it proudly on your bookshelf or use it as a centerpiece for Halloween decorations. You can even create multiple tombs in different sizes and designs to create a whole miniature graveyard.
Now that you know to make a tomb out of paper, have fun creating different variations and experimenting with different techniques. Get creative and let your imagination run wild! Remember, the possibilities are endless when it comes to paper crafts.
Tips for How to Make a Tomb Out of Paper
- When making a tomb out of paper, it is important to select the right type of paper. Heavyweight or cardstock paper is recommended for better durability and stability.
- Sharp scissors are essential when cutting out intricate designs on your tomb. Dull scissors can lead to uneven edges and make it difficult to create precise cuts.
- Use a ruler or straight edge to help guide your cuts and ensure straight lines on your tomb.
- When using glue, be sure to apply it evenly and sparingly. Too much glue can cause the paper to wrinkle or become too wet, resulting in a weak structure.
- It is important to take breaks when working on your tomb, especially if you are using small or sharp tools. This will help prevent any hand cramping or fatigue.
- Keep your work area clean and organized to avoid accidents and make the process more efficient.
- Always supervise children when making a tomb out of paper, as scissors and other tools can be dangerous if not handled properly.
How Long Does It Take to Make a Paper Tomb?
If you’re wondering how long it takes to make a paper tomb, the answer really depends on your skill level and the complexity of the design. However, with some patience and practice, making a simple paper tomb can take anywhere from 30 minutes to an hour.
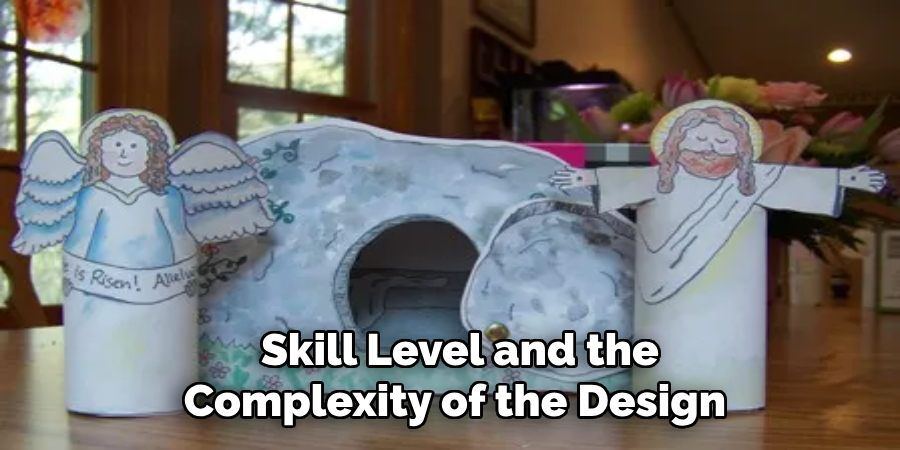
The first step in making a paper tomb is to gather all necessary materials. You will need several sheets of paper, scissors, glue or tape, and a pencil. It’s also helpful to have a ruler on hand to ensure precise measurements.
Once you have your materials ready, the next step is to plan out your design. You can either create your own tomb design or find inspiration from online templates. Take some time to think about how you want your paper tomb to look like and sketch out your design on a piece of paper.
Once you have your design ready, it’s time to start cutting and folding. You will need to cut out the main pieces of the tomb, including the base, walls, and roof. Use a ruler and pencil to mark out the measurements before cutting to ensure accuracy. Once all the pieces are cut, fold them along the marked lines to create crisp edges.
How Can You Make Your Paper Tomb Environmentally Friendly?
If you’re looking to make a paper tomb, there are many different creative ways in which you can display or use it. Whether for Halloween decorations, model-making projects, or as part of an educational activity, making a paper tomb is not only fun but also allows for endless possibilities and customization. One unique way to display your paper tomb is by using it as a centerpiece for a spooky-themed party or event.
You can place candles inside the tomb or around it and dim the lights to create a creepy ambiance. Additionally, you can add elements such as fake cobwebs, plastic spiders, or even dry ice to make your paper tomb stand out. Another fun idea is to use your paper tomb as part of a scavenger hunt or escape room game.
You can hide clues or small treats inside the tomb for participants to find, or use it as a prop in a puzzle or riddle. This adds an interactive and engaging aspect to your paper tomb, making it more than just a decoration.
What Maintenance or Care is Required for a Paper Tomb?
Once you have completed making a paper tomb, it is important to properly maintain and care for it in order to ensure its longevity. While paper may not be the most durable material, with proper care, a paper tomb can last for years. Here are some tips on how to maintain and care for your paper tomb:
1. Keep It Away From Moisture
Paper is sensitive to moisture and can easily become wrinkled or discolored when exposed to water. Therefore, it is important to keep your paper tomb in a dry and cool place.

2. Avoid Direct Sunlight
Prolonged exposure to direct sunlight can cause the paper to fade and deteriorate. It is best to display your paper tomb in a shaded area.
3. Handle with Care
Paper is delicate and can easily tear or crease. When handling your paper tomb, be gentle and avoid applying too much pressure.
4. Dust Regularly
Just like any other object in your home, your paper tomb will accumulate dust over time. Be sure to dust it off regularly with a soft cloth or feather duster to keep it clean.
5. Use Protective Measures
If you plan on displaying your paper tomb for a long period of time, consider using protective measures such as a glass or plastic cover to prevent it from getting damaged.
By following these simple maintenance and care tips, you can ensure that your paper tomb remains in good condition and can be enjoyed for years to come. So go ahead and create your own unique paper tomb, but don’t forget to give it the proper care and attention it deserves.
Conclusion
In conclusion, making a tomb out of paper is a fun and creative activity that can be enjoyed by people of all ages. It allows for artistic expression and also teaches about ancient civilizations and their burial practices. Moreover, this activity can also be used for educational purposes.
Teachers can use it as a hands-on project to teach their students about ancient civilizations or as a way to incorporate history into art lessons. It is a great way to engage students and make learning fun.
Not only is making a paper tomb an enjoyable activity, but it also promotes recycling and sustainability. Instead of purchasing plastic or other non-biodegradable materials, you can create a tomb out of paper that can be easily recycled after use.
I hope this article has been beneficial for learning how to make a tomb out of paper. Make Sure the precautionary measures are followed chronologically.

