
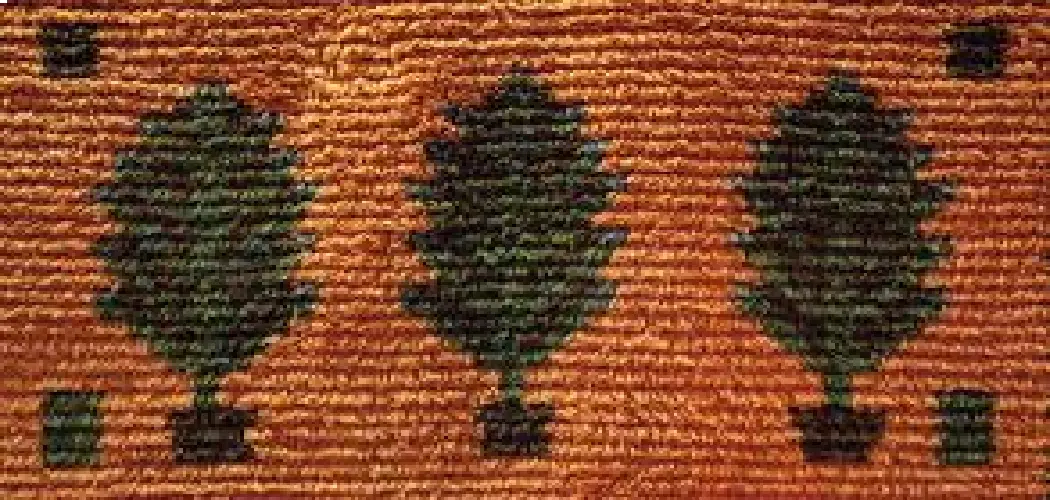
Aida cloth is a popular fabric used for cross-stitching and embroidery projects. It has a grid-like structure that makes it easy to count stitches and create precise designs. However, sometimes you may want to add your own personal touch to your projects by dyeing the Aida cloth. Dyeing allows you to customize the color of your fabric, making it perfect for creating unique and personalized cross-stitch pieces.

The main advantage of learning to dye aida cloth is that it allows you to create custom-colored fabric for your embroidery projects. This can give your pieces a unique and personalized touch, making them stand out from store-bought fabrics. In this blog post, You will learn in detail how to dye aida cloth.
Materials You Will Need
- Aida cloth
- Fabric dye (in desired colors)
- Soda ash (for brighter colors, optional)
- Gloves
- Large pot
- Measuring cups and spoons
- Stirring utensil
- Plastic bags or plastic wrap
- Water
- Salt
Dyeing your own Aida cloth can add a unique touch to your cross-stitch projects. With the right materials and techniques, you can create custom colors and patterns to make your projects stand out.
Step-by-step Instructions for How to Dye Aida Cloth
Step 1: Inspect Your Aida Cloth
Before starting the dyeing process, make sure your Aida cloth is clean and free of any stains or dirt. This will ensure that the dye adheres evenly to the fabric. In a large pot, mix together water, fabric dye, and salt according to the instructions on your chosen dye brand. If you want brighter colors, you can also add soda ash to the mixture.

Step 2: Wet Your Aida Cloth
Thoroughly wet your Aida cloth in warm water. This will help the fabric absorb the dye evenly and prevent splotchy results. Once your dye solution is ready, gently place your wet Aida cloth into the pot. Make sure it is completely submerged in the dye.
Step 3: Stir Occasionally
While the fabric is soaking in the dye, use a stirring utensil to gently agitate the mixture and ensure that the dye is evenly distributed. If you want to create a multicolored effect, you can add additional colors to the dye solution at this point. Simply pour the new color(s) into the pot and continue stirring.
Step 4: Adjust Dyeing Time
The longer you leave your Aida cloth in the dye solution, the darker the color will be. Keep an eye on your fabric and remove it from the pot when it reaches your desired shade. Once you have achieved your desired color, remove the fabric from the pot and rinse it thoroughly in cold water until the water runs clear. This step helps to set the dye.
Step 5: Hand Wash Aida Cloth
To ensure that the dye does not bleed or fade, hand wash your dyed Aida cloth in cold water with mild detergent. Finally, lay your Aida cloth flat to dry and then iron it to remove any wrinkles or creases. Your custom dyed Aida cloth is now ready to use in your cross-stitch projects.
By following these simple steps, you can easily dye your own Aida cloth and add a personal touch to your crafting projects. Get creative with different color combinations and patterns to make your cross-stitch designs truly unique.
Tips for How to Dye Aida Cloth
- Wear gloves to protect your hands from the dye.
- Use a well-ventilated area when working with fabric dyes.
- Avoid contact with eyes and skin, as some dyes can be harmful.
- Keep children and pets away from the dyeing process.
- Follow the instructions on your chosen dye brand carefully for best results.
- Use plastic bags or plastic wrap to cover your work surface and avoid staining.
- Always use caution when working with hot water and dyes to prevent burns.
How Do You Prepare the Aida Cloth Before Dyeing?
After selecting the perfect color of dye for your project, the next step is to prepare your Aida cloth. This is an important step as it will ensure that your cloth absorbs the dye evenly and gives you a smooth and consistent color. Firstly, wash your Aida cloth in warm water with mild detergent to remove any dirt or sizing from the fabric. This will help the dye to penetrate the fabric better.

Next, rinse the cloth thoroughly and let it dry completely. Make sure to iron your Aida cloth before dyeing to remove any wrinkles or creases that may affect how the dye is absorbed.
To prevent any unwanted color bleeding, you can also choose to pre-treat your Aida cloth with a dye fixative solution. This will help the dye to stay in place and prevent it from running or fading. Once your Aida cloth is prepped and ready, you can proceed with the dyeing process. Remember to follow the instructions on the dye package and use gloves to avoid staining your hands.
After dyeing, rinse your Aida cloth until the water runs clear and then let it dry completely before using it for your project. With these simple preparation steps, you can successfully dye your Aida cloth and achieve the perfect color for your needlework.
What is the Best Way to Wash and Dry the Dyed Aida Cloth?
Once you have successfully dyed your Aida cloth, it is important to properly wash and dry the fabric to ensure that the color remains vibrant and does not fade.
1. Rinse the Fabric
Before washing the dyed Aida cloth, it is important to rinse out any excess dye. To do this, fill a sink or bucket with lukewarm water and add a small amount of mild detergent. Soak the fabric in the solution for about 10-15 minutes, gently agitating it to help remove any excess dye.
2. Wash Carefully
After rinsing out the excess dye, you can proceed with washing the Aida cloth. Use a gentle cycle on your washing machine and use cold water along with a small amount of mild detergent. It is important to avoid using harsh detergents or bleach, as this can cause the color to fade.

3. Dry with Care
After washing the dyed Aida cloth, it is important to dry it properly. If possible, line drying is the best option as it prevents any damage from heat or friction. If you must use a dryer, use the lowest heat setting and remove the fabric before it is completely dry to avoid any shrinking or damage.
4. Ironing
Once the dyed Aida cloth is completely dry, you can press it with an iron on a low setting to remove any wrinkles. It is important to use a pressing cloth between the iron and the fabric to protect the color.
5. Storage
To prevent any fading or damage, it is important to store your dyed Aida cloth in a cool, dry place away from direct sunlight. This will help maintain the color and keep the fabric in good condition for future use.
By following these steps, you can ensure that your dyed Aida cloth remains vibrant and beautiful for all of your stitching projects. Now that you know how to dye and care for your Aida cloth, let your creativity flow and experiment with different colors to create unique and personalized pieces.
How Do You Prevent the Dye From Bleeding Onto the Edges of the Aida Cloth?
One common issue that many people face when dyeing Aida cloth is the bleeding of color onto the edges of the fabric. This can be avoided by properly securing the edges of the fabric before dyeing. You can use masking tape, plastic clips, or sewing pins to secure the edges and prevent any color from seeping in.
Additionally, it is important to avoid over-saturating the fabric with dye, as this can also cause bleeding onto the edges. Follow the instructions on your chosen dye brand carefully and use only the recommended amount for your desired color intensity.
With proper preparation and caution, you can prevent any unwanted color bleed and achieve a clean and professional-looking dyed Aida cloth. So remember to take your time and secure those edges before starting the dyeing process.
What is the Best Method for Achieving a Gradient Effect on the Aida Cloth?
If you want to create a beautiful gradient effect on your Aida cloth, there are several methods you can try. One popular method is using a dip-dye technique, where you gradually submerge the fabric into the dye solution for different lengths of time to achieve varying shades.
Another option is creating a ombre effect by blending two or more colors together, either through hand-painting or using a spray bottle to apply the dye. Whichever method you choose, make sure to practice and test on scrap fabric first to perfect your technique.

With some patience and experimentation, you can create stunning gradient effects on your Aida cloth for a unique and eye-catching finished product. So don’t be afraid to get creative and try out different techniques until you find the perfect gradient effect.
Conclusion
In conclusion, dying Aida cloth is a fun and creative way to add color and personalization to your cross-stitching projects. Whether you want to create a unique piece or match a specific color scheme, dyeing Aida cloth allows you to achieve the desired result.
To recap, the process of dyeing Aida cloth involves preparing the fabric by washing it in hot water and allowing it to dry completely. Next, you can choose between different dyeing methods such as hand-dyeing or using liquid or powder dyes.
Once the fabric is dyed, it must be thoroughly rinsed and allowed to dry before use. I hope this article has been beneficial for learning how to dye aida cloth. Make Sure the precautionary measures are followed chronologically.