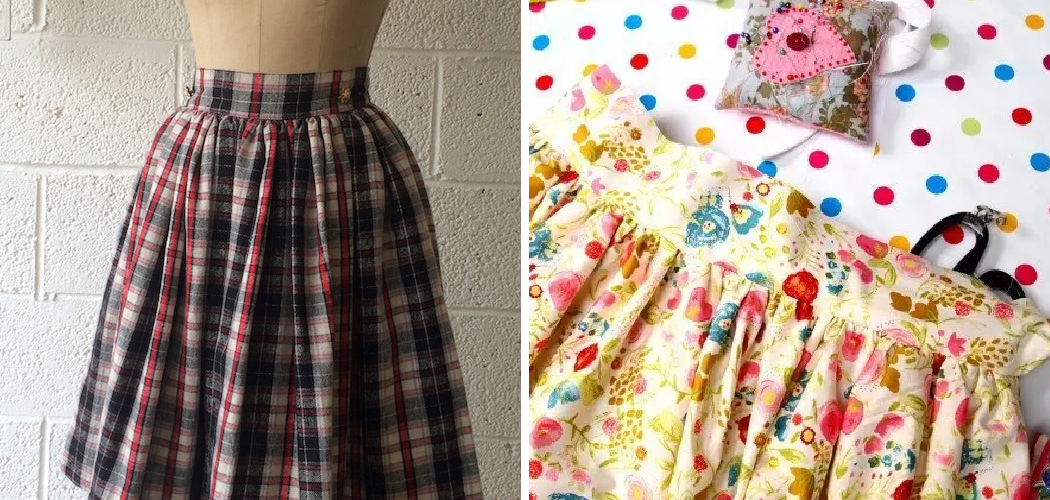
Making a skirt without a pattern can be a liberating and creative experience, allowing you to design a garment that perfectly fits your style and measurements. Whether you’re a beginner or an experienced sewist, creating a skirt without a pattern offers flexibility and the opportunity to showcase your sewing skills.
In this article, we will guide you through the process of how to make a skirt without a pattern.
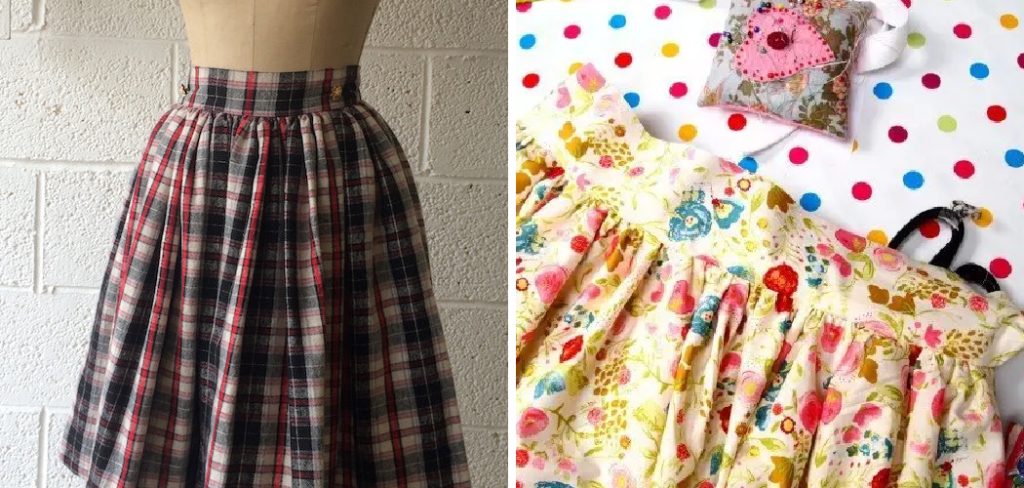
From taking accurate measurements and choosing the right fabric to drafting a simple pattern and sewing the skirt together, we’ll provide you with step-by-step instructions and helpful tips. By following these methods, you can unleash your creativity, embrace your individuality, and craft a one-of-a-kind skirt that is uniquely yours.
Get ready to dive into the world of DIY fashion and create a stylish skirt that perfectly reflects your personal taste and flair.
Introduce the Concept of Making a Skirt without Using a Pattern
Making a skirt without a pattern is a fun and creative way to get the look you want without having to buy or create a pattern. It’s also much simpler than it seems. With just some basic measurements, fabric, and sewing supplies, you can make a skirt that fits perfectly and looks great! Whether you’re looking for something casual or dressy, this method of making skirts is sure to please.
Materials Needed
To make your own skirt without using a pattern, all you need are the following materials:
- Fabric of your choice – enough to fit around your waist plus an extra 2-3 inches
- Measuring tape
- Scissors
- Thread in colors matching or complementing the fabric
- A sewing machine or needle and thread
- Elastic (optional)
Highlight the Freedom and Creativity that Comes with Designing Your Own Skirt
Designing and making your own skirt without a pattern allows you to explore your creativity. There’s a sense of freedom that comes with knowing that you can make something from start to finish—without any limitations set by a pre-made pattern. With the right supplies, you can make an entirely unique skirt that will be sure to turn heads.
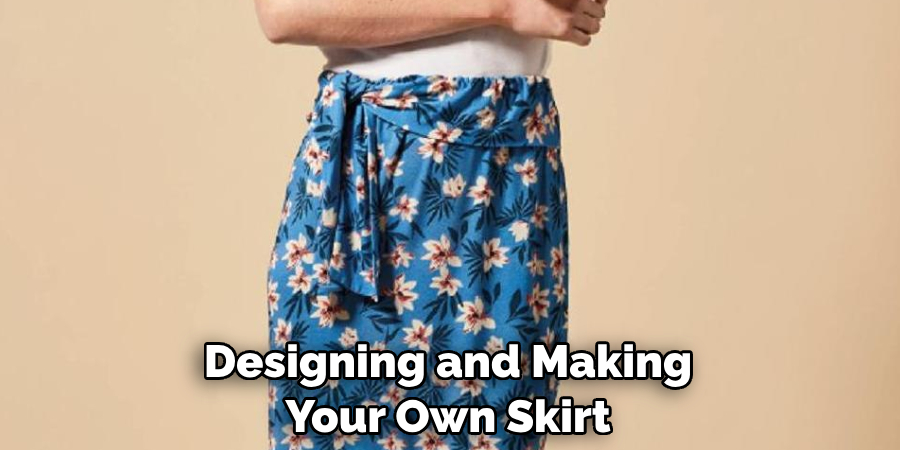
Additionally, when making a skirt without a pattern, there is no need to worry about size restrictions or fit—you can adjust the measurements as you go along until it fits perfectly. Whether creating something for yourself or another person, this flexibility gives you the chance to design exactly what they want and need.
Making your own custom skirt also helps build confidence in fashion design. By the end of your project, you’ll be proud that you designed and made something special from start to finish. The finished product will be a unique item that was created by your own two hands!
Creating your own skirt allows you to express yourself in a way that no pre-made pattern can—it’s entirely up to you what materials you choose, how it looks, and how it fits. So don’t wait any longer—start designing and making your custom skirt today! With just a few simple steps, you’ll soon have an amazing garment that shows off your individuality!
Discuss Different Skirt Styles
When it comes to making a skirt without a pattern, one of the main advantages is the unlimited possibilities for style. There are so many different styles of skirts you can make: A-line, pencil, wrap, maxi, mini, pleated and more!
The A-Line skirt is a classic style that features a fitted waist with gradually widening shape from hip to hem. It’s flattering on most body shapes and can be made in any fabric or length.
The pencil skirt has been around for decades as well. It fits tight against the hips and thighs and can have varying lengths from mid-thigh to ankle length. This style looks great with heels and tucked-in tops.
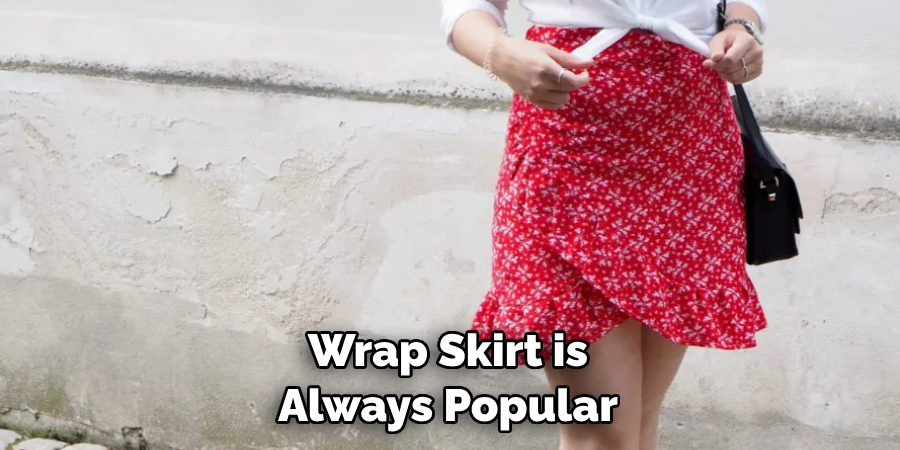
The wrap skirt is always popular for its versatility. It’s made from two pieces of fabric that overlap and can be secured with buttons or ties. This style looks great in light-weight fabrics like viscose and cotton.
Maxi skirts are a timeless option, typically ankle length and often featuring ruffles or pleats at the hemline. They look great in any season when paired with boots, sandals, or heels depending on the weather.
Mini skirts have been around since the 1960s! This style is shorter than most other skirts, usually no longer than mid-thigh. They come in all sorts of materials such as denim, leather, velvet, and more.
10 Methods How to Make a Skirt without a Pattern
Method 1: Measurements and Fabric Selection
Start by taking accurate body measurements, including waist, hip, and desired skirt length. Use a measuring tape and ensure that it sits comfortably against your body. Once you have your measurements, choose a fabric that suits your style and the intended drape of the skirt. Consider factors such as weight, texture, and stretch.
Method 2: Basic A-Line Skirt
To create a simple A-line skirt, fold the fabric in half lengthwise and then widthwise, ensuring the selvages align. Mark the waist and hip measurements on the fabric, creating a gentle curve from the waist to the hips.
Gradually flare out the fabric towards the hemline to achieve the desired A-line shape. You can use a curved ruler or simply freehand the curve for a more organic look. Make sure to add seam allowances to all sides.
Method 3: Pencil Skirt
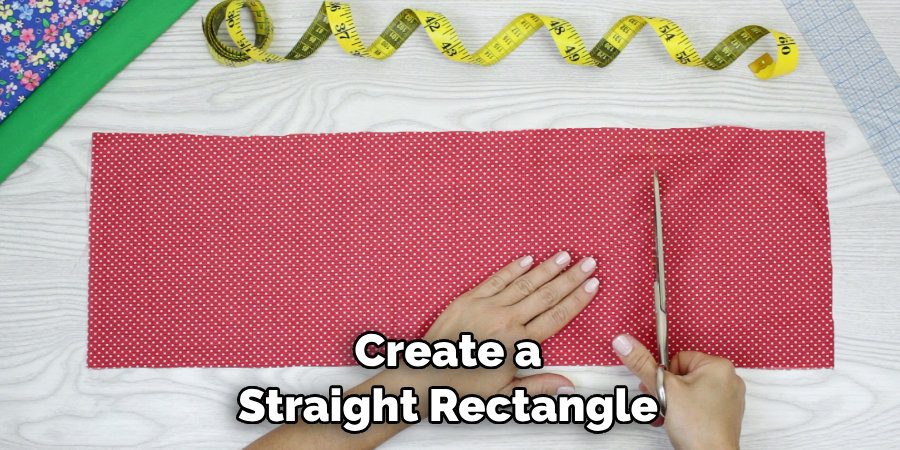
For a fitted pencil skirt, mark the waist, hip, and skirt length on the fabric. Create a straight rectangle using these measurements. Make sure to leave additional room for seam allowances and ease. Taper the skirt slightly from the hips to the hemline for a sleek fit. You can adjust the amount of tapering based on your preference.
Method 4: Circle Skirt
To make a circle skirt, measure the waist and desired skirt length. Calculate the radius for the waist using the formula 2πr = waist measurement, where r is the radius. Cut a circle from the fabric with the waist radius and desired length. For a fuller circle skirt, cut a larger circle by doubling the radius. Remember to add a waistband or waistband casing to complete the skirt.
Method 5: Wrap Skirt
To create a wrap skirt, measure the waist, hip, and skirt length. Cut two rectangles from the fabric, one for the front and one for the back. Add extra length to the front rectangle to create an overlapping section. Attach a waistband or ties for closure. The size of the overlap and the length of the ties can be customized based on your preference.
Method 6: Pleated Skirt
For a pleated skirt, mark the waist, hip, and skirt length on the fabric. Cut a rectangle for the skirt width. Divide the waist measurement by the number of pleats desired. For example, if you want six pleats, divide the waist measurement by six.
Fold the fabric at each pleat point and create evenly spaced pleats along the waistline. Make sure to adjust the width of the fabric accordingly to accommodate the pleats.
Method 7: Tiered Skirt
To make a tiered skirt, cut multiple rectangles of decreasing widths. Mark the waist, hip, and skirt length on each rectangle. Gather or pleat each tier and attach them one on top of the other, starting with the widest tier at the waist. Adjust the gathering or pleating ratio based on your desired fullness for each tier.
Method 8: Ruffled Skirt
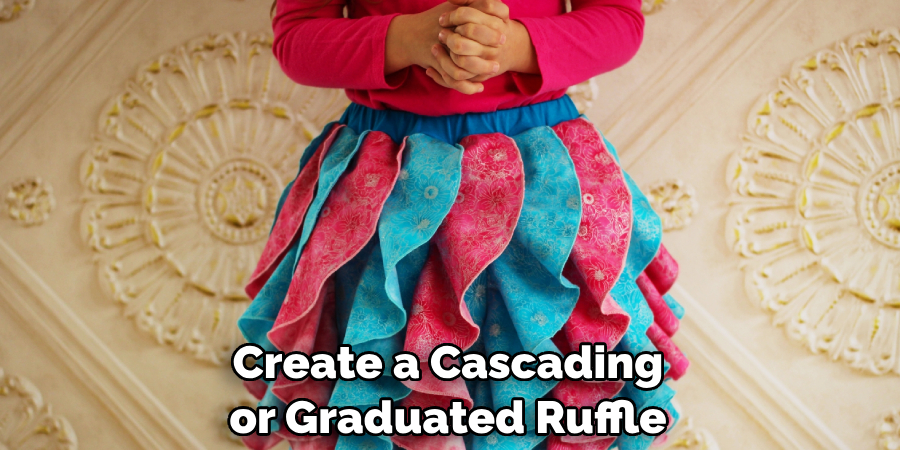
For a ruffled skirt, cut several strips of fabric of equal width and varying lengths. Mark the waist measurement on a waistband fabric. Gather or pleat each strip and attach them horizontally to the waistband, layering them for a ruffled effect. Vary the lengths of the strips to create a cascading or graduated ruffle effect.
Method 9: Maxi Skirt
To create a maxi skirt, mark the waist, hip, and desired skirt length on the fabric. Cut a rectangle with the width determined by the hip measurement. Gradually flare out the fabric from the hips to the hemline, maintaining the same width throughout. Consider adding slits or vents for ease of movement.
Method 10: Asymmetrical Skirt
For an asymmetrical skirt, mark the waist, hip, and desired skirt length on the fabric. Cut a rectangle or irregular shape, leaving one side longer than the other. You can experiment with different angles and lengths to achieve the desired asymmetry. Consider adding a waistband or casing to complete the skirt.
Things to Consider When Making a Shirt without a Pattern
Making a shirt without using a pattern can be a great way to express your creativity and design something unique. However, there are some things to consider when you’re constructing your own garment.
First, it is important to think about the fabric that you will use. Different fabrics have different weights, textures, and properties that may affect how they look and feel when worn.
For example, light fabrics such as chiffon or silk may move more freely than heavier materials like denim which may require more structure from the stitching. Consider these characteristics carefully before beginning to construct your shirt.
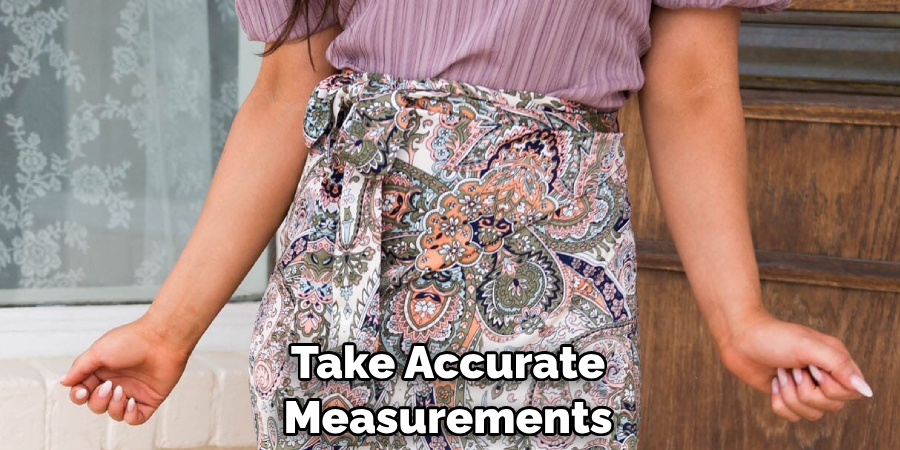
You should also think about what type of fit you would like for your shirt. This includes understanding sleeve length, shoulder widths, and the overall length of the shirt. If you are making a fitted shirt it is important to take accurate measurements in order to get the proper fit.
For looser, more relaxed style shirts, you might be able to estimate instead. It can be helpful to look at diagrams or pictures of different styles of shirts in order to understand what kind of fit you would like for your garment.
It’s also helpful to keep an eye on construction details such as seams and hemlines. These elements will affect how the finished product looks and wears with time. Think about whether you want hidden seams or exposed stitching, folded hems or raw edges – these details can make a big difference in the end result!
Some Common Mistakes to Avoid When Making a Skirt without a Pattern
Making a skirt without a pattern can be tricky, so it’s important to be aware of some common mistakes that people often make. Here are some tips for avoiding these pitfalls:
1. Not Measuring Correctly
Make sure you have taken accurate measurements before cutting out your fabric. Measure twice and cut once! Writing down your measurements can help ensure accuracy.
2. Not Using Enough Fabric
If you’re making a full-length skirt, make sure you’ve bought enough fabric to cover the entire length of the skirt plus any hem allowances or extra lengths for tucks or pleats in the design.
3. Not Allowing for Ease
Be sure to allow enough room in the waistline for movement and comfort. If the waistband is too tight, it will make your skirt uncomfortable to wear and may even cause it to fit improperly.
4. Sewing Too Tightly
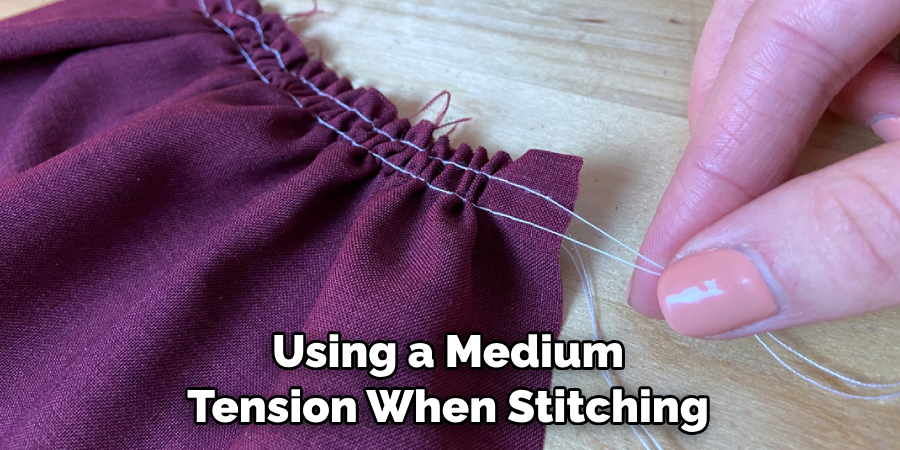
When sewing, be sure not to sew too tightly or use too much tension on the thread. This can cause puckering in the fabric or worse yet, a misshaped skirt! Make sure you’re using a medium tension when stitching.
5. Not Pressing Seams Before Attaching Waistband
Make sure you press any seams before attaching them to the waistband of your skirt. Seams that are not pressed properly can cause bumps and dips in the final product which can affect how your skirt looks.
Conclusion
We hope this blog post was informative and helpful in providing you the knowledge and resources to make your perfect skirt without a pattern. It may feel like a daunting task, but with patience, creativity, and some hard work, you’ll be strutting your next look in no time. Don’t forget to accessorize with your favorite statement pieces to truly customize it to fit your style.
There are endless possibilities for the perfect combination of shape, material and adornments. Now that you know how to make a skirt without a pattern, why not get sewing? Test out our tips and share your results with us! We can’t wait to see what unique looks you craft.
Be sure to double check that all measurements match before cutting so you don’t end up short of fabric – a little extra work now will save even more effort in the end. Good luck fashionistas, show us what you’ve got!

