
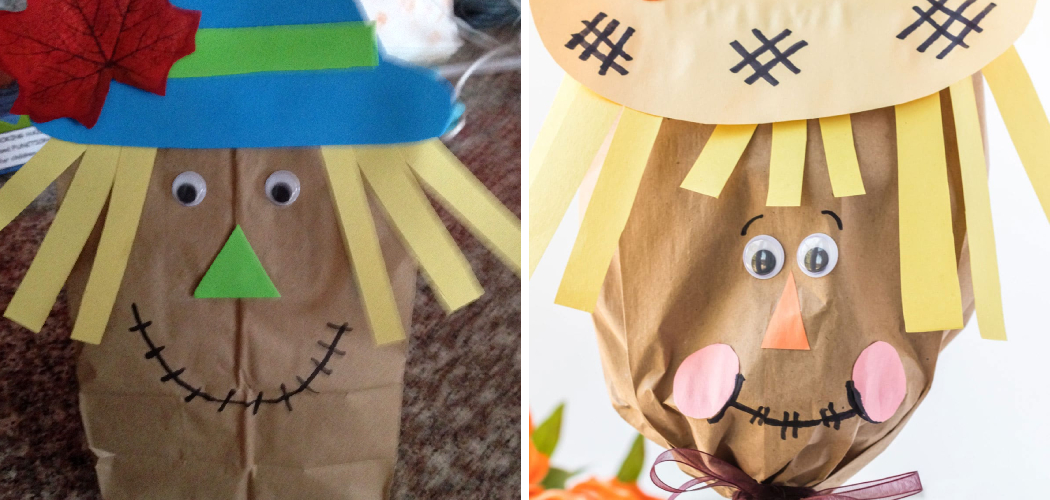
Are you looking for a fun and easy craft project to do with the kids? If so, then look no further than making a scarecrow hat out of paper!
Crafting a top-notch scarecrow hat may seem daunting. Still, with just a few simple materials and some creative enthusiasm, you’ll be able to make an eye-catching piece of decoration that’s the perfect addition to your Halloween costume or wall art.

In this tutorial, we’ll show you how to make a scarecrow hat out of paper – one that looks so real people won’t even know it isn’t handmade! We’ll lead you through every process step, from gathering supplies to creating your customized design for the ultimate statement piece. Let’s get started!
What Will You Need?
To make a scarecrow hat out of paper, you will need the following materials:
- Scissors
- Construction paper or cardstock (1 sheet per hat)
- Pencil or pen
- Hot glue gun and hot glue sticks
- Safety pins
- Decorative embellishments, such as ribbons, twine, buttons, etc. (optional)
Once you have gathered all of these materials, you’re ready to get started on your own handmade scarecrow hat.
10 Easy Steps on How to Make a Scarecrow Hat Out of Paper
Step 1. Sketch the Outline:
To begin, you’ll need to create a rough sketch of how you would like your scarecrow hat to look. This can be as simple or as intricate as you’d like – just remember that it doesn’t need to be perfect! Be careful not to cut along your sketched lines while you are cutting out your construction paper.
Step 2. Cut Out the Paper:
Next, take your sheet of construction paper and begin cutting it into a circular shape, using your sketch as a guide. You can use scissors or a craft knife for this step, depending on how precise you want. Ensure that you have a wide enough circle to fit snugly around the head of whoever will be wearing your hat.

Step 3. Create the Brim:
Once you’ve cut out your circular piece, it’s time to start creating the brim for your scarecrow hat. To do this, take a second sheet of construction paper and fold it in half lengthwise. Then, use scissors or a craft knife to cut along one side edge of the folded paper, forming two triangles with straight edges that are roughly equal in size. These two pieces will eventually become the sides of your hat’s brim once they are attached together.
Step 4. Attach the Sides:
Now that you have created your basic template for your scarecrow hat’s brim, it’s time to attach the two sides together. You will need a hot glue gun and some hot glue sticks for this step. Simply apply a small line of glue along both edges of one of your triangle pieces and press it onto the other side so that they are attached together at a right angle. Repeat this process with the second piece.
Step 5. Add Embellishments:
Once you have created your basic hat shape, you can start adding any decorative embellishments that you’d like to include on your scarecrow hat. This can be anything from buttons and twine to ribbons or themed stickers – anything goes when it comes to crafting! You may also want to consider attaching strips of paper or duct tape around the brim of your hat to add a bit more structure and design.
Step 6. Add the Headband:
Your scarecrow hat is almost complete, but before you can complete it, you’ll need to attach a headband that will be comfortable to wear. To do this, take a safety pin and carefully poke it through one side of your hat’s outer rim, then pass it through to the other side before securing the pin in place. Repeat this process on the opposite side of your hat, ensuring that both pins are securely fastened so that they don’t fall out while you are wearing the hat.

Step 7. Attach Your Hat:
Finally, it’s time to attach your scarecrow hat to your head! Carefully place the hat onto the head of whoever will be wearing it, ensuring that it fits snugly and doesn’t fall off too easily. Then, use a safety pin to secure each side of the brim in place, inserting one pin on either side of your head or where you want the sides of the hat to rest. If you’d like, you can also add additional embellishments to the hat such as ribbons or pom-poms to make it look more festive.
Step 8. Wear Your Scarecrow Hat with Pride:
Now that you have created your own personalized scarecrow hat, you can wear it with pride at any costume party or harvest festival this fall season. Whether you dress up as a classic scarecrow character or add some festive flair to your normal autumnal wardrobe, your handmade hat will be sure to turn heads and add a bit of whimsy to your look!
Step 9. Try Different Materials and Decorations:
While your basic scarecrow hat is sure to be a hit, don’t be afraid to get creative with your crafting. Try using different materials, such as felt or burlap, and experiment with different decorations, such as pom-poms or glittery stickers. The sky is the limit regarding how you can customize your scarecrow hat and make it truly unique!
Step 10. Enjoy Your Scarecrow Hat for Years to Come:
Whether you keep your scarecrow hat as a fun keepsake or wear it at every fall festival and costume party, enjoy this festive crafting project. With its classic rustic look and whimsical aesthetic, your homemade scarecrow hat is sure to be a hit no matter how you choose to wear it! Keep the memories of your scarecrow hat alive for years to come.
By following these simple steps, you can easily create your own scarecrow hat out of paper. Whether you are looking for a fun fall craft project or simply want to add a festive touch to your wardrobe, this easy-to-make hat is sure to be the perfect addition to your autumnal accessories! So what are you waiting for? Get crafting today!
You Can Check it Out to Make Cross Stitch Patches

5 Additional Tips and Tricks
1. Start by choosing a large sheet of sturdy paper that can hold its shape.
2. To create the base of your scarecrow hat, start by folding the paper in half and then unfolding it. Next, fold one corner to form a triangle and cut along the edge to make a pointed tip.
3. Once your slits are complete, take another sheet of paper (or several sheets if you would like your scarecrow hat to be thicker) and cut it into long strips.
4. Next, carefully roll each strip of paper and secure the end with tape or a glue stick to form the brim of your scarecrow hat.
5. Avoid any wrinkles or creases by shaping and molding the paper as you go. Finally, attach the headband to your hat and use safety pins to secure it in place.
And there you have it – a unique and festive scarecrow hat that will surely be a hit this fall season!
5 Precautions You Can Take While Making Your Scarecrow Hat
1. When working with paper, always be mindful of how much pressure you apply and how sharply you cut. Avoid any cuts that may result in rips or tears in the paper, and take care not to bend or crease the material too harshly.
2. To ensure that your scarecrow hat holds its shape well, experiment with different materials and thicknesses until you find one that works best for you. You may also want to try attaching additional reinforcements to your hats, such as wire or cardboard strips, to provide extra support and structure.
3. Be sure to use plenty of tape or glue when securing the edges of the brim, especially if you wear your hat in wet weather. This will help prevent any water damage or tearing that may occur as a result of excessive exposure to moisture.
4. When cutting and attaching the strips of paper for your hat’s brim, take care not to apply too much pressure, as this may cause the paper to rip or tear more easily. To avoid these issues, use sharp scissors, and be sure to adjust your grip depending on how thick you want each strip of paper to be.
5. Try out different materials and decorations when crafting your scarecrow hats, such as pom-poms, ribbons, sequins, or glittery stickers. This will help give your hat a unique look while also helping it hold its shape and stand up against wear and tear.

With these tips in mind, you can easily create a one-of-a-kind scarecrow hat that will be sure to turn heads this fall season! So what are you waiting for? Start crafting today!
Conclusion
Crafting a scarecrow hat can be fun and festive to get in the fall spirit. Whether you are looking for a cute accessory to wear, a creative DIY project to keep the kids entertained, or a fun way to dress up your autumnal wardrobe, this easy-to-make hat will surely be a hit.
So there you have it, everything you need to know about how to make a scarecrow hat out of paper. With just a few simple supplies and some easy-to-follow instructions, you can create your own hat that is perfect for fall. So get crafting and enjoy the process!
Hopefully, these tips and tricks will help you create a unique scarecrow hat that will surely envy your friends and family this fall season.
You Can Check It Out To Make a Bee with Paper