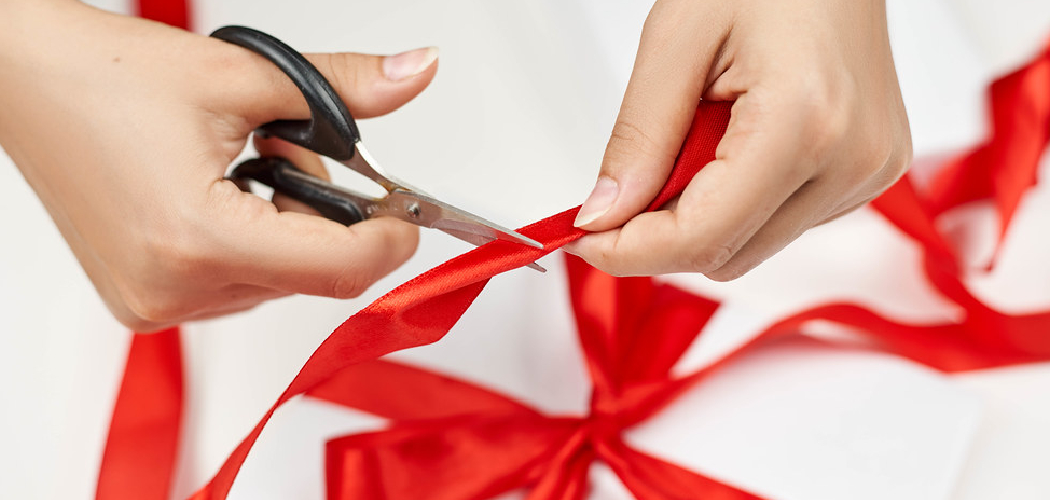
Are you looking for an easy and creative way to add a decorative touch to gift-wrapped packages or home décor items? Making a ribbon out of wrapping paper is an awesome DIY project that requires minimal supplies, effort, and time. Plus, you can choose the exact colors and pattern you want for your custom-made accessory – no more searching aimlessly through local stores for the perfect ribbon!

A handmade ribbon made from wrapping paper is the perfect way to show them how special they are. Not only will this custom-made decoration add a truly personalized feel to any gift or project, but it’s also incredibly easy and cheap to make!
In this blog post, we’ll be giving you step-by-step instructions on how to make a ribbon from wrapping paper of your choosing. Read on for all the details!
What Will You Need?
To make a ribbon from wrapping paper, you’ll need the following items:
- A roll of colorful wrapping paper
- Scissors or a craft knife
- A ruler or measuring tape
- Cardboard (optional)
- Glue or double sided tape
Once you have all the supplies, you’re ready to get started. Follow these simple steps to create your own handmade ribbon.
10 Easy Steps on How to Make a Ribbon From Wrapping Paper
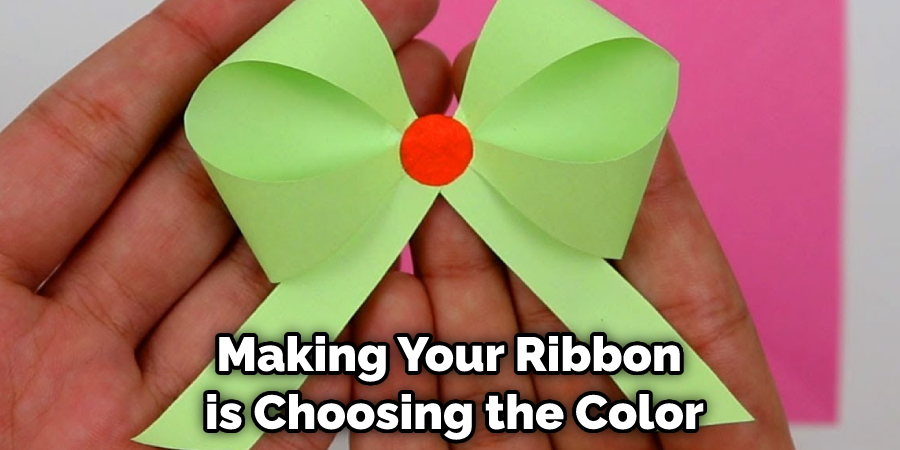
Step 1. Choose the Color:
The first step in making your ribbon is choosing the color and pattern of wrapping paper you want. Choose a bright, fun pattern that will stand out, or go with something more subdued if you prefer a subtler look. You can also try mixing and matching different colors for an eclectic effect.
Step 2. Cut Your Wrapping Paper:
Once you’ve chosen the right wrapping paper, use scissors or a craft knife to cut it into strips measuring about ½ inch wide by 4-5 inches long. If you want a thicker ribbon, consider using cardboard as well – this will help give your ribbon some extra durability and structure. Don’t worry if your strips aren’t perfectly even or symmetrical – this is a handmade project, after all!
Step 3. Measure and Mark:
Next, use a ruler or measuring tape to measure how long you want your ribbon to be. Mark the desired length on each strip of wrapping paper, then cut the strips down to size. Once all your strips are the right size, set them aside for now.
Step 4. Braid Your Wrapping Paper:
Now it’s time to braid your wrapping paper into a ribbon. As shown below, arrange three strips of paper side by side, with one in the middle and two on either side. Then take the leftmost piece and move it to the right, so it’s now the middle piece. Now take the new leftmost strip, move it to the right, and place the original middle piece back in the center. Repeat this process until you have a long braid of wrapping paper strips.
Step 5. Glue or Tape Your Ribbon:
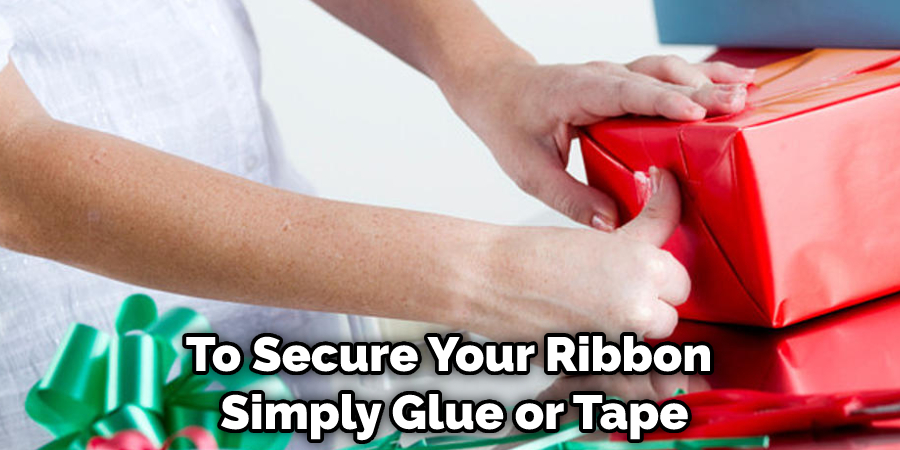
To secure your ribbon, simply glue or tape one end of your braid to a sturdy piece of cardboard. Then flip your cardboard over and use another piece of cardboard or some double-sided tape to hold down the other end as well. Let your ribbon dry completely before using it since wet glue can make your finished project wrinkly or uneven.
Step 6. Cut Edges (Optional):
If you want perfectly straight edges on your ribbon, you can use scissors or a craft knife to trim the ends of your braid once it has fully dried. This will ensure that your finished ribbon looks neat and polished. Ensure that you cut straight across since uneven or wobbly edges can create a messy look.
Step 7. Add Decorative Touches:
Once your ribbon is finished, feel free to add any additional decorative touches, such as bows, glitter, or sequins, if desired. You could also try using a different type of adhesive (such as hot glue) for this step – just make sure not to get any on the rest of your ribbon accidentally! If you’re unsure how to do this step, try looking online or consulting a crafting expert for guidance.
Step 8. Use Your Ribbon:
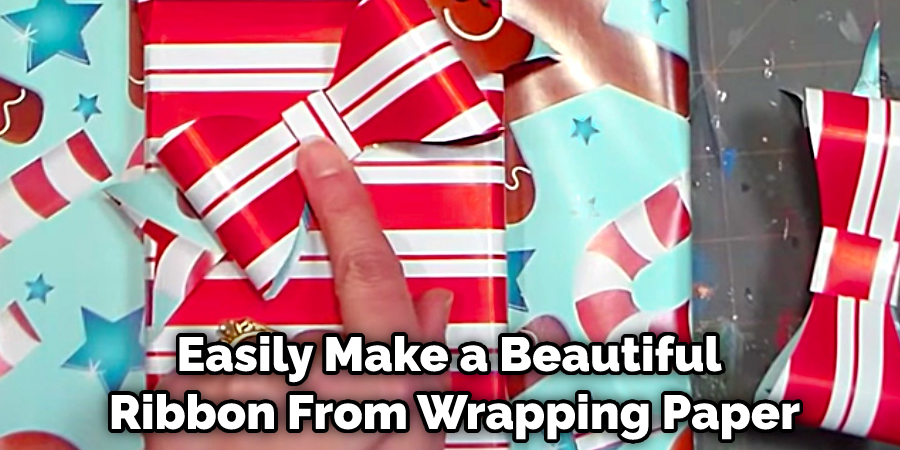
Now that your custom-made ribbon is completed, how do you use it? There are many ways to incorporate it into your gift wrapping or craft projects. You could use it to decorate a present, tie together twine and ribbons to create a colorful bow, or even make fun paper bows out of the strips of wrapping paper instead. The possibilities are endless!
Step 9. Keep Your Ribbon as a Stash:
If you want to keep this ribbon for future projects, simply store it in an airtight container or plastic bag until you’re ready to use it again. This will help keep the braid from becoming flattened or crinkled over time. Don’t forget to label the container with the date and any other important information, so you know how long it’s been sitting there – this will help ensure your ribbon stays fresh and beautiful.
Step 10. Get Creative and Have Fun!
No matter how you choose to use your handmade ribbon, the most important thing is that you enjoy the process and have fun creating it. Let your creativity shine by experimenting with different patterns, colors, and textures – the more unique your ribbon is, the more special it will be to both you and whoever receives it as a gift. Happy crafting!
By following these simple steps, you can easily make a beautiful ribbon from wrapping paper. Whether you want to wrap a gift or add some decorative touches to your craft projects, this versatile and customizable ribbon is a great way to spruce up any look. So why wait? Start braiding and crafting today!
You Can Check it Out to Fix a Dropped Garter Stitch
5 Additional Tips and Tricks
1. Cut the wrapping paper into a long strip that is approximately 1-2 inches wide.
2. Start rolling one end of the strip tightly to create a spiral shape.
3. Wrap a piece of tape around the center of the spiraled paper to hold it in place.
4. Measure how long you want your ribbon to be, and then begin cutting across the spiraled paper from one end to the other. You may need to trim any uneven edges or frayed pieces as you go.
5. Finally, use your ribbon as desired for gift wrapping, crafting projects, or other creative ideas!
Whether you want a simple embellishment for your gifts or something more decorative, there are many ways to make beautiful and unique ribbons out of wrapping paper.
5 Precautions You Can Take
1. When choosing your wrapping paper, opt for heavier, sturdier options that hold up well when cut and folded.
2. Always use sharp scissors to cut the paper into strips. This will ensure clean cuts and minimize any rips or tears in the paper.
3. Begin by making small folds along each edge of your strip of wrapping paper, working from left to right and top to bottom. This will help you create crisp folds as you move forward with your project.
4. When folding one end over, leave a small opening at the center so you can thread your ribbon through later on.
5. To finish off your ribbon, simply tie a bow around the top and trim any excess paper, if needed.
Whether you’re looking to add a decorative touch to your holiday gifts or simply want to find a fun and easy craft project, making a ribbon from wrapping paper is an excellent option. You can easily create a beautiful ribbon that will perfectly complement any gift or décor piece with just a few simple steps and some creativity.
You Can Check It Out To Make Paper Fireflies
What are the Different Types of Design You Can Use?
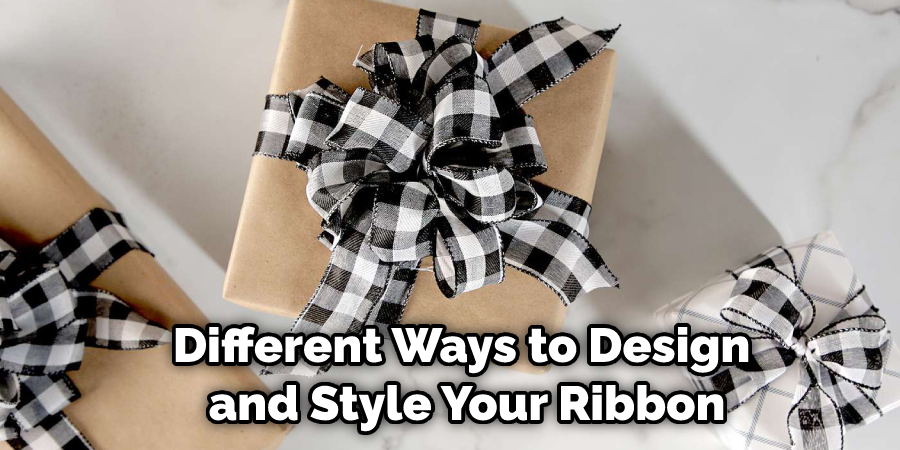
There are many different ways to design and style your ribbon, including using intricate patterns, vibrant colors, or textured textures. Some popular options include pleats, ruffles, polka dots, chevron prints, and color blocks. You can also mix and match these styles for a truly unique look that is all your own.
Additionally, you can get creative with how you use your ribbon. Some ideas include using it to embellish gift wrapping, tie bows on party favors, or add pops of color to craft projects and home décor pieces. With so many possibilities, the only limit is your imagination!
Overall, whether you want to add a simple finishing touch or create something truly one-of-a-kind, making a ribbon from wrapping paper is a fun and easy way to get creative and express your personal style.
Conclusion
So, there you have it! You can make a beautiful ribbon from wrapping paper in just a few simple steps. This is a great way to add a personal touch to your gifts, and it’s sure to impress your friends and family.
By following the simple steps laid out in this blog post, you’ll be able to make beautiful ribbons from wrapping paper in no time. With a little practice, you’ll be able to create different looks and styles to suit any occasion. Give it a try the next time you need to wrap a present and let us know how it goes!
Hopefully, the article on how to make a ribbon from wrapping paper was helpful. Whether you’re looking for a simple way to jazz up your gifts or want to use the ribbon in a craft project, making a ribbon from wrapping paper is an easy and fun way to get creative.
You Can Check It Out To Make a Bee with Paper

