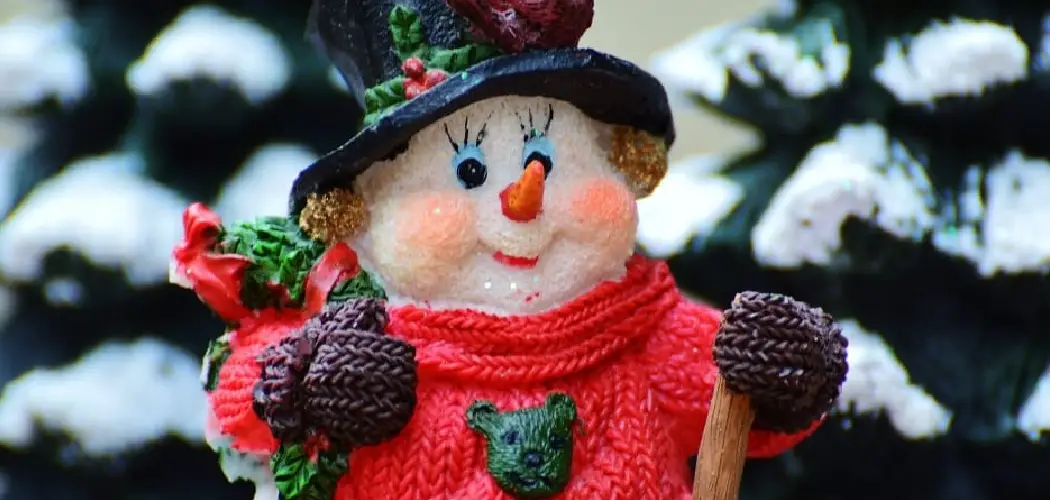
Do you want to add a little extra cozy winter charm to your house or craft project this holiday season? If so, try learning how to knit a snowman! Yes, it’s possible – and surprisingly easy!
This fun winter craft project is both a great way to get involved in knitting and an amazing piece of home décor. Not only can you make your own knitted snowmen, but they also look perfect adorning throws or table runners.
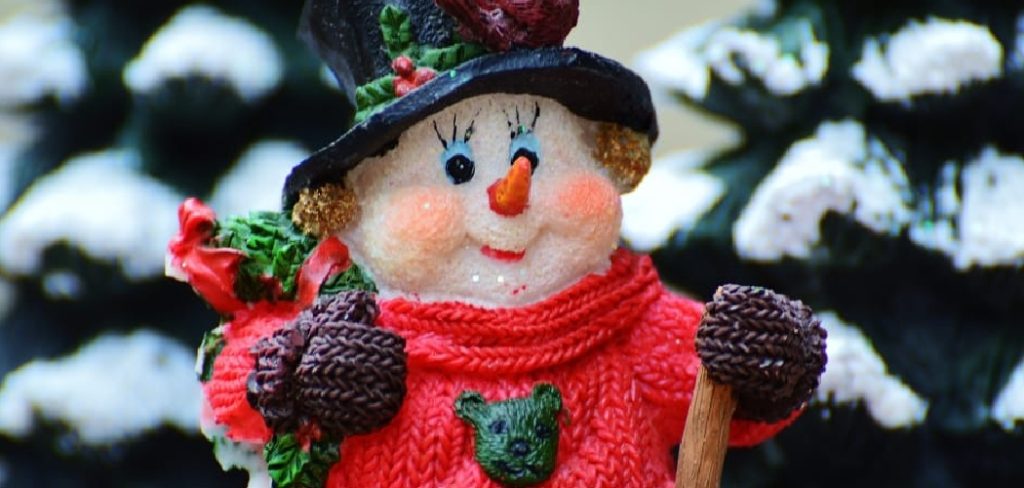
This blog post will show you step-by-step directions for creating adorable snowmen that can be used as part of festive decorations or even as standalone creations. So get out your knitting needles and yarn because, with just a few simple supplies and some basic stitching techniques, you’ll soon have the perfect companions for long cold nights!
What Will You Need?
- Knitting needles in size appropriate for the yarn you are using
- Yarn in a variety of colors, including white and dark brown or black
- Scrap fabric felt, or paper to use as stuffing
- Buttons and other embellishments (optional)
Once you have gathered your supplies, the process of creating a knitted snowman is actually quite simple.
10 Easy Steps on How to Knit a Snowman
Step 1. Cast the Number of Stitches:
Begin by casting on the number of stitches required for your chosen project size using white yarn. You may need as few as 12-15 stitches for a small snowman. Be careful to keep your stitches loose and even avoid creating lumps or uneven shapes.
Step 2. Knit the Snowman Body:
Once you have cast on the desired number of stitches, begin knitting in a round shape by knitting all around the edge of your work. For a snowman body, continue knitting rounds until your piece is about 5-6 inches tall or as high as you want it to be. Be sure to leave a long tail at the base so you can easily attach it to the rest of your snowman later.
Step 3. Add Face Details:
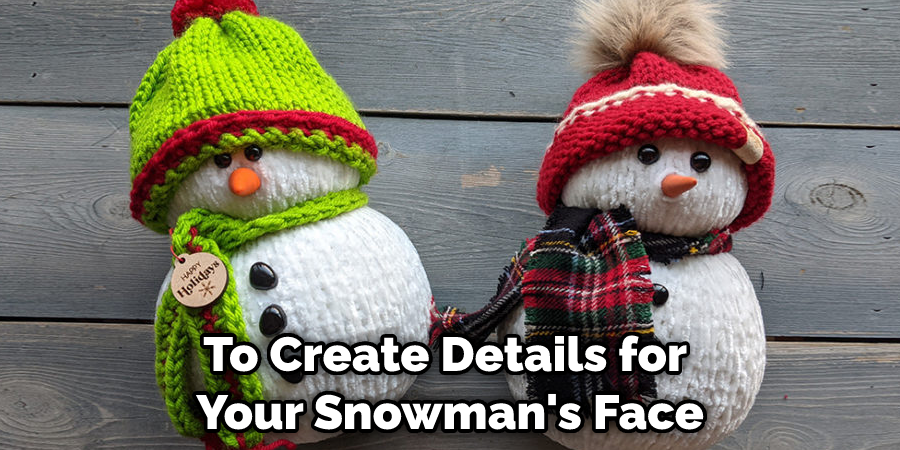
To create details for your snowman’s face, switch from white yarn to dark brown or black yarn and stitch in simple features such as eyes, a mouth, and a nose. Feel free to get creative with how your snowman looks – you can use buttons or other embellishments if you’d like! You can add these features while you’re knitting or after your snowman body is completed.
Step 4. Stuff Your Snowman:
Once you’ve finished knitting the main body of your snowman, it’s time to start adding some stuffing. Use scrap fabric, paper, or felt to fill in the middle of your snowman – just be sure that you don’t over-stuff it, as this can cause the knitting to become uneven and lumpy. Leave a small opening at the bottom so that you can continue stitching later on without having to stuff from both ends at once.
Step 5. Add Scarf (Optional):
If desired, create a scarf for your snowman using a long length of yarn in a contrasting color. Simply add an extra stitch at the neck, and then knit back and forth across the top of the snowman’s body to create a wide scarf shape. You can continue adding stitches along the way until you have achieved your desired length and width.
Step 6. Attach Scrap Fabric for Hands:
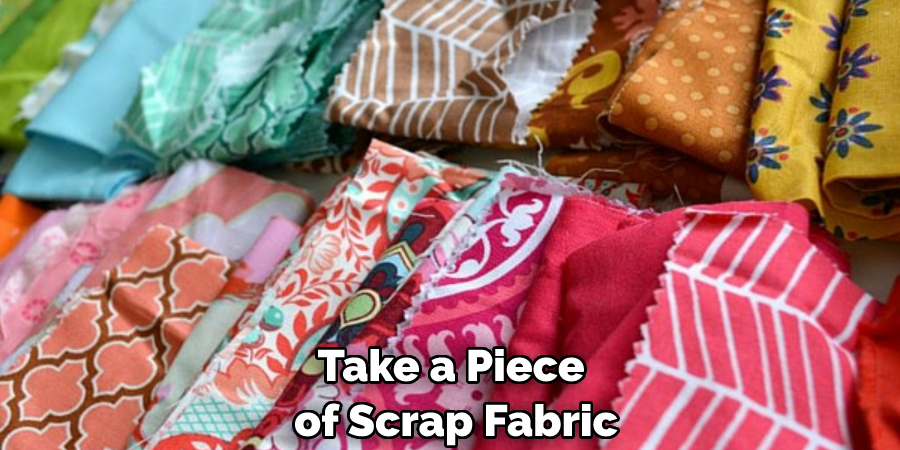
To create a pair of cute little hands for your snowman, simply take a piece of scrap fabric or felt and attach it to either side of your snowman’s body. This can be done by stitching in place or sewing on buttons if you prefer. Ensure that the hands are in a natural position, with fingers slightly curled up and facing forward.
Step 7. Add Buttons and Embellishments:
Once your snowman’s hands have been attached, you can add any other embellishments or buttons that you would like to use for extra detail. Feel free to use black yarn or thread to stitch on eyes or mouths or even stick on felt noses if you prefer! This step is optional, but it’s a great way to give your snowman some personality and make him extra cute.
Step 8. Sew Your Snowman Together:
Now that your snowman’s details are complete, it’s time to sew everything together using your remaining yarn tail. Begin by stitching up any holes or openings in your snowman’s body, and then attach it to the bottom of your scarf. Be sure to secure all stitches carefully so that they don’t come loose over time.
Step 9. Finish with a Stitch Marker:
To finish off your knitted snowman, add a stitch marker at the top of his head and leave it there until the end of each round for future reference. This will make it easier for you to track how many rounds you have completed and how many more you still need to do! Don’t forget to weave in any remaining yarn tails and give your snowman a big hug for being so cute.
Step 10. Keep Knitting:
And finally, continue knitting in rounds until your snowman is as tall as you want him to be. Feel free to add even more details and embellishments along the way, or keep him simple by just adding an extra stitch marker at each round and leaving him plain. No matter how you choose to knit your snowman, he will surely be a fun and festive addition to any winter decor!
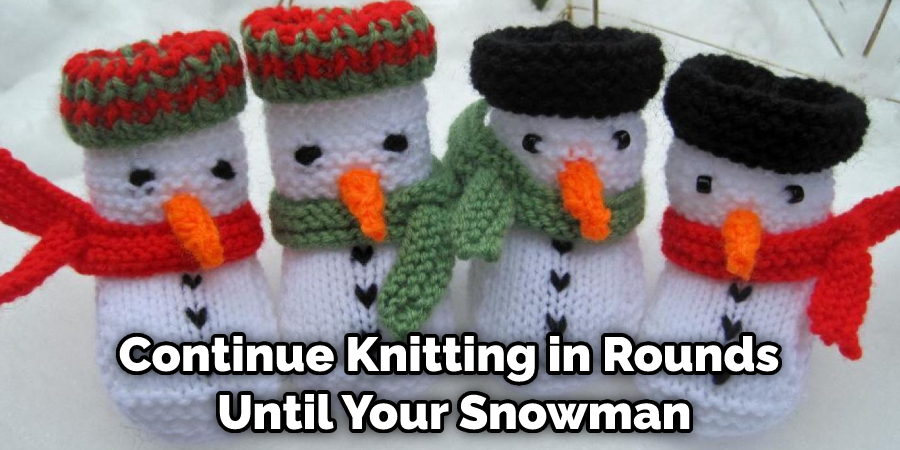
By following these simple steps, you can easily learn how to knit an adorable and functional snowman. Whether you want to create a festive holiday decoration or give a handmade gift to someone special, this knitted snowman is sure to be a hit! So why wait? Start knitting today and spread some winter cheer with your very own snowy friend.
5 Additional Tips and Tricks
1. Start by knitting a basic snowman shape using round or oval pieces for the body, head, and arms.
2. Once you’ve knitted your base pieces, add additional details like buttons, hats, scarves, and other accessories to customize your snowman.
3. When choosing yarn colors for your snowman, remember that dark shades require less shaping and look more realistic than light shades once completed.
4. To make your snowman extra special, add different textures to the finished piece by incorporating some novelty yarns into the design. For example, try using fuzzy yarn for the scarf or pom-poms for the nose or buttons.
5. Finally, add some finishing touches, like a snowflake or holiday-inspired details to make your snowman stand out.
Whether you prefer embroidering detail onto your piece or using sequins and beads, there are endless possibilities for making your snowman unique and festive. Happy knitting!
You Can Check It Out To Make Hot Air Balloon Out of Tissue Paper
5 Precautions You Can Take
1. Always be sure to use the right size knitting needles and yarn for your project, as this will help ensure a smooth and even finish.
2. Be mindful of how you cast on stitches, as this is one of the most important steps in creating a well-knit piece.
3. When working with more intricate designs such as bobbles, cables, or eyelet patterns, take extra care to keep track of how many rows you have completed so that you don’t lose your place and accidentally skip important details.
4. Keep your hands clean while knitting by always washing them before starting a new project and taking frequent breaks when needed (especially if you tend to get hand cramps easily).
5. Lastly, always be sure to store your finished snowman piece somewhere safe and dry so that it doesn’t get damaged over time.
Whether you want to display it proudly on a shelf or wrap it up as a gift, proper care is key for keeping your handiwork looking its best!
You Can Check It Out To Make a Dr Seuss Hat Out of Paper
What Pattern is Good for a Snowman?
One of the most popular patterns for a knitted snowman is the classic “snowman in a top hat” design. This quick and easy pattern uses basic knitting techniques like increasing and decreasing to create a cute, rounded shape that works well as both an ornament and a stand-alone decoration.

Other fun options include adding embellishments like scarves, buttons, rosy cheeks, and more to give your snowman extra personality and character.
No matter which pattern you choose, just be sure to keep your stitches tight and even for the best results. Good luck!
Conclusion
Knitting a snowman is a fun and easy way to add winter cheer to your home or give a special handmade gift. Whether you prefer to keep it simple with basic round or oval shapes or get more creative with textures and embellishments, there are endless possibilities for knitting your very own snowman.
Now that you know how to knit a snowman, you can make them anytime and anywhere. Get some friends together and have a knitting party, or make one yourself the next time you feel lonely. Snowmen are great for decoration and for spreading holiday cheer, so get out your needles and start knitting!
Hopefully, this guide has given you some inspiration and tips for how to knit your very own snowman. With a little practice and patience, you’ll be an expert in no time! Happy knitting!
You Can Check It Out To Make a Bee with Paper

