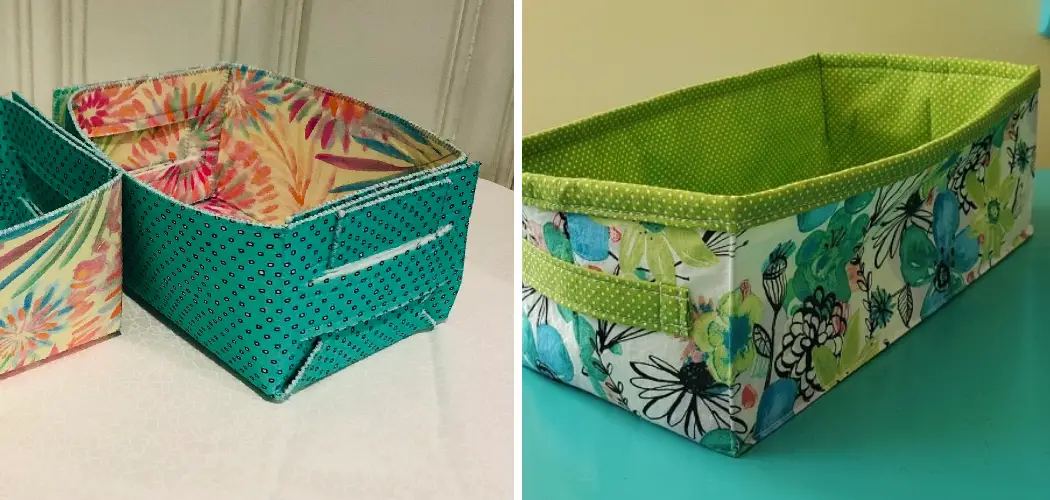
Making a rectangular fabric basket is a delightful and practical project that allows you to showcase your sewing skills while creating a useful storage solution.
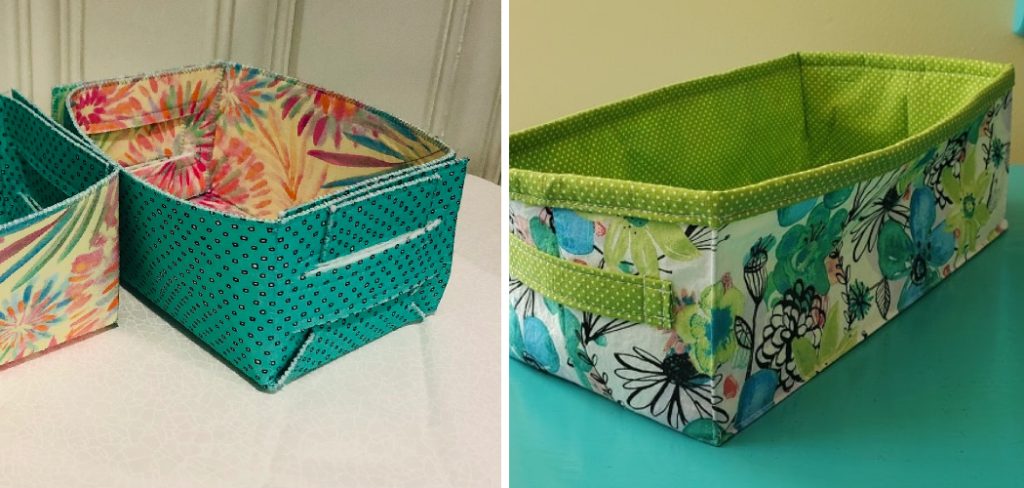
Whether you’re in need of a stylish container for organizing your craft supplies, storing household items, or gifting a handmade treasure to a loved one, learning how to make a rectangular fabric basket is an excellent addition to your sewing repertoire.
In this article, we will explore the step-by-step process of creating a rectangular fabric basket, from selecting the right fabric to assembling the pieces with precision. We will also discuss techniques for adding structure, creating sturdy handles, and customizing the design to suit your personal style.
With the right materials and techniques, you’ll be able to sew beautiful and functional fabric baskets that will bring joy and organization to any space.
Selecting Suitable Fabric for the Basket
When it comes to making a fabric basket, the type of fabric you use is an important decision. A lightweight cotton or linen fabric works best for this project, but heavier fabrics may also be used. Choose a durable fabric that can withstand regular usage and will stay in good condition even after multiple washings.
To make sure the basket is sturdy enough to handle all your items, consider using two layers of fabric with extra stitching and reinforcements. You can also opt for a quilted batting layer in between the two pieces of fabric for added protection. Be sure to pre-wash the fabric before beginning any sewing as this helps prevent shrinking later on.
You’ll need approximately ½ yard (or 1 yard if using a directional print) of fabric for this project, so be sure to get enough fabric before you start. Once you’ve determined the type and amount of fabric needed for your basket, it’s time to get started on the project.

Calculating and Determining the Desired Measurements for the Basket Size
It is important to measure the size of the basket before starting the project. The length and width measurements of the desired rectangular basket will depend on how large or small you want it to be and what purpose you plan on using it for.
To calculate these measurements, you will need to decide on a fabric that you would like to use. You should choose a lightweight material such as cotton or linen since heavier fabrics might cause your basket to sag.
Once you have chosen your fabric, measure its width and multiply it by two. This number will give you the width measurement for your rectangular basket. To determine the length, add four inches to that number. For example, if your fabric measures 10 inches wide then your measurement for length would be 14 inches.
You can also buy pre-cut fabric pieces at craft stores if you don’t want to measure and cut your own fabric. Depending on the size of the basket, the desired measurements may vary so it is important to read the packaging label for specific instructions.
Once you have determined the desired measurements for your rectangular basket, you are ready to start making it! The process involves cutting the fabric into four pieces, sewing them together, then adding a handle at the end. With these simple steps, you will be able to make a unique and functional rectangular basket in no time!
10 Steps How to Make a Rectangular Fabric Basket
Step 1: Gather Your Materials and Tools:
Before you begin, gather all the materials and tools required for your fabric basket project. This typically includes fabric for the exterior and lining, interfacing or stabilizer for added structure, coordinating thread, fabric scissors, pins, a measuring tape or ruler, and a sewing machine. Choose fabrics that complement your style and consider the intended use of the basket for optimal functionality.
Step 2: Determine the Basket Dimensions:
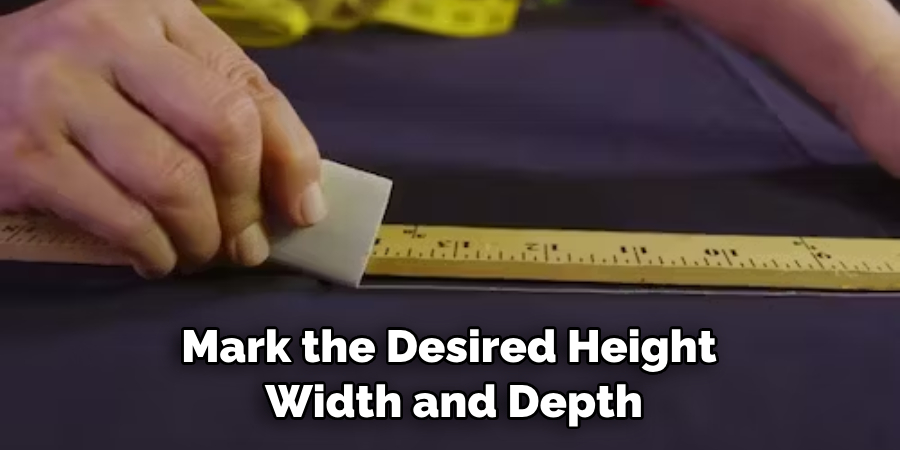
Decide on the size of your rectangular fabric basket by considering the intended purpose and the items you plan to store inside. Measure and mark the desired height, width, and depth on the fabric, adding seam allowances to your measurements to ensure the final basket size meets your needs.
Accurate measurements are essential for a well-fitted and visually pleasing result. For example, if you want a basket that is 8 inches wide and 6 inches tall, add 1/2 inch to each measurement for seam allowance and mark 8 1/2 inches and 6 1/2 inches on the fabric. Once you have marked all of the measurements, use a ruler or straight
Step 3: Cut the Fabric and Interfacing:
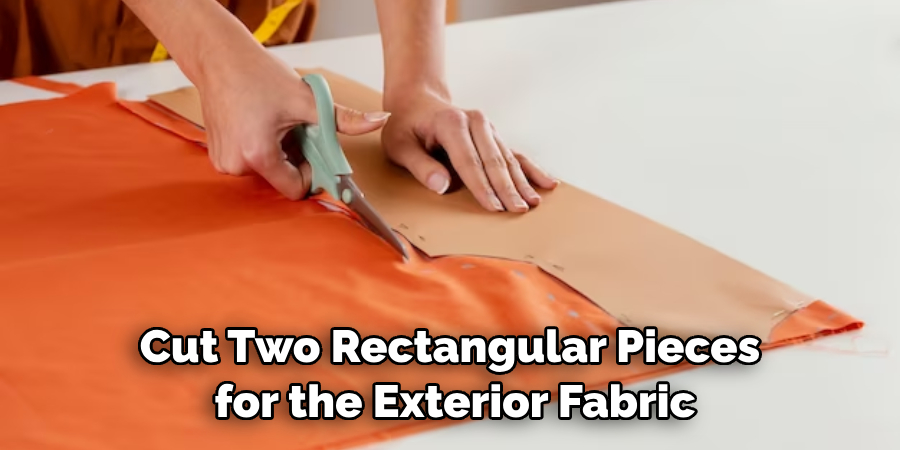
Using your measurements, carefully cut two rectangular pieces for the exterior fabric and two for the lining fabric. Additionally, cut two pieces of interfacing or stabilizer to provide the necessary structure and stability to the basket.
Pay attention to the fabric grain and ensure all pieces are accurately cut and labeled for easy identification. Although the pieces for the exterior and lining fabric are identical, it is best practice to keep them separated.
Step 4: Add Interfacing for Enhanced Structure:
To give your fabric basket a sturdy and well-defined shape, fuse or sew the interfacing pieces to the wrong side of the exterior fabric according to the manufacturer’s instructions.
This step is crucial for achieving a professional and durable finish. Once the interfacing is secured to the exterior fabric, carefully trim away any excess material. When finished, your exterior fabric should have a smooth and even surface with no visible interfacing.
Step 5: Assemble the Basket Exterior:
Place the two exterior fabric pieces with right sides facing each other and align the sides and bottom edges. Pin the edges together, leaving the top open. Sew along the pinned edges using a ½-inch seam allowance, backstitching at the beginning and end for added strength.
Trim any excess threads, then turn the basket exterior right side out. Press the seam flat with an iron. To make sure all of the edges are flat, press the top edges in about ½ inch.
Step 6: Construct the Basket Lining:
Repeat the same process as Step 5 with the lining fabric pieces, ensuring you leave a small opening on one side. This opening will allow you to turn the basket right side out later.
Remember to backstitch at the beginning and end of the seam for secure stitching. Once you have completed the lining, turn it right side out and slide it inside the outer basket piece. Line up the seams of both pieces and pin in place.
Step 7: Box the Corners for Dimension and Structure:
To create depth and a rectangular shape, box the corners of both the exterior and lining fabric. Pinch each corner, aligning the side and bottom seams to form a triangular shape.
Measure and mark the desired depth, typically around 1-2 inches, and draw a line perpendicular to the seam. Sew along the marked line and trim the excess fabric. This technique adds dimension and structure to the basket. Repeat this step for the other three corners of each fabric piece.
Step 8: Attach Sturdy Handles:
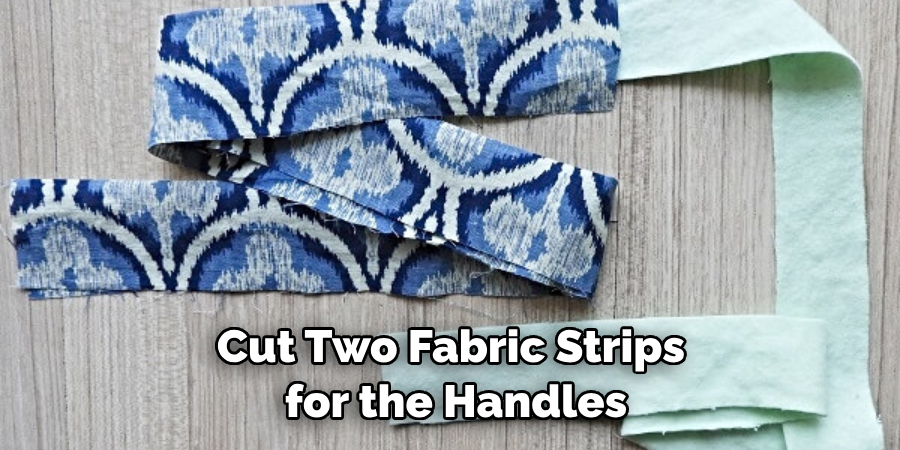
Cut two fabric strips for the handles, ensuring they are long enough for comfortable use. Fold each strip in half lengthwise with right sides facing each other, and sew along the long edge.
Turn the strips right side out and press them flat. Position and pin the handles to the exterior fabric, ensuring they are evenly spaced and aligned with the sides. Sew the handles securely, backstitching at the beginning and end for reinforcement.
Step 9: Assemble the Basket with Care:
Place the exterior fabric with handles inside the lining fabric, ensuring that the right sides are facing each other. Align the top edges and side seams carefully. Pin around the top edge, securing all layers together.
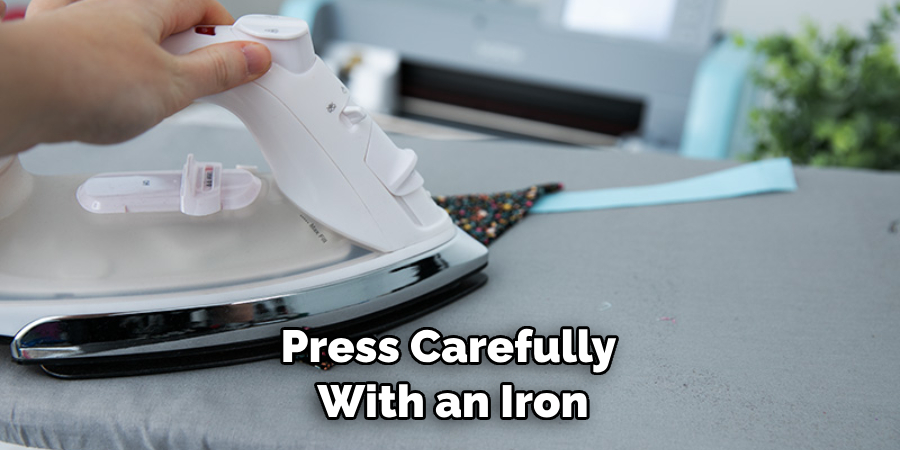
Sew around the top edge, leaving a small opening for turning the basket right side out. Pull the basket through the opening, and press carefully with an iron. Top stitch close to the edge around the top of the basket.
Step 10: Finish and Turn the Basket:
With utmost care, turn the fabric basket right side out through the opening in the lining. Use a turning tool or the blunt end of a pencil to push out the corners and smooth the edges. Press the top edge to ensure a crisp finish. Hand stitch the opening in the lining closed, or topstitch around the top edge to secure the layers and give a polished and professional look.
Things to Consider When Making a Rectangular Fabric Basket
When making a rectangular fabric basket, there are a few important points to consider.
First, decide what type of fabric you want to use for the outside of your basket. Consider if you want something with more visual appeal or something that is stronger and more durable. Different fabrics will produce different results in terms of stability and sturdiness. You may also want to think about color coordination to complement the room where your basket will be placed.
Second, decide how many layers of fabric you need for the sides of your basket. Multiple layers will provide extra strength and sturdiness but can make it difficult to stitch together when sewing by hand. If you’re using a sewing machine, this won’t be an issue.
Third, decide what type of lining you will use for the inside of your basket. You may want to add a layer of batting or quilt batting for extra support and protection from any items that might go inside the basket.
Finally, decide how large you would like your basket to be. Measure out the dimensions on a piece of fabric before cutting it so that you know exactly how big your basket is going to be when finished. This way there are no surprises!
Some Common Mistakes When Making a Rectangular Fabric Basket
When making a rectangular fabric basket, there are some common mistakes to avoid. Here are a few of the most frequent errors:
1. Not Measuring Correctly.
Ensure that all measurements are accurate before cutting any fabric. To make a basket of the right size, measure carefully and use a ruler to mark the fabric for cutting. Before you start sewing, double check that all the pieces have been cut correctly.
2. Using Too Thin of a Material for the Base.
It’s important to make sure your fabric is strong enough to hold the shape of the basket, especially at the base. Consider using something like canvas or denim for extra stability. If your fabric is too thin, it won’t be strong enough to hold the shape of the basket and could collapse.
3. Skimping on Interfacing.
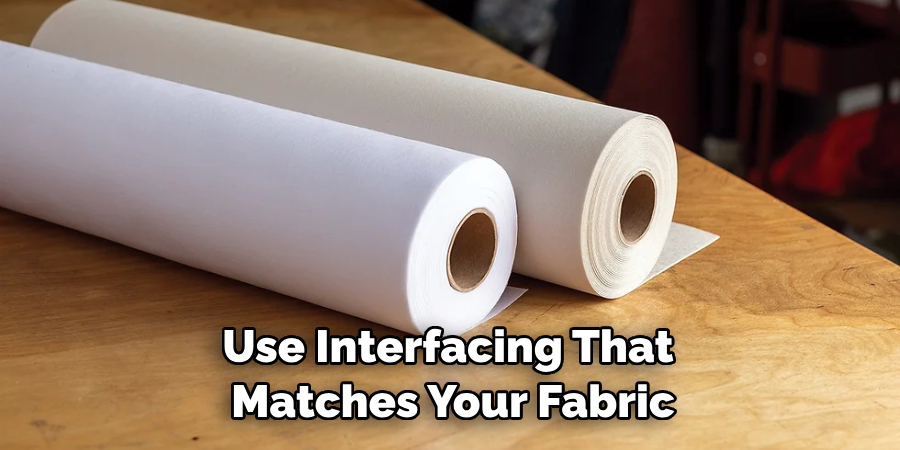
Interfacing helps stabilize the fabric and ensure it holds its shape over time. Be sure you use interfacing that matches your fabric weight, so it doesn’t cause unnecessary bulk when sewing together your pieces.
4. Not Reinforcing Corners.
When sewing the corners, it’s important to reinforce them by backstitching and adding extra layers of fabric. This will make sure that the corners are as strong as possible and won’t unravel over time.
By avoiding these common mistakes, you can create a beautiful, long-lasting rectangular fabric basket. With some patience and attention to detail, your finished basket will be something you’ll be proud to show off!
Conclusion
All in all, a rectangular fabric basket can be an attractive and useful piece of home decor or storage. Making your own homemade fabric basket takes just a few steps and in no time you’ll have an attractive, one-of-a-kind basket that will be the envy of all. Hopefully, this tutorial has provided you with an understanding on how to make your own rectangular fabric basket.
Gather up some materials, choose a design that fits your style, and get creative! Let us know how it goes by tagging us in your finished projects. With a few simple steps you can add some flair as well as organization to any room with your very own homemade rectangular fabric basket! How to Make a Rectangular Fabric Basket? We’d love to see it!

