
Are you looking for a creative and fun way to liven up your kitchen décor? Making a hot pad using Insul Bright could be just what you need! Insul-Bright is an incredibly versatile material that can be used in all types of craft projects, including the construction of hot pads.

The heat-resistant insulation helps protect your hands from searing temperatures as you set down pans and other cooking vessels fresh off the stovetop or oven.
With some basic sewing skills, materials easily found at any fabric store plus the added protection of this innovative material, you’ll have a stylish new addition to your kitchen in no time! Read on to how to make a hot pad with insul bright and learn how easy it is to make a hot pad with an insulated material.
What is Hot Pad?
A hot pad is a small, usually square-shaped piece of fabric that helps protect your hands from the heat generated by pots and pans when cooking. They are typically made with thick fabrics such as cotton or wool. It is important to use an insulated material, such as Insul Bright, to ensure that the heat is not transferred directly to your hands.
What is Insul Bright?
Insul Bright is an insulated material designed to provide additional protection against both heat and cold. It’s commonly used in quilting, but it’s also perfect for constructing hot pads. It’s an easy-to-use material that is ideal for beginners. This water-resistant material is also machine washable and dryer safe, making it an excellent choice for kitchen projects.
Materials Needed
- Insul Bright Material
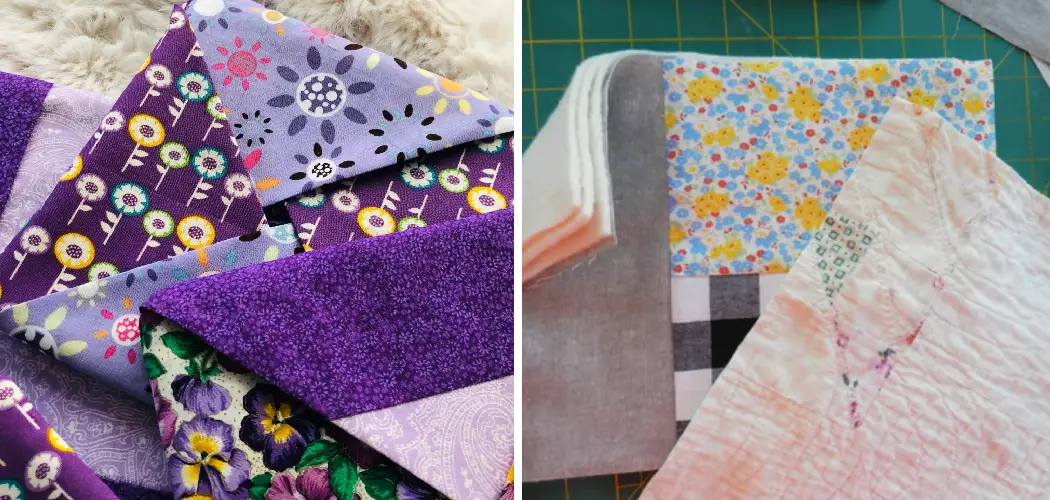
- Cotton or Wool Fabric of Your Choice
- Matching Thread
- Sewing Machine or Needle and Thread
- Scissors
- Iron (Optional)
11 Step-by-step Guidelines on How to Make a Hot Pad With Insul Bright

Step 1: Prepare Your Materials
Gather all of the materials you’ll need and make sure to read the instructions carefully before you begin. It’s also a good idea to have your sewing machine on hand and ready to use. This could save you time if you need to make any adjustments while constructing your hot pad.
If you have an iron, it is helpful to press the fabric and Insul Bright prior to sewing. This will help ensure that the seams and edges are as neat as possible.
Step 2: Cut Your Fabrics
Cut two pieces of fabric and one piece of Insul Bright that are the same size. The size you choose will depend on how large you want your hot pad to be. It’s a good idea to start with smaller dimensions and then make larger pieces if you need to. This way, if you make a mistake you won’t waste too much fabric. It’s best to use a ruler and rotary cutter for this step as they will give you the most accurate cuts.
Step 3: Iron Your Fabrics
If your fabrics are wrinkled or creased, it is important to iron them before moving on to the next step. This will ensure that everything looks neat and uniform once the hot pad has been put together.
It is also important to make sure that all of your fabrics are ironed on the correct side, as this could affect the appearance of your finished product. You may want to use a pressing cloth if you are unsure of the fabric’s heat sensitivity.
Step 4: Attach Insul Bright
Place one of your fabric pieces face down on a flat surface and lay the piece of Insul Bright on top of it. Then, place the other fabric piece, face up, on top of the insulated material. The two pieces should be sandwiched together in this way.

It is important to make sure that the fabric pieces are aligned so that they create a neat, even hot pad when finished. This is a good time to double-check that all of the pieces are pressed or ironed before proceeding.
Step 5: Pin the Fabrics Together
Once the fabric pieces and Insul Bright are securely attached together, it’s time to pin them. This will help keep everything in place while you sew your hot pad. Make sure to use enough pins so that none of the pieces can move around or come apart during the sewing process. This is a very important step, as it will help ensure that your hot pad looks neat and professional once completed.
Step 6: Starts Sewing
Using a sewing machine or needle and thread, sew around all four sides of your hot pad. Be sure to leave an inch or two on each side for seam allowance. This will ensure that your hot pad is properly secured and able to withstand heat when used. It is also important to use a strong, heat-resistant thread for this step. This will help make sure that your hot pad is durable and able to stand up to heat.
Step 7: Trim Excess Threads
Once you have finished sewing your hot pad, it’s time to trim any excess threads. This will help keep your hot pad looking neat and tidy. This step can be done with scissors or a rotary cutter. Be sure to use caution when trimming the threads, as you don’t want to accidentally cut your fabric. It is also important to make sure that all of the threads have been removed before proceeding.
Step 8: Turn the Hot Pad Right Side Out
Grab the ends of your hot pad and turn it right side out, so that all of the fabrics are facing outward. The Insul Bright should now be on the inside of your hot pad, protecting you from heat when using it. It may be helpful to use a chopstick or ruler at this stage to really push the corners out so that they are crisp and neat.

Step 9: Iron the Padding
If you would like a more polished look for your hot pad, ironing it is a great option. Be sure not to place the iron directly onto the insulated material as this could cause damage to its protective properties.
Instead, apply light pressure while running it over all of the fabrics. You may also want to use a pressing cloth for this step. However, this step is not necessary if you are happy with the way your hot pad looks already.
Step 10: Topstitch
Once your hot pad is turned right side out and pressed, it’s time to topstitch. This will help keep the insulated material in place and ensure that no heat escapes when using your hot pad.
This can be done with either a sewing machine or needle and thread. Be sure to go slowly and double-check that all of the seams are properly secured. Although this step is optional, it’s a great way to give your hot pad an extra touch of professionalism.
Step 11: Enjoy Your New Hot Pad!
Congratulations! You have just completed the process of creating a stylish and functional hot pad with insul bright. Now, you can use it to safely handle pots and pans fresh from the oven or stovetop without fear of burning yourself.
Enjoy your new creation – It looks great in any kitchen décor! It’s also a great way to show off your sewing skills and impress your friends. Always remember to be safe when using your hot pad, as it can still get quite hot.
Following these steps on how to make a hot pad with insul bright will give you a beautiful and functional hot pad that is sure to make your kitchen look great. With the added protection of Insul Bright, you can handle any hot item without fear of getting burned. So get creative and start making your own hot pads today!
Frequently Asked Questions
Q: What is Insul Bright?
A: Insul Bright is an insulated material designed to provide additional protection against both heat and cold. It’s commonly used in quilting, but it’s also perfect for constructing hot pads.
Q: Are Hot Pads Machine Washable?
A: Yes, hot pads made with Insul Bright are machine washable and dryer safe. This makes them an excellent choice for kitchen projects.

Q: How Do I Make Sure My Hot Pad is Secure?
A: Make sure to leave at least an inch of seam allowance when sewing your hot pad together. Also, topstitching can help keep the insulated material in place and ensure that no heat escapes when using your hot pad.
Q: Can I Iron My Hot Pad?
A: Yes, ironing your hot pad is a great way to get a more polished look. Be sure not to place the iron directly onto the insulated material as this could cause damage to its protective properties.
Conclusion
Learning how to make a hot pad with Insul Bright is a valuable skill that can help you create useful kitchen accessories. Not only will your creations protect your hands from hot plates and dishes, but you can also use them to add eye-catching designs to your kitchen.
The creative possibilities are endless – embellishing hot pads with buttons, ribbons, colorful fabrics, and more. You can also make themed hot pads for special occasions such as birthdays and holidays.
With this tutorial and some imagination, you can make beautiful bakeware accessories while keeping yourself safe from the heat. So grab your supplies, spread out some newspaper, create your perfect hot pad design – and don’t forget to show us what you made!
Now that you have the basics down for making a hot pad with Insul Bright, why not take it a step further? Check out our next blog post on How to Decorate a Kitchen with Oak Cabinets to learn tips on sprucing up any room in style!