Do you want to make your own pillow inserts, but don’t know where to start? Look no further! Here’s a step-by-step guide to making your very own DIY pillow insert. Not only will it give an interesting twist on the classic pillows we all have in our homes, but this project is also simple and easy to do.
With just a few materials and tools as well as basic sewing skills, you can transform any existing fabric scrap into beautiful cushions for seating or resting. So break out that sewing machine and get ready to craft the perfect pillow set of your dreams. Read more to learn how to make a pillow insert!
Why May You Want to Make a Pillow Insert?
1 . To Make a Customized Pillow
Making your own pillow insert allows you to create a custom size and shape that perfectly fits your pillow cover. With this, you can easily make throw pillows of different sizes, shapes, and thicknesses that match your unique style.
2 . To Save Money
Buying pre-made pillow inserts can be quite expensive, especially if you need several of them. Making your own pillow insert using fabric scraps or old pillows is a more budget-friendly option.
3 . To Reuse and Recycle
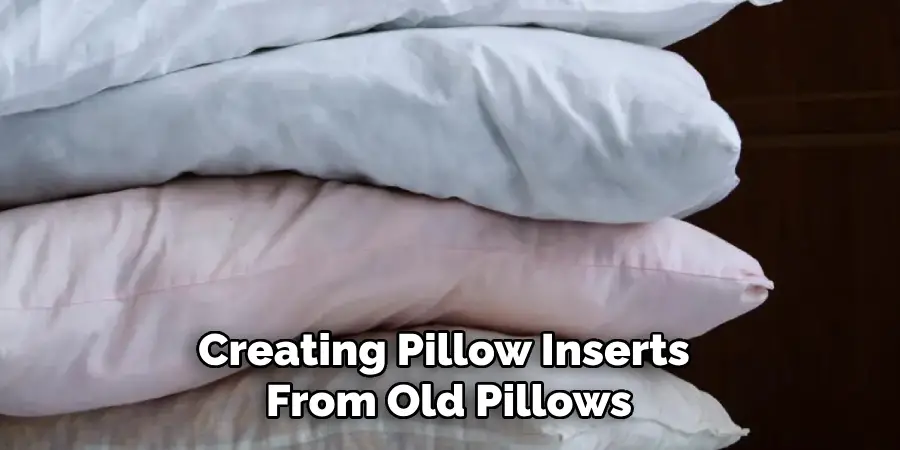
Creating pillow inserts from old pillows or fabric scraps helps to reduce waste and contribute to a sustainable lifestyle. Instead of throwing away old pillows, you can repurpose them into new ones. Also, you can use fabric scraps that would have otherwise been thrown away to make your own inserts.
4 . To Have a Durable Pillow
Making your own pillow insert allows you to choose the type of filling and fabric that best suits your needs. This gives you more control over the durability of your pillow. You can select materials that are long-lasting and suitable for your intended use.
5 . To Avoid Allergies
If you are allergic to certain materials used in pre-made pillow inserts, making your own allows you to select hypoallergenic options that will not cause any reactions. This ensures a comfortable sleep without the risk of allergies acting up.
How to Make a Pillow Insert in 5 Easy Steps
Step 1: Gather All The Tools
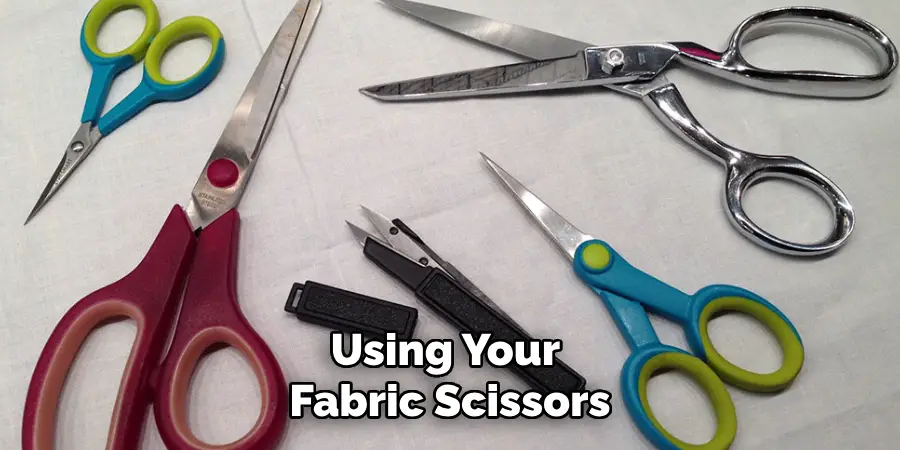
The very first step is to get all the required tools and materials ready. You will need a pillow insert cover, fabric scissors, a sewing machine or needle and thread, measuring tape, pins, an iron and an ironing board.
Step 2: Measure Your Pillow Insert Cover
The next step is to measure your pillow insert cover. Take out your measuring tape and measure the width and length of the cover. Add an extra half inch on each side for seam allowance. This will ensure that your pillow insert will fit snugly inside the cover.
Step 3: Cut Your Fabric
Using your fabric scissors, cut a piece of fabric according to the measurements you took in step 2. Make sure to cut straight lines and double-check your measurements before cutting. Also, remember to add an extra half inch on each side for seam allowance.
Step 4: Sew the Fabric
Now it’s time to sew the fabric together. Place the two pieces of fabric together with the right sides facing each other and pin them in place. Using a sewing machine or needle and thread, stitch along the edges leaving a small opening at one end. This will be used to insert the pillow.
Step 5: Iron and Stuff Your Pillow Insert
Once all sides are stitched, turn the fabric inside out through the opening. Use an iron to press down any wrinkles or creases. Next, take your pillow insert and stuff it into the cover through the opening. Use your fingers to evenly distribute the filling and make sure it fits snugly inside the cover. Finally, stitch up the opening and your pillow insert is ready to use!
Some Extra Tips to Make a Pillow Insert
1 . Do Not Overstuff
If you’re new to making pillow inserts, it can be tempting to stuff them as much as possible. However, this could lead to a lumpy and uneven appearance once the insert is placed inside a cover. It’s best to use slightly less filling and ensure that it’s evenly distributed throughout the insert.
2 . Use High-Quality Materials
When making a pillow insert, it’s important to use high-quality materials. This ensures that the insert will last longer and maintain its shape and support. Look for good quality fabric, preferably 100% cotton or down-proof fabric, as well as high-density filling such as polyester fiberfill or feathers.
3 . Consider Adding a Zipper
To make your pillow inserts even more durable and versatile, consider adding a zipper to the cover. This will allow you to easily remove and wash the cover when needed, keeping your pillow inserts clean and fresh for longer.
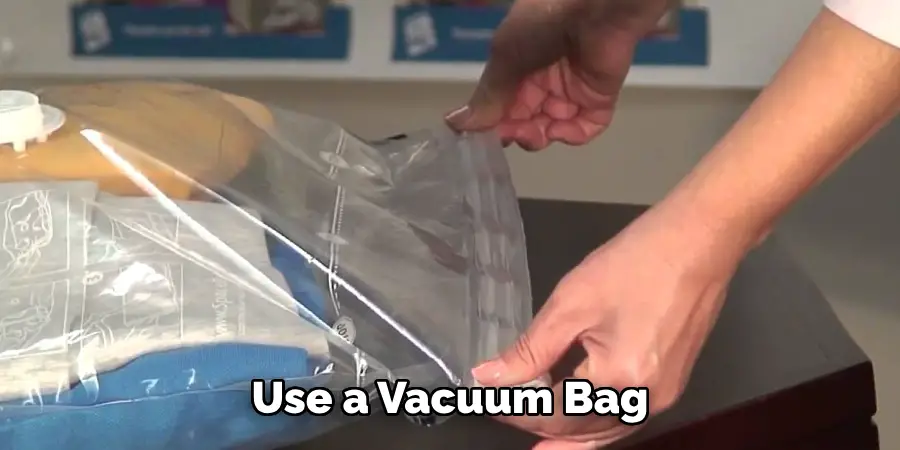
4 . Use a Vacuum Bag
If you’re struggling to fit your insert into a cover or need to compress it for storage, use a vacuum bag. These bags are specifically designed to compress bulky items, such as pillows, and make them easier to fit into smaller spaces.
5 . Experiment with Different Shapes
Pillow inserts don’t have to be square or rectangular in shape. Experiment with different shapes, such as round or bolster inserts, to add some variety and interest to your home decor. Just make sure the cover is appropriately sized for the insert’s shape.
6 . Consider Adding Decorative Elements
To add some personality and flair to your pillow inserts, consider adding decorative elements such as piping, ruffles, or buttons. You can also use different patterns and textures for the cover to make your inserts stand out even more.
Frequently Asked Questions
What Precautions Should I Take When Making a Pillow Insert?
Making your own pillow insert can be a fun and rewarding project, but it’s important to take some precautions to ensure the best results. Here are some tips to keep in mind: The quality of your materials will directly impact the final product. Be sure to invest in good fabric and filling that will hold up to regular use.
Measure and cut your fabric accurately to ensure a snug fit inside your pillow cover. Secure all seams properly, either with sewing or iron-on tape, to prevent any leaks or shifting of the filling. Finally, always follow the manufacturer’s instructions when using any type of filling for your insert.
Can I Use Any Type of Filling for My Pillow Insert?
There are a variety of fillings that can be used for pillow inserts, and the type you choose will depend on personal preference and the desired level of firmness. Some common options include foam, feathers, cotton batting, and down alternatives.
Keep in mind that some materials may require special handling or have specific care instructions. If you’re unsure about which filling to use, it’s always best to consult with a professional or do some research before making your decision.
How Can I Customize My Pillow Insert?
One of the great things about making your own pillow insert is that you can customize it to fit your needs and preferences. If you prefer a firmer pillow, add more filling or opt for a denser material like foam.
For a softer pillow, use less filling or choose a lighter material like down alternatives. You can also experiment with different shapes and sizes to fit your specific pillow cover. Be creative and have fun with your customization!

Are There Any Other Uses for Pillow Inserts?
Pillow inserts are not just limited to traditional square or rectangular pillows. They can also be used for various other purposes, such as making bolster pillows, floor cushions, or even pet beds. Get creative and think outside the box when it comes to using your pillow inserts. With a little imagination, the possibilities are endless!
Conclusion
With a bit of time and effort, you’re now ready to make your own beautiful pillow insert to decorate your bedroom! Don’t forget that even the most talented of DIYers can encounter problems or issues during a project, so if you do face any hiccups feel free to reach out and do some research.
Now you know how to make a pillow insert! When tackling projects like this stay positive, have fun, and you might just surprise yourself at how great something you made with your own two hands can look. Now get creative and enjoy the process of making your very own custom pillow insert. Good luck!

