
Crafting a wooden tray is a delightful and rewarding project that allows you to blend creativity with functionality. Whether you’re a seasoned woodworker or a novice looking for an entry point into the world of DIY woodworking, making a wood tray is a satisfying endeavor. This versatile accessory can serve as a decorative centerpiece, a serving platter, or a practical organizer for various items.

From selecting the right wood to adding unique design elements, the process of crafting a wooden tray is an artful journey that lets you tailor the final product to your taste and needs. In this article, we will guide you through the essential steps of how to make a wood tray that exudes charm and craftsmanship. Whether you prefer a rustic, modern, or classic design, we will provide you with the knowledge and tips to embark on this woodworking adventure, allowing you to craft a beautiful and functional wooden tray that suits your style and serves your purpose.
The Usefulness and Versatility of Wood Trays
Wood trays have been around for centuries, used by different cultures for various purposes. During the 17th century, they were a staple in European households, primarily used for serving food and drinks. Today, wood trays continue to be a versatile and useful household item. They come in different shapes, sizes, and designs, making them suitable for various functions. Here are some of the ways you can use wood trays in your daily life:
- Serving food and drinks: This is probably the most common use of wood trays. They are perfect for serving breakfast in bed or carrying snacks and refreshments to your guests. The sturdy nature of wooden trays makes them ideal for transporting fragile items without worrying about spills.
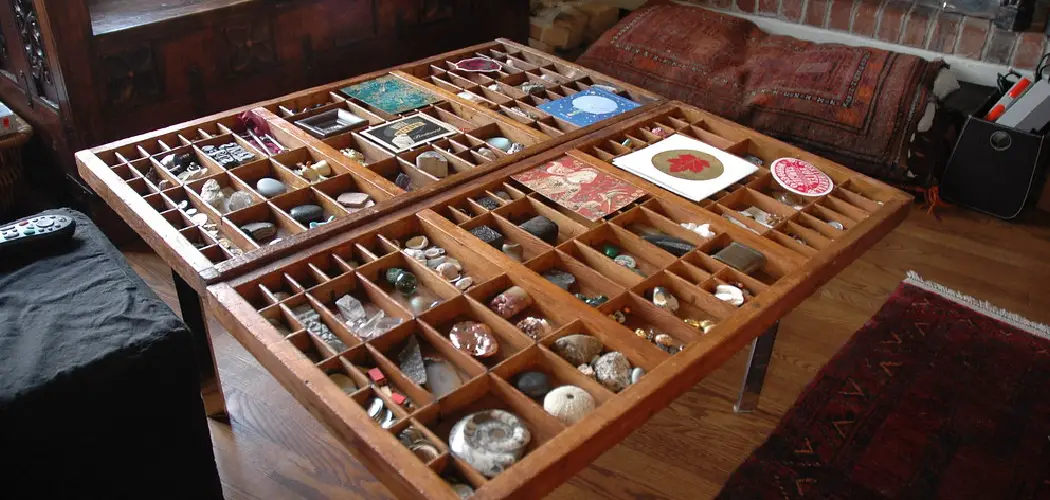
- Organizing items: Wood trays are a great way to declutter and organize your space. You can use them in the kitchen to hold condiments, spices, or utensils. In the bathroom, they can be used to store toiletries and makeup products. And in the living room, wood trays make for a stylish and functional way to keep remote controls, magazines, and other small items in one place.
- Decorative pieces: With their natural and rustic look, wood trays can add a touch of warmth and charm to any room. They can be used as centerpieces on dining tables or as a base for displaying candles, flowers, or other decorative items. You can also paint or stain wood trays to match your home decor theme, making them a versatile and customizable option for adding a personal touch to your space.
- Outdoor activities: Wood trays are not just limited to indoor use. They can also come in handy during outdoor activities like picnics, camping trips, or beach days. You can use them as a makeshift table for your meals or as a surface to play card games or puzzles on. Their lightweight nature makes them easy to carry and transport.

10 Methods How to Make a Wood Tray
1. Gather the Materials
Before you begin making your wood tray, you will need to gather all of the materials that you will need. This includes a sheet of plywood, a saw, screws or nails, sandpaper, and wood glue. You may also want to purchase some decorative items, such as paint or stain, to give your tray a unique look. Once you have all of the materials together, you are ready to begin building your tray!
2. Cut the Plywood
Using your saw, cut two pieces of plywood into identical rectangles. The size of these rectangles should be determined by how large you want your tray to be when it is finished. Once the pieces are cut, use sandpaper to smooth out any rough edges and make sure that they fit together perfectly.

3. Attach the Sides
Once the pieces are cut and sanded down, it is time to attach them together. To do this, use either screws or nails to attach one side of each rectangle together along one edge so that they form a box shape with an open top and bottom. Make sure that the sides are securely attached before moving on to the next step.
4. Add Support Pieces
To add extra strength and stability to your tray, add support pieces along both sides and across the bottom of the box shape that you just created in step three. These support pieces can be made from scrap wood or even metal if desired. Make sure that these pieces are securely attached before moving on to the next step.
5. Attach Handles
If desired, add handles to either side of your tray for easy carrying and maneuvering once it is finished. You can use small hinges for this purpose or simply drill holes through both sides of your box shape and attach handles using screws or nails from underneath the box shape itself (this method is not recommended if you plan on using heavy items in your tray).
6. Sand Down All Surfaces
Once all of the components have been added and attached securely, use sandpaper to smooth out any rough edges on all surfaces of your tray, including inside surfaces where applicable (such as inside supports). This will help ensure that there are no sharp edges that could cause injury when handling or using your finished product later on down the road.
7. Apply Wood Glue
Now it’s time to apply some wood glue along all seams where two pieces meet up in order to give extra strength and stability while ensuring a tight seal between them (this includes seams between supports). Allow this glue sufficient time to dry before continuing on the next step (usually about 24 hours).

8. Apply Finishings
Now it’s time for some fun! You can now apply various finishings such as paint or stain in order to give your tray a unique look if desired. You may also choose to leave it unfinished if preferred for a more rustic look instead! Just make sure that whatever finishings you choose are applied evenly throughout all surfaces in order for the best results later on down the road when using/handling your finished product!
9. Seal with Polyurethane
Finally, seal everything off with a coat of polyurethane in order to protect against water damage/staining over time (especially important if you plan on keeping food items inside). Allow this sealant sufficient time to dry before proceeding to the final steps (usually about 24 hours).
10. Enjoy Your Finished Product!
Congratulations – you have now successfully completed building a beautiful wooden tray! Now go ahead and enjoy displaying it proudly around your home or giving it away as an awesome gift! With all of the possible variations you can create to make your tray unique, feel free to experiment a bit and have fun making more trays in different sizes/shapes/colors for each room in your household! The uses for wood trays are endless and with these methods, you can easily create one yourself in no time at all.
Common Mistakes to Avoid When Making a Wood Tray
When it comes to making a wood tray, there are a few common mistakes that beginners should be aware of in order to achieve the best results. These mistakes can not only affect the aesthetic appeal of your tray, but also its functionality and durability. Here are some key things to keep in mind to avoid these common mistakes:
- Using the wrong type of wood: The type of wood you choose for your tray will greatly impact its strength, appearance and ability to withstand wear and tear. Make sure to use a hardwood such as oak, cherry or walnut that is known for its durability and resistance to scratches.
- Not properly sanding the wood: Sanding may seem like an unnecessary step, but it plays a crucial role in creating a smooth and even surface for your tray. Neglecting to sand your wood properly can result in rough edges, splinters or an uneven finish.
- Not measuring accurately: It may be tempting to eyeball measurements when making a wood tray, but precision is key in this project. Using inaccurate measurements can lead to pieces that don’t fit together properly, resulting in a wonky and unstable tray.
- Skipping the wood conditioner: A wood conditioner should always be used before staining or painting your tray. This will help prevent blotchiness and ensure an even finish on your wood.
- Using cheap or low-quality finishing products: The type of finish you use on your tray is just as important as the wood itself. Using a cheap or low-quality finish can result in a dull or uneven appearance, or even cause damage to the wood over time.

Conclusion
In conclusion, building a wood tray is an achievable and rewarding project. It provides the opportunity for an organic and unique piece of furniture that’s sure to draw admiration and conversation from all who see it.
All the items you may need can be found easily at hardware stores or online, so with some patience and skill, your dream piece of furniture is right around the corner. Whether you’re a novice carpenter or experienced in the art of wood-work, a wooden tray can add a special touch to any home. So why not take up this exciting challenge and create something remarkable? All of this is possible with just one simple tutorial: how to make a wood tray!