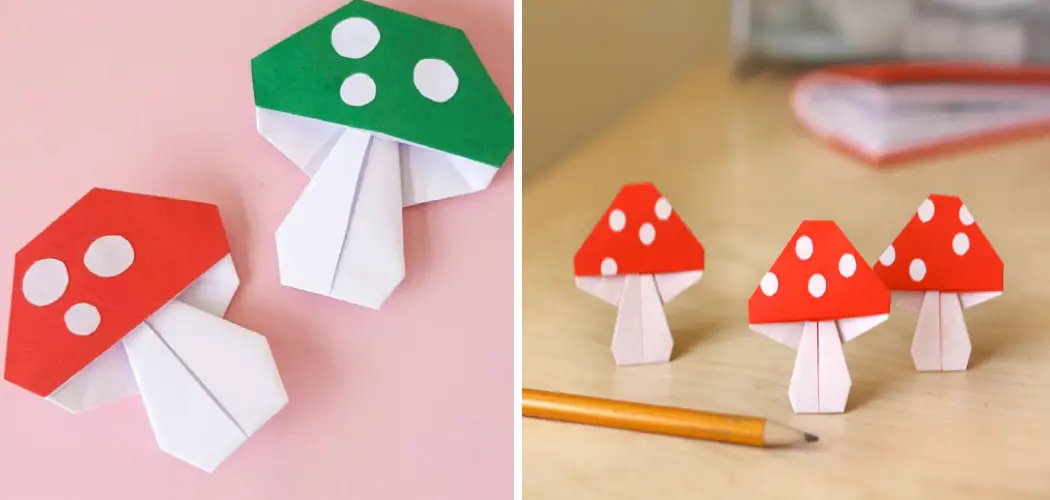
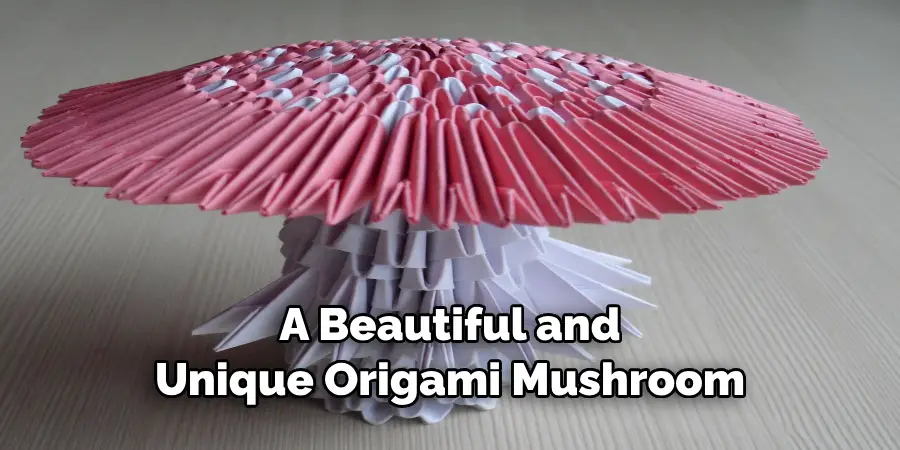
Are you looking for an interesting and unique craft project that is sure to impress your friends and family? Creating a paper mushroom out of origami is an enjoyable craft for kids and adults alike. Have you heard about the amazing art of origami but are not quite sure how to get started? If so, then this post is just what you need! Origami is a traditional Japanese folk art form where paper is folded into intricate shapes.
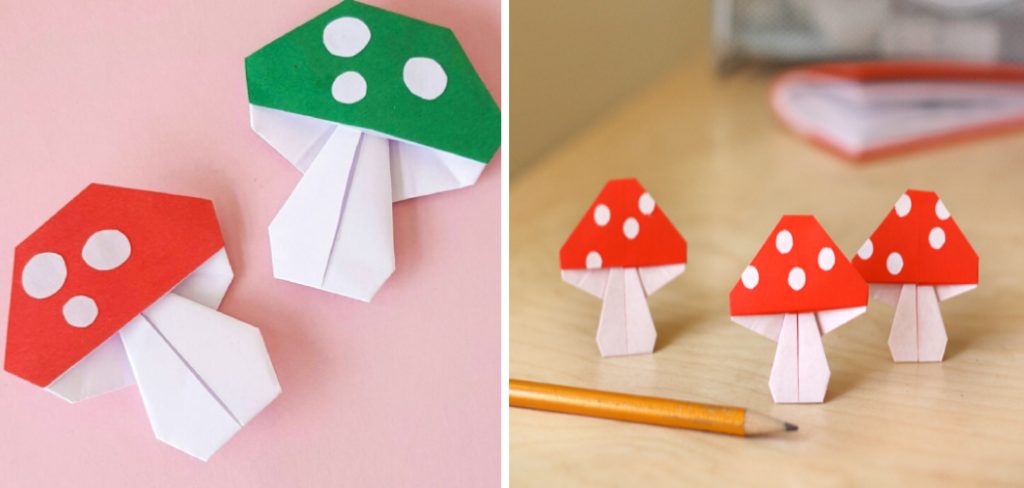
It’s a wonderful way to express yourself artistically and can provide hours of creativity. Making an origami mushroom may seem like a daunting task at first, but with the right instructions, it’s actually relatively easy – no matter your skill level!
In this post, we will walk through all the steps on how to make a origami mushroom necessary for anyone to learn how to make their own origami mushroom in no time! Best of all, making each layer is not difficult at all; with patience and practice, anyone can easily learn the basics in no time!
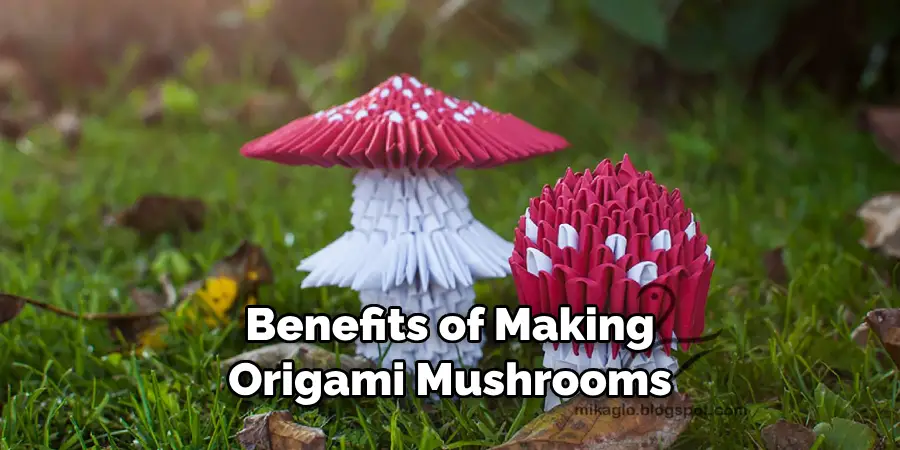
The Benefits of Making Origami Mushroom
1. Decorative piece
Making origami mushrooms comes with a range of benefits. Not only are they fun to make, but they can also be used as decorations or as toys for kids. The unique paper design makes them perfect for any occasion, including birthdays, weddings, and parties. Plus, the folding process is easy to learn and requires few materials – just a piece of square-shaped origami paper and a few simple tools.
2. Stress reliever
Making origami mushrooms can be therapeutic and help you reduce your everyday stress levels. The intricate yet repetitive folding process is relaxing, allowing you to take a break from the outside world and focus on something else for a while. Plus, the end results will give you a sense of accomplishment!
3. Great gift
Origami mushrooms can also make great gifts for friends and family. The unique design is sure to have a lasting impression, and the receiver will be sure to appreciate the effort you put into making it. You can even personalize your origami by using different colors of paper or adding embellishments like beads or glitter.
10 Steps on How to Make a Origami Mushroom
Now that you know the benefits of making origami mushrooms, let’s get into the step-by-step tutorial. All you need is a piece of square paper and some simple tools.
Step 1: Start with a Square Sheet
The first step in making an origami mushroom is to start with a square sheet of paper. You can use any type of paper, but make sure it’s thin enough to fold easily. Remember to select a color that you like; this will serve as the mushroom’s cap.
Step 2: Fold the Sheet into a Triangle
Once you have your square sheet of paper, fold it in half to create a triangle shape. You can use a ruler or any other straightedge to make sure the edges are even.
Step 3: Fold the Triangle in Half
Now, fold the triangle in half again so that it looks like a smaller triangle. This will be the base of your mushroom’s cap. Folding the paper this way will create the pointed tip of your mushroom.
Step 4: Create a Square Base
To create the square base, fold one corner of the triangle to meet the opposing edge and press down firmly. This will create a four-sided shape. You can use a ruler or any other straightedge to make sure all sides are even.
Step 5: Make Four Pockets
Now, fold the paper in half again and press down firmly to create four pockets on each side. This will be the base of your mushroom’s stem. Making four pockets will provide stability and make it easier to stick the pieces together.
Step 6: Create Folds on Each Side
Next, you will need to create folds on each side of the pocket. This will be used for attaching the stem later on in the process. Make sure all of the creases are neat and even so that your mushroom looks neat when you’re finished.
Step 7: Take Out the Center Square
Now, gently take out the center square of your pocket. Be careful not to rip or tear the paper. This will provide an opening for attaching the stem later on in the process.
Step 8: Cut a Strip of Paper
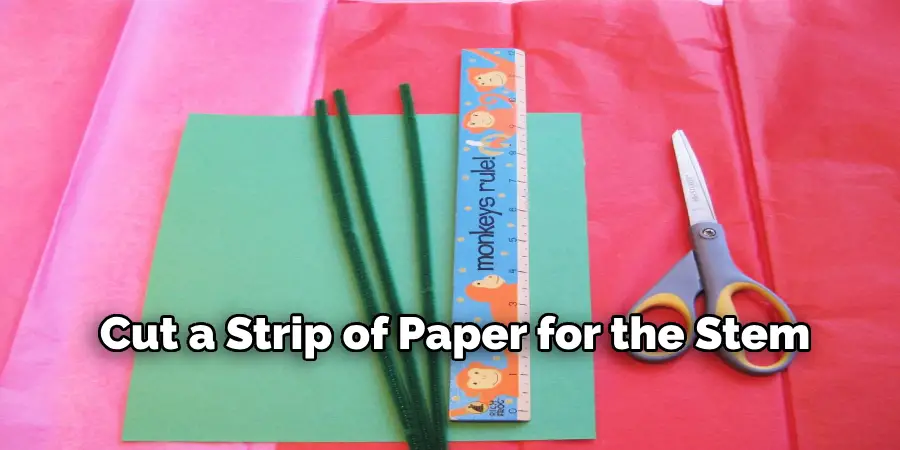
You will need to cut a strip of paper for the stem. The length and width of the strip should be slightly larger than the pocket opening you created in Step 7. Also, make sure the color of the paper you use for the stem is different from the cap’s color.
Step 9: Insert and Glue the Stem
Now it’s time to attach the stem to your mushroom cap. Start by inserting one end of the strip into one side of your pocket. Then, glue down both sides of the strip to secure it in place. Make sure not to use too much glue so that your mushroom looks neat when it’s finished.
Step 10: Add Embellishments
The last step in making your origami mushroom is to add embellishments such as beads or glitter for a unique and creative look. You can also draw on the mushroom for a fun and whimsical effect.
Following these steps on how to make a origami mushroom, you should now have a beautiful and unique origami mushroom! You can display it as an art piece in your home or give it away as a gift. Regardless of what you decide to do with it, we hope you had fun making your own paper mushroom out of origami!
8 Common Mistakes to Avoid when Making an Origami Mushroom
Making origami mushrooms may seem easy, but there are a few common mistakes that you should try to avoid. Here are eight of the most common mistakes and tips on how to avoid them:
- Not using enough paper. When making origami mushrooms, it is important to use the proper amount of paper. If you use too little, the shape of your mushroom won’t be correct, and if you use too much, it will be difficult to fold.
- Not folding correctly. Origami mushrooms require careful and precise folding techniques in order for them to turn out right. Take your time when folding to ensure that each fold is accurate and consistent.
- Not using the right type of paper. Origami mushrooms should be made with thin, square sheets of paper. Regular printer paper is too thick and can make folding difficult.
- Not being patient enough. Making origami mushrooms takes time and patience. If you rush through the process, chances are that your mushroom won’t turn out correctly.
- Not having the right tools. Having a pair of scissors and a ruler can make folding easier and more precise.
- Not using enough glue. Securing your origami mushroom with glue is important for making sure that it retains its shape after folding. Make sure to use enough glue so that everything stays in place when the mushroom dries.
- Not adding details. To make your origami mushroom look more realistic, don’t forget to add details like eyes, a mouth, and spots.
- Not taking care of your origami mushroom. Origami mushrooms are delicate creations that need to be handled with care. Keep it away from moisture and direct sunlight, as these can cause the paper to fade or tear over time.

By avoiding these common mistakes, you can create a beautiful origami mushroom that will last for years to come. With a little bit of practice and patience, you’ll be able to make the perfect origami mushroom in no time!
Conclusion
Making origami mushrooms is a fun and creative way to pass the time. Origami is a great way to get creative and have fun. Crafting an origami mushroom might take some time and patience, but the final product is worth it. Not only do you have a unique decoration, but also a reminder that creativity is valuable and enjoyable.
It can also be an inexpensive way to spruce up any room with a pop of color. Why not give it a try? Imagine the impressive creations you could come up with by combining different colors and designs of paper.
With just a few simple instructions on how to make a origami mushroom, you can easily learn how to make your own origami mushrooms in no time. So grab some paper and get started! Who knows, maybe you’ll even be inspired by this project to create your own origami masterpiece! Good luck with your origami adventure. May your mushroom turn out perfectly!

