
If you’ve ever been looking for a fun and creative project to do with your kids, then look no further than this guide on how to make boats out of popsicle sticks! If your little ones love arts and crafts, they are sure to have a blast making their own DIY boat that can actually float in water.

This easy-to-follow guide will walk you through step-by-step instructions on how to assemble the boat as well as prove helpful tips along the way. Read on for a great family activity that everyone is sure to enjoy!
11 Step-by-step Guidelines on How to Make Boats Out of Popsicle Sticks
Step 1: Gather Your Supplies
You will need:- 6 popsicle sticks per boat (each stick should be 4.5 inches long and 0.5 inches wide)- Craft glue- Paper clip or a small plastic ball for weight- Decorative items like beads, glitter, sequins, markers (optional).
If you are using markers, you may want to use washable ones for easy cleanup. It’s also best to have an adult help with this part. But make sure kids don’t get ahold of the glue! This project can get messy so it’s best to work on a disposable surface like wax paper or aluminum foil.
Step 2: Glue the Sticks Together
To make the basic boat shape, take 3 popsicle sticks and lay them side by side overlapping each other slightly. Now apply craft glue at either end of the sticks to hold them in place. Make sure to press down firmly so that they stick together properly. Repeat this step with another set of 3 popsicle sticks and let it dry for 10 minutes.
It’s best to do this project with adult supervision, especially when working with glue. If you want to add more stability to the boat, you can reinforce the popsicle sticks with tape or extra glue. This can help ensure that the boat stays together better.

Step 3: Attach the Two Boat Shapes Together
Once both sets of glued popsicle sticks have dried, attach them together by applying glue onto one end of one boat shape and connecting it to the other boat shape. Press down firmly and let it dry for 10 minutes.
But make sure to not add too much glue or it may start seeping out from the sides. It’s best to do this step with adult supervision as well. But if you want, you can let the kids help out with attaching the two parts of the boat together.
Step 4: Add Weight to the Boat
Now add weight to your boat by attaching a paper clip or small plastic ball at the bottom of the boat using craft glue. This will help keep your boat afloat in the water. Let it dry for 10 minutes before moving on to step 5. So far, your boat should be looking great and ready to float! If you are making several boats, make sure to give each one a unique look by adding different decorations like beads or sequins.
Step 5: Decorate Your Boat (Optional)
If you want, you can now decorate your boat however you like with beads, glitter, sequins, markers, etc. You can also write words like ‘captain’ or ‘sailor’ onto the popsicle sticks using pen or markers.
This is a great way to give your boat a unique look that is sure to stand out. If you are using markers, make sure to use washable ones for easy cleanup. So have fun and be creative when decorating your boat!

Step 6: Add Extra Sticks for Stability (Optional)
For extra stability, glue 2 popsicle sticks to either side of the boat and let them dry for 10 minutes. This will help keep your boat from flipping over in the water. If you want, you can also glue another popsicle stick on the back of the boat to act as a rudder. Otherwise, your boat is ready to go!
But make sure to let the glue dry for a few hours before taking it out on the water. If you want, you can also let the kids help out with gluing the sticks for extra fun!
Step 7: Let Your Boat Dry
Let your boat dry overnight or for at least 12 hours before testing it out in the water. It’s best to leave it out in a warm, dry place instead of placing it in direct sunlight. However, if you are in a hurry, you can use a hair dryer to speed up the process.
If you want, you can also add a few coats of clear nail polish to make your boat waterproof and keep it from getting damaged in the water. You can also use additional tape to reinforce the boat if needed. This step is optional but recommended.
Step 8: Test Out Your Boat in the Water
Once your boat is completely dry, put it in a tub of water and watch it float! If it doesn’t seem to be floating properly, you can adjust the weight by adding or removing the paper clip or plastic ball. Either way, the kids are sure to have a great time testing out their own DIY boats in the water. It’s also a great way to introduce some STEM concepts like buoyancy and water resistance.
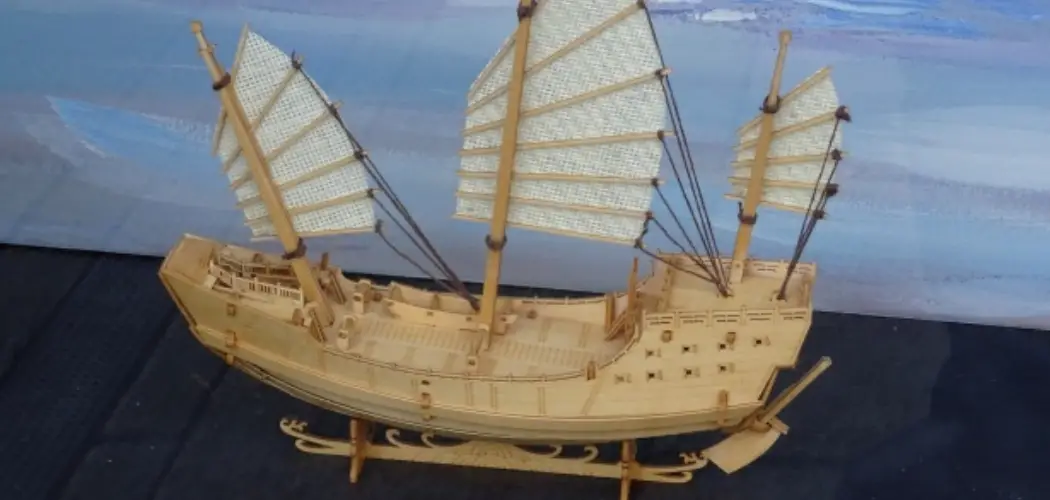
Step 9: Add Sails (Optional)
If you want to make your boat look even cooler, you can add sails made out of popsicle sticks. To do so, attach two popsicle sticks side by side using craft glue and then thread some cotton string through them.

Make sure to leave enough space between the two sticks so that the string can be pulled tight. Attach this sail to the top of your boat using more glue and let it dry for 10 minutes. It’s a great way to add an extra element of fun and creativity to your boat. This is also a great way to teach kids about how sails work and why boats need them.
Step 10: Add a Flag (Optional)
To complete your boat, you can attach a flag made out of popsicle sticks and craft paper. All you need to do is cut out a small rectangle from craft paper and then attach it to the end of a popsicle stick with glue.
Now attach this flag to the top of your boat using more glue and let it dry for 10 minutes. Your boat is now ready to set sail! It’s best to do this step with adult supervision. But make sure to let the kids help out with the decoration part. You can even make it a competition and see whose boat can travel the furthest!
Step 11: Enjoy!
Now just sit back, relax and enjoy watching your little sailors cruise around the water in style! Always remember to supervise the kids while they are out on their boats and make sure to drain any water from them before putting them away for another day of fun.
Enjoy making memories with your kids and have a great time! If you ever need to make more boats, just repeat these steps and get ready for another adventure!
Furthermore, don’t forget to take pictures of your masterpieces and share them with us on social media. We would love to see your DIY boats! Making boats out of popsicle sticks is such a fun and easy project that your kids are sure to love. So why not give it a try today? With this step-by-step guide, you’ll be able to make your own DIY boat in no time at all! Have fun!
Frequently Asked Questions
Q. How Can I Make the Boat Float Better?
A. You can adjust the weight of your boat by adding or removing the paper clip or small plastic ball. Additionally, adding extra sticks for stability can help keep your boat from flipping over in the water.
Q. How Long Does it Take to Make a Popsicle Stick Boat?
A. On average, it should take about 30-45 minutes to make a popsicle stick boat depending on how much decorating and detail you add.
Q. Are There Any Safety Precautions I Should Follow When Making the Boat?
A. Make sure to use adult supervision when using craft glue and other sharp tools like scissors or knives as these items could be dangerous if used incorrectly. Always read and follow the instructions on any products that you use carefully before beginning the project. Additionally, make sure to store

Q. Are There Any Other Ways to Decorate My Boat?
A. Yes! You can also paint your boat with acrylic paint or decorate it with washi tape and ribbons for a unique look. Have fun and let your creativity shine!
We hope that this guide helped you learn how to make boats out of popsicle sticks. Have fun creating these adorable little vessels and if you have any other questions, feel free to ask in the comments section below! Enjoy! Happy crafting!
Conclusion
If you’ve ever been looking for a fun and creative project to do with your kids, then look no further than this guide on how to make boats out of popsicle sticks! If your little ones love arts and crafts, they are sure to have a blast making their own DIY boat that can actually float in water.
This easy-to-follow guide will walk you through step-by-step instructions on how to assemble the boat as well as prove helpful tips along the way. Read on for a great family activity that everyone is sure to enjoy!