
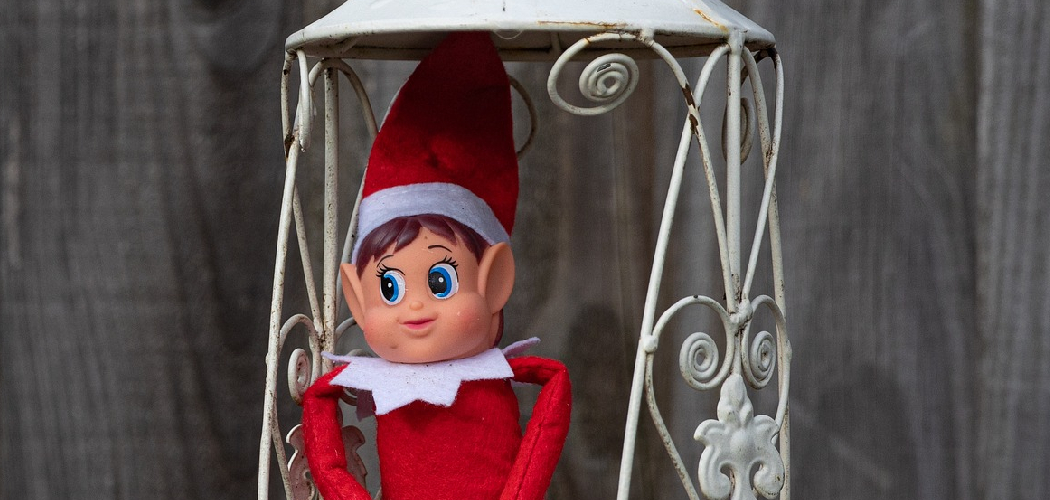
If you are a fan of Christmas, then there is no better way to capture the spirit of the season than by making your own Elf on the Shelf house. Although it might sound difficult and time-consuming, creating an elf home is actually quite easy with a few supplies and some basic crafting skills.
This blog post will provide step-by-step instructions on how to make a Elf on the Shelf house that you can use for years to come! You’ll learn how to craft everything from walls and roofs to furniture, decorations, and even little elves – all while having fun in the process! So grab your tools and get ready to bring your elf alive; it’s time to create an amazing DIY Elf on The Shelf House!

Tools and Materials You Will Need to Make an Elf on the Shelf House
- Cardboard
- Scissors
- Glue or hot glue gun
- Colored paper
- Paint & brushes (optional)
- Ribbon, string, and yarn (optional)
Step-by-Step Guidelines on How to Make a Elf on the Shelf House
Step 1: Create the Base of the House
Start by creating a base for your Elf on the Shelf house. You can use a large piece of cardboard, foam board, or even pre-made wooden boards purchased from a craft store.
Cut the base into the desired shape. You can choose anything you like – a traditional roofline with gables and eaves is always popular! Once you have finished cutting it to size, glue or tape it together securely.
Step 2: Make the Walls & Roof
Next, you need to add walls and a roof to your Elf on the Shelf house. For this part, you can use cardboard or colored paper. If you choose cardboard, cut pieces that match the shape of your base and glue them onto it.
If using paper, simply trace the outline of the base onto the paper and then cut it out. You can also use paint or other decorations to add a personal touch. Once you have your walls and roof in place, glue them to the base firmly.

Step 3: Add Furniture & Decorations
Now that your Elf on the Shelf house has walls and a roof, it’s time to decorate it with furniture and other accessories. You can make these out of cardboard, paper, or even felt fabric.
Cut out the pieces you need for furniture such as beds, chairs, tables, etc., and then glue them to the inside of your Elf on the Shelf house. For decorations, you can add lights, wallpaper, curtains – whatever you want!
Step 4: Craft Little Elves
To finish off your Elf on the Shelf house, you’ll need to make some little elves. For this, you can use clay, felt fabric, or paper mache. You could also use pre-made figures from a craft store if desired.
Whichever material you choose, simply shape it into a figure and dress it up with small clothes or accessories. Once you have your little elves made, glue them to the inside of your Elf on the Shelf house so they can move around!
Congratulations! You now have a beautiful Elf on the Shelf house that you can enjoy all season long. You can even give it as a gift to family and friends or set it up as part of your Christmas decor.

Additional Tips and Tricks to Make an Elf on the Shelf House
1. If you want to make your Elf on the Shelf house look even more magical, try adding in some fairy lights or a twinkling star. This can really help bring your creation to life and will have your elf feeling right at home!
2. Try using natural materials such as pine cones, branches, leaves, or stones so that it looks like an elf’s natural habitat. This will also help make your house more environmentally friendly as well!
3. Don’t be afraid to get creative and have fun with your Elf on the Shelf house. The possibilities are endless, so don’t be afraid to experiment with different materials or ideas that you come up with.
4. If you want to add some extra sparkle to your house, try glittering glue. This is a safe way to add some extra sparkle and shine to any of the decorations you may have in your Elf on the Shelf house.
5. Have fun brainstorming ideas and creating something that will be truly unique! Even if you don’t think it looks perfect, remember that what matters most is having a magical and fun time that you can share with your family.
6. Finally, don’t be afraid to ask for help from friends or family if you need it. Making an Elf on the Shelf house can be a fun project that is great for bonding and spending quality time together!
Following these tips will help you create a unique and magical Elf on the Shelf house that your whole family can enjoy. Whether you are making it for Christmas or just for fun, this project is sure to bring lots of joy to everyone involved!
Precautions Need to Follow for Making an Elf on the Shelf House
When making an Elf on the Shelf house, there are certain precautions that should be taken to ensure safety for both those involved in the construction as well as for the elf.

- Make sure all tools used are in proper working order and safe to use. Check for loose screws or chipped blades that could cause injury.
- Choose materials that are safe to work with. Avoid flammable materials or anything else that could be hazardous.
- Wear safety goggles, gloves, and a face mask when working with power tools or cutting wood.
- Be sure the workspace is well-lit and free from clutter to prevent injuries while building the house.
- Keep small parts out of reach of children and pets.
- Follow all instructions carefully, use the proper tools for each job, and consider asking someone with experience in carpentry to help if needed.
- Take your time; rushing can lead to mistakes that could result in injury or damage to the house.
- When finished, make sure all edges are smooth and free of splinters.
Following these precautions can help ensure that your Elf on the Shelf house is safe and fun for everyone involved. With the right preparation, you will have a great time creating a unique and one-of-a-kind home for your elf to enjoy!
Frequently Asked Questions
How Long Does It Take to Make an Elf on the Shelf House?
It usually takes between 1-2 hours depending on the size and complexity of the design. However, some people may spend a couple of days or more creating a detailed or intricately designed house for their elf. It is also important to keep in mind that the process can be lengthy if you plan to use lots of different craft materials and items.
What Resources Do I Need?
For a basic Elf on the Shelf house, all you need are some cardboard boxes or large foam sheets for walls, scissors or an X-acto knife for cutting, tape or glue for adhering pieces together, and some markers or paints to give it a decorative touch.
If you would like to create something more elaborate, there are lots of other craft supplies and materials such as felt, fabric, glitter, beads, etc. that can be used to add extra details.
How Do I Get Started?
The first step is to come up with a design for your house. You can either draw out your plan on paper or look online for some inspiration and ideas. Once you have an idea in mind, it’s time to start gathering the materials you need and begin the build process. It is important to be patient and take your time while constructing the house to make sure it is safe and sturdy enough for your elf.

Is It Possible to Customize an Elf on the Shelf House?
Absolutely! This is one of the best parts about making your own house. There are endless possibilities when it comes to customizing and personalizing your elf’s home, from choosing specific colors and decorations to adding special features such as a working door or secret passages. Don’t be afraid to get creative and have fun with it!
What Other Crafts Can I Make For My Elf?
In addition to making a house for your elf, there are lots of other fun craft projects you can make. This could include creating clothes and accessories for the elf, designing a dollhouse-style bedroom scene, or even using your elf as a canvas for painting. You can also make things like miniature furniture or decorations to add some extra flair to the house. The possibilities are endless!
Conclusion
With the above outlined you can learn how to make a elf on the shelf house of your own. From gathering materials to customizing the look, you can create a unique and personalized hideout for your elf. With some creativity and patience, you can craft an elf house that will last through many holidays to come! Happy crafting!