
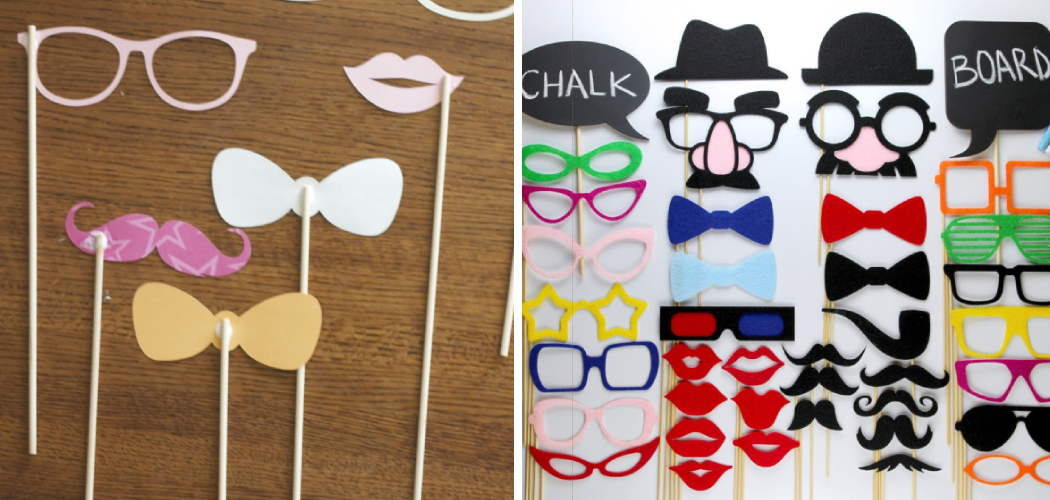
Creating your own photoshoot props can be a fun and creative way to show off your photography skills! Photo props can give your photos an extra boost of personality, and they don’t have to break the bank.
Whether you want something festive for a holiday shoot or simply need some pretty items to fill in the background of the shots, making it yourself is often cheaper than buying from a store and more enjoyable as well.

In this blog post, I’ll discuss strategies for how to make photo props that will provide you with professional-looking results every time. From developing an idea all the way through creating it on your own, I’m here to provide tips throughout every step of the process–so let’s get started learning about DIY photo prop ideas today!
Step-by-Step Guidelines on How to Make Photo Props
Step 1: Brainstorm Photo Prop Ideas
First and foremost, start off by brainstorming a few ideas for props that you want to make. Think about the type of theme or aesthetic you’re going for, and then consider what items would fit perfectly into your vision.
You may even find inspiration from looking at other photos in the same genre. This will also help give you an idea of what kinds of materials you’ll need, so keep that in mind when going through the brainstorming process.
Step 2: Gather Materials
Once you have a few ideas for your photo props, it’s time to gather the necessary materials. This might include items like fabric, foam, felt, or cardboard. It can be helpful to do a bit of research and find out what other people are using for similar projects, as this can help you determine the best type of materials to purchase.
Additionally, make sure you know exactly how many supplies you need before heading to the store–you don’t want to come home with too much or too little!
Step 3: Begin Crafting Your Props
Now that you have all the necessary materials it’s time to start crafting your props! Depending on what type of item you’re making, there may be different steps and techniques involved. For example, if you’re making a hat or costume piece out of fabric then sewing skills will be required.

If you’re creating something out of foam or cardboard then you may need to use a knife and hot glue gun. Regardless of the materials used, take your time when constructing each item so that it looks professional when all is said and done.
Step 4: Add Finishing Touches
Once all the pieces of your props are constructed, it’s time to add some finishing touches. This could include things like painting, adding embellishments, or even creating a base for the prop that will make it easier to transport and handle during the photoshoot. Adding these small details can really help your props stand out in the photos, so don’t forget about them!
Step 5: Finalize Your Photo Props
Finally, give your photo props one last look before shooting to make sure everything looks as you envisioned. Make any necessary touch-ups and then pack up the props in a safe way so that they’re protected during transport and storage. Once this is completed, you’re ready to take your photo props and go on a photoshoot!

Following these step-by-step guidelines on how to make photo props should help you create professional-looking results every time. With a bit of creativity and patience, you can create some amazing pieces that will add an extra element of fun and personality to your photos. So get crafting and start making those props today! Good luck!
Additional Tips and Tricks to Make Photo Props
- Choose lightweight materials like cardboard or foam core for your props, which will be easy to carry and won’t take up a lot of space in the frame.
- If you’re using paper or cardstock, use glue sticks instead of liquid glue to attach it to other materials since they tend to make less mess and won’t damage your material as much.
- Consider using glow sticks or LED lights to create unique effects with your props.
- Add some sparkle or glitter to your props for a fun and festive look.
- Get creative and see if you can use everyday items like kitchen utensils, books, etc as photo props! You’d be surprised how easy it is to transform these ordinary items into something special.
- When all else fails, don’t forget you can always just have your subjects pose with their hands in different shapes and positions to create interesting visuals. It’s a great way to create fun and unique photos!
- If you’re looking for inspiration, there are plenty of tutorials available online that show how to make awesome photo props.
- Remember to have fun and get creative with your photo props! Try out different ideas, materials, and colors until you find something that looks great in the frame. With a little bit of effort, you can create amazing photos with just a few simple props!
Following these tips and tricks, you’ll be able to create awesome photo props in no time! Whether you’re making them for a special occasion, or just as a creative outlet, they are sure to make your photos look even more amazing. So get out there and start creating something magical!

Precautions Need to Follow for Making Photo Props
- Always use materials that are safe for children. Avoid sharp edges, small parts, or any other materials that could be hazardous to young children.
- Check the props regularly to make sure they remain in good condition and have not been tampered with before being used as a photo prop.
- When setting up your props, always ensure that they are in a safe place where children won’t be able to access them or potentially injure themselves.
- Make sure that the props are anchored securely so that they don’t move when children are handling them.
- Test out the props by taking pictures with adults and children before using them with a large group of people. This will help you make any necessary adjustments before taking the pictures.
- Always supervise children when using the props to make sure they don’t put them in their mouths or try to use them in a way that could hurt themselves or others.
- Dispose of the props properly after use and make sure that all parts are recycled wherever possible.
Following these precautions will help make the photo prop-making process a safe and enjoyable experience for everyone involved. With a little bit of planning and preparation, you can create fun props that will make your photos even more memorable. Have fun!
Frequently Asked Questions
What Kind of Paper Should I Use for Photo Props?
You can use card stock, foam board, or even regular printer paper. Just make sure to select a type that won’t tear easily and is thick enough to stand up on its own. Consider the types of materials that will be used in your photo prop designs – if you’re using items like glitter, paint, or other materials that may cause it to warp or tear easily, it’s best to choose a sturdier option.
Can I Reuse My Photo Props?
Yes! You can reuse your photo props in different photoshoots or with different people. If you’re using materials like paint, glitter, or fabric you may need to touch them up before reuse. Be sure to store your photo props away from sunlight and in a cool, dry place when not in use.

How Do I Add Text To My Photo Props?
You can use a stencil or print out your text and affix it to the prop with a glue stick or spray adhesive. You can also use paint, markers, or lettering transfers to add text. The best option for you will depend on the materials used in your photo props. If you’re using paper, for example, it may be best to use a glue stick or spray adhesive. If you’re using wood, paint may be the best option.
Conclusion
Putting together a fun photo prop setup for your event or party can be a great way to capture lasting memories. From props made of everyday materials to creating custom pieces with crafting supplies, the possibilities are endless.
Whether you’re throwing a birthday gathering or just trying to spice up your family photos, utilizing one of these ideas can take the quality of your photos to the next level.
Now that we’ve walked through several different ways you can make and utilize photo props, it’s time to put them into action! Pull out those craft supplies and get ready to start creating unique memories—you won’t regret it! So if you’re looking for a quick and inexpensive way to add some spice to your photos, don’t forget: How to Make Photo Props.
You Can Check It Out to Display Pictures for Graduation Party