
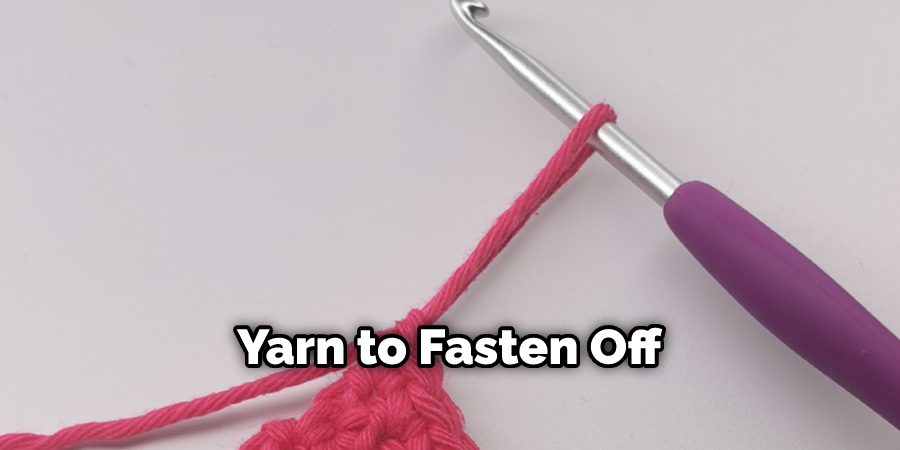
As one of the most important skills you need to master when learning how to knit, knowing how to fasten off correctly is key. If you don’t secure your yarn properly before trimming it, the stitches can unravel and spoil all your hard work!
Whether you’re a beginner just starting out on your knitting journey or an experienced needle crafter looking for advice, understanding the basics of fastening off will not only give you peace of mind that your project won’t be ruined but also provide a professional finish. In this blog post, we will discuss step-by-step instructions on how to fasten off in knitting so that you can confidently complete any project.
Why is Fastening Off Important?
First, let’s talk about why fastening off is so important. The primary reason for securing your stitches this way is to prevent them from unraveling or coming undone and ruining all of your work. By having a secure anchor on the yarn tail, you can ensure that the stitches remain in place and won’t be able to move or come undone.
In addition, fastening off correctly provides a neat and tidy finish to your knitting projects. This makes them look more professional and prevents the yarn from fraying or unraveling further down the line.
Needed Items
Before we dive into how to fasten off in knitting, let’s go over the items you need. All you really need is a yarn needle and scissors. The yarn needle should be large enough to accommodate your yarn so that it can easily thread through the stitches. And, of course, make sure you have a pair of sharp scissors to trim the yarn at the end.
10 Instructions on How to Fasten Off in Knitting
Now that you know why fastening off is important and what items are needed, let’s get into the step-by-step instructions for how to do it!
1. Cut the Yarn
Cut the yarn after you have reached the end of your project. Make sure to leave a tail that is at least 4 inches long. If you don’t leave enough yarn, it will be difficult to weave in after you have fastened off.
2. Thread the Yarn Tail onto the Needle
Thread your yarn tail onto a yarn needle. This is done by inserting the needle into one of the final stitches and then pulling the yarn through so that it wraps around the needle. Threading is a necessary step in order to secure the yarn tail.
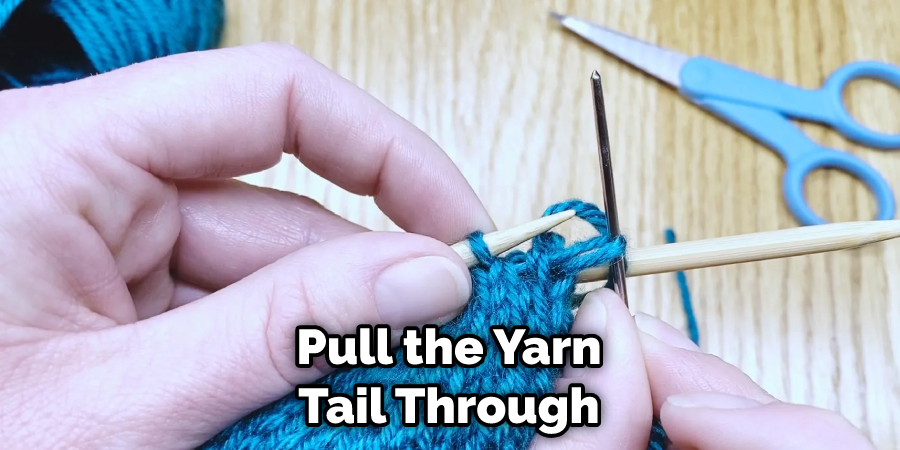
3. Pull the Yarn Tail Through
Once you have threaded it onto the needle, pull the yarn tail through the stitch that you just inserted it into. This will form a loop around the stitch and will begin to secure it. The yarn should be pulled snugly but not too tightly, as this could cause the stitch to become distorted.
4. Insert the Needle Into the Next Stitch
Once you have formed the loop around the first stitch, insert the needle into the next stitch and pull it through. This will form another loop around that stitch and further secure it. It will also help to keep the yarn tail from unraveling.
5. Pull and Yarn
Continue repeating steps three and four until you have worked your way down the row of stitches. Make sure to pull the yarn tight, but not too tight, as this could cause the stitches to become distorted.
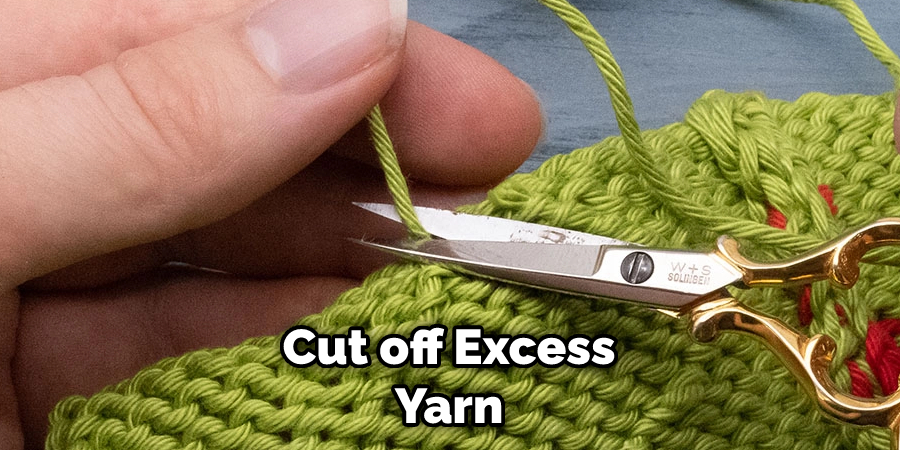
6. Cut off Excess Yarn
Once you have worked your way down the row of stitches, cut off any excess yarn. This will leave a tail that is about one inch in length. The excess yarn should be trimmed to avoid unraveling and tangling of the yarn.
7. Thread the Tail Through the Final Stitch
Thread the tail through the final stitch one more time, making sure not to pull it too tightly as this could cause distortion. This will further secure the stitches and ensure that they remain in place. The tailing should be tucked in and out of the stitch before you cut it off.
8. Trim Excess Yarn and Weave In
Trim any excess yarn once you have threaded the tail through the final stitch. Then, use your needle to weave the tail into a nearby stitch or two so that it is completely hidden from sight. This will ensure that the yarn tail does not unravel and spoil your work.
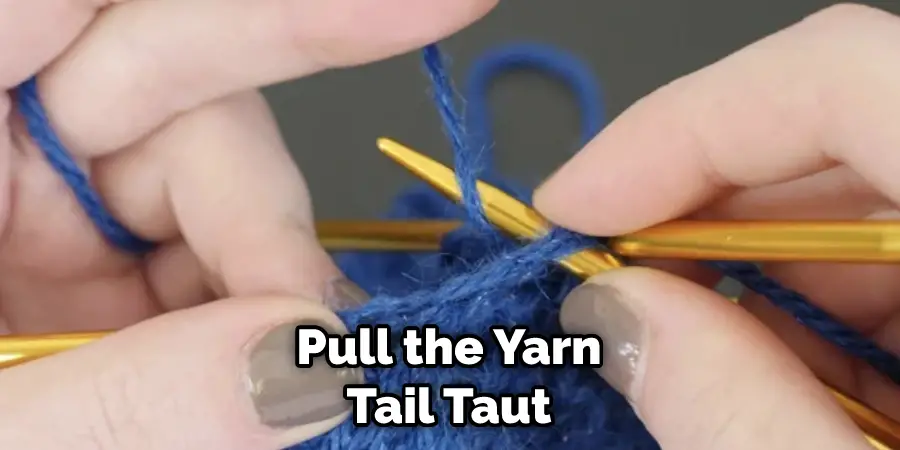
9. Pull the Yarn Tail Taut
Once you have woven in the tail, pull it taut so that it is secure and will not come undone. This will also help to make sure that the stitches remain in place and do not unravel. You may have to tug the yarn a few times to make sure it is secure.
10. Secure It
Finally, you can secure your fastened-off stitches by tying a knot at the end of the tail. This will ensure that your stitches stay in place and do not unravel or come undone. Make sure not to tie too tightly, as this could cause distortion.
And there you have it! You now know how to fasten off in knitting, so go forth and create beautiful projects with confidence! With just a few tools and steps, you can easily secure your stitches and get that professional looking finish for your project.
8 Common Mistakes to Avoid
- Not securing your stitches properly. Make sure you tie off the yarn tightly or use a crochet hook to go through each stitch and secure it with a knot. If you don’t, your stitches could become loose or unravel.
- Not cutting the yarn close enough to the knitted fabric. This can leave a bit of excess yarn sticking out of your project and ruin its appearance. To avoid this, cut the end as close to the fabric as possible.
- Using too much yarn when tying off your stitches. This can cause the fabric to be too bulky and can make it difficult to work with. Make sure you only use enough yarn to secure your stitches and then cut off any excess.
- Not pulling the yarn tight when tying off the stitches. This can leave gaps in your knitted fabric that won’t look good when you’re finished. Pulling the yarn tight will make sure your stitches are secure and won’t come undone.
- Not counting the number of loops you’ve made when tying off. Counting the loops will ensure that each stitch is secured properly and that you don’t have any gaps in your knitted fabric.
- Trying to fasten off too quickly. This can lead to mistakes and could ruin your project. Take your time and make sure each stitch is secured properly before moving on to the next one. Loose stitches can unravel and cause your project to have gaps or other defects.
- Not weaving in the ends once you’ve finished fastening off. This is important as it helps keep your stitches secure and prevents them from coming undone. Weaving in the ends also makes sure that the yarn doesn’t show through on the finished fabric.
- Not using the right tools. You’ll need a crochet hook and some scissors to properly fasten off in knitting. Make sure you have these on hand before starting your project so that you don’t have to stop and search for them during the process.
By avoiding these 8 common mistakes, you can ensure that your knitting projects come out looking great! How to fasten off in knitting is an important part of the process, and if done correctly, it can make a big difference in the final product. With practice and care, you’ll be able to get your projects looking perfect every time.
Things to Keep in Mind While Fastening Off
- Make sure the yarn is pulled tight when tying off your last stitch.
- Count the number of loops you’ve made to ensure that each stitch is secure.
- Use only enough yarn to fasten off and cut off any excess.
- Weave in all loose ends before finishing your project.
- Have a crochet hook and scissors on hand for the process.
Conclusion
As you’ve learned, fastening off your knitting is an important step in any project. It not only gives the project a neat and tidy finish, but it also makes sure that all your hard work won’t unravel in the future. To make sure it’s done properly, first use one of the many methods for securing the last loop and then cut the yarn with scissors, leaving a long enough tail to weave into other stitches or tie off.
With practice and patience and this guide on how to fasten off in knitting, you’ll be able to finish even the most challenging projects with no problem at all! Even if you’re just starting out and don’t know how to knit perfectly yet, fastening off your knitting is a great way to improve your skills while producing beautiful pieces every time.
Don’t forget that it also can be lots of fun when made into an art form – try making tassels or pompoms as a finishing touch! No matter what kind of knit pattern or stitches you decide to use, by properly fastening off you will ensure years of enjoyment from your handmade creations.