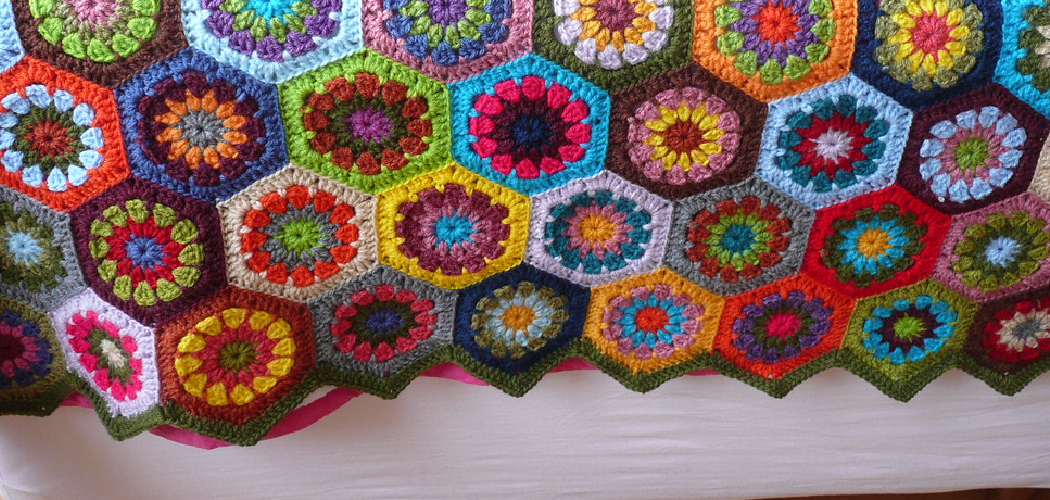
I always find myself reaching for simple crochet stitches when starting a new project—single crochet, half-double, double—but lately, I’ve been wanting to challenge myself to learn something new. Enter the hexagon crochet stitch! With its unique six-sided shape, the hexagon opens up all kinds of possibilities for interesting textures, patterns, and designs.
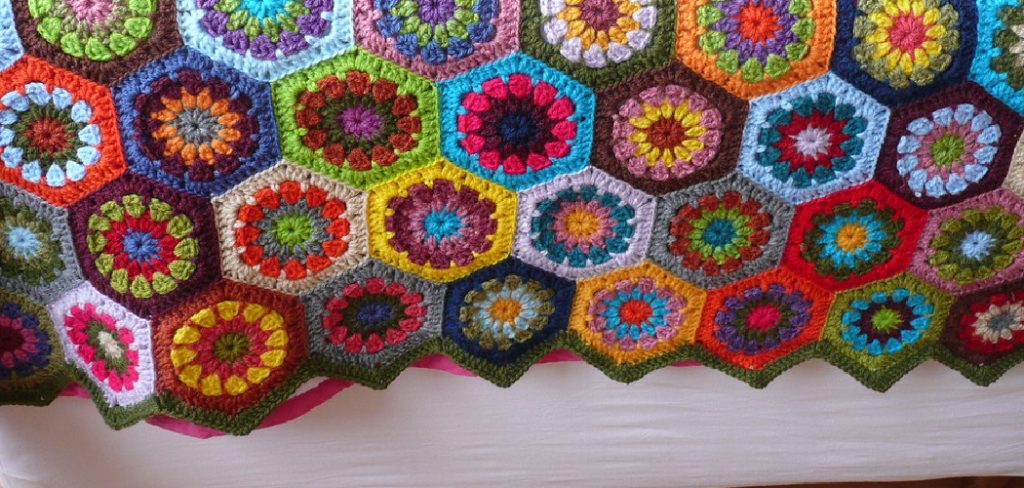
However, for someone new to this stitch, like myself, the instructions can look somewhat intimidating at first glance. In this guide on how to join hexagon crochet, I’ll walk through the basic steps to work a simple hexagon stitch and join your hexagons together into shapes and surfaces.
By the end, you’ll be well on your way to designing your one-of-a-kind hexagon blankets, bags, and more! Let’s get started with the essential foundations.
What Will You Need?
To get started with hexagon crochet, you only need a few basic materials:
- Yarn in the colors of your choice
- A hook suitable for your chosen yarn weight
- Scissors
That’s it! Once you have these supplies, you’re ready to start practicing and perfecting your hexagon crochet skills.
10 Easy Steps on How to Join Hexagon Crochet
Step 1: Start with a Magic Circle
Begin by forming a magic circle with your chosen yarn. This circle creates the central space for your hexagon. To make a magic circle, make a loop with your yarn, leaving a long tail.
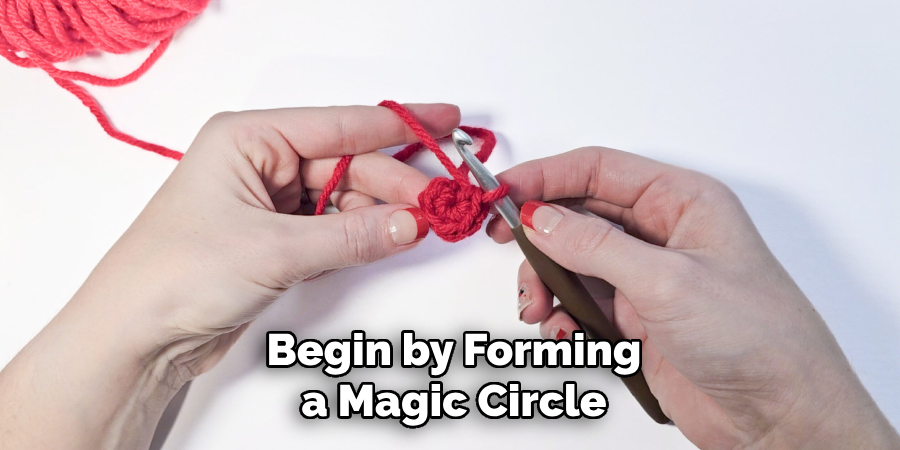
Hold the intersection of the loop with your thumb and index finger. Insert the hook into the loop from front to back, yarn over, and draw up a loop. This is your magic circle.
Step 2: Add the First Round of Stitches
Now, inside your magic circle, add a round of stitches. Make sure they are loose enough to give your hexagon a flat, not puckered, shape. Yarn over, and insert your hook into the magic circle.
Then, pull up a loop, yarn over again, and draw through all loops on your hook. Repeat this process as many times as needed to achieve the desired size of your hexagon’s center. Once you’ve made the required number of stitches, pull the tail of your magic circle to close the center of your hexagon.
Step 3: Create the Hexagon Sides
After you’ve completed the first round of stitches, it’s time to shape the sides of your hexagon. To start, chain two. Then, make a double crochet stitch into the next stitch from the first round. Continue this pattern around the circle. To make a corner, you’ll need to make two double crochet stitches, chain two, and then make two more double crochet stitches into the same stitch.
Continue this pattern until you’ve made six “sides” (each consisting of two double crochet stitches, two chains, and two more double crochet stitches). Join the round with a slip stitch into the top of the first chain from the start of the game.
Step 4: Add More Rounds as Desired
You can add as many rounds as you’d like to increase the size of your hexagon. Slip the stitch into the following two stitches and the corner space to start a new game.
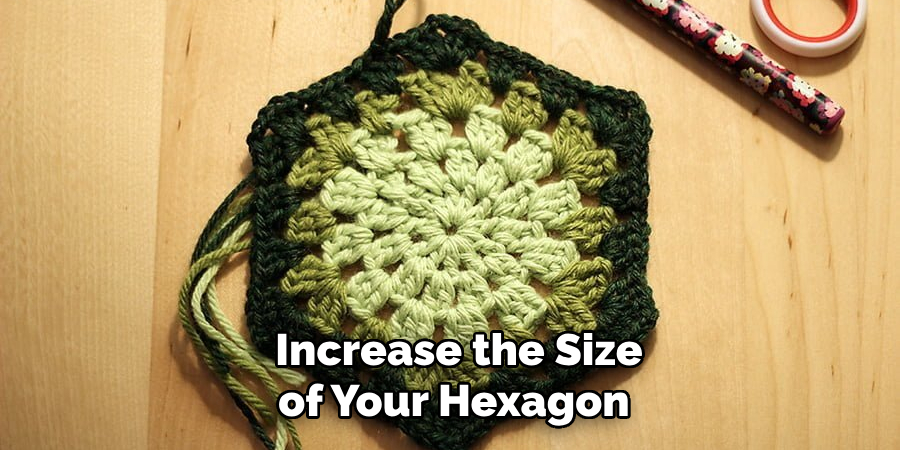
Then, chain two and follow the same pattern as before (two double crochet stitches, chain two, two more double crochet stitches in the same space for a corner). Make one double crochet stitch in the areas between corners into each stitch from the previous round.
At the end of the game, join with a slip stitch into the top of the first chain from the start of the match. Repeat these steps until you’ve reached your desired hexagon size.
Step 5: Joining the Hexagons
Once you have multiple hexagons, the next step is to join them together. To do this, place two hexagons side by side with their wrong sides facing each other.
Start from the corner and slip your hook through the top loop of the last stitch of both hexagons. Yarn over and pull through all loops; this creates a slip stitch that joins the two hexagons together. Continue this process along the side of the hexagons.
Once you reach the corner, secure your yarn and cut, leaving a small tail. Repeat this process with all your hexagons until they are joined in your preferred pattern. By the end of this step, you will have a beautiful hexagon crochet piece.
Step 6: Securing the Sides and Finishing Up
After joining all the hexagons, the next step is to secure the sides and finish your piece. Starting from one corner, insert your hook into the top loop of the first stitch, yarn over, and draw through all loops on your turn, creating a slip stitch.
Continue this process along the side of the piece until you reach the next corner. You’ll make three slip stitches into the corner space to round it off. Continue this process around your piece until you’ve slip-stitched all the sides.
Upon reaching the point where you started, make one final slip stitch into the first stitch to join. Cut your yarn, leaving a tail long enough to weave in, and pull the end through the last loop to secure it. Weave in all ends with your hook or a needle, trimming any excess yarn.
Step 7: Admire Your Finished Work
Finally, take a moment to admire your finished hexagon crochet piece! You’ve learned a new stitch, practiced your technique, and created a unique, handmade piece of work. Whether it’s a blanket, a bag, or a portion of wall art, you’ve added a personal touch that truly makes it yours.
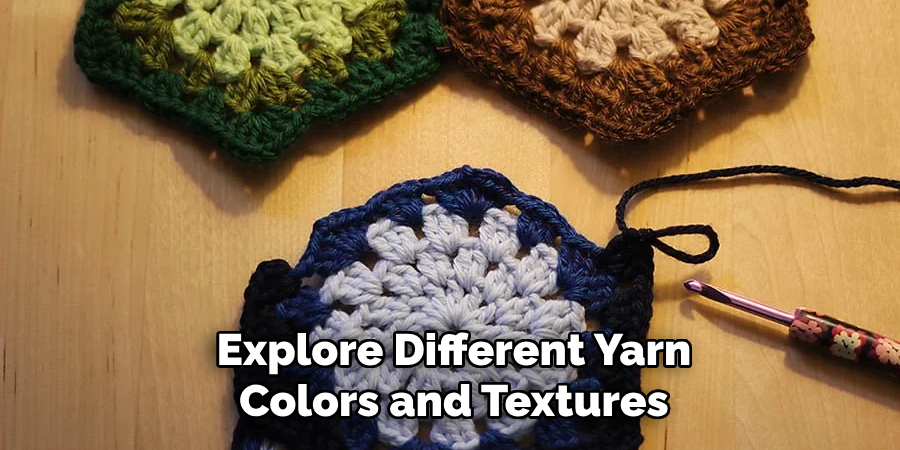
Congratulations on successfully joining Hexagon Crochet! Remember, practice makes perfect, so don’t stop here. Explore different yarn colors and textures to make your designs even more special and unique.
Step 8: Care and Maintenance
Caring for your hexagon crochet items is the next vital step to ensure longevity. Always refer to the care instructions for your chosen yarn—some may be machine-washable, while others will require hand washing. Generally, washing your crochet items gently by hand in lukewarm water with a mild detergent is recommended.
Rinse well, then gently squeeze out excess water (avoid wringing or twisting). Lay the item flat on a clean towel and reshape it as it dries. A well-cared-for hexagon crochet item can bring joy for many years.
Step 9: Start a New Project
Having mastered the joining of hexagon crochet, you’re now ready to start a new project. Whether you’re planning to create another item with the same pattern or you wish to explore other shapes and designs, the skills you’ve learned will be pretty beneficial.
Remember, the beauty of crochet lies in its versatility and flexibility – you can create almost anything, from garments and accessories to home decor.
Step 10: Share Your Work and Inspire Others
Now that you’ve completed your hexagon crochet project, consider sharing your work with others. Whether through social media, crochet groups, or just showing your friends and family, your creation could inspire others to learn this craft. Plus, it’s an excellent way to gather feedback, tips, and ideas for your next project.
Crocheting is more than just a hobby—it’s a vibrant community of creative individuals who enjoy learning from each other’s experiences and techniques. So, don’t hesitate to show off your hard work, and who knows, you might just inspire someone to start their journey into the beautiful world of hexagon crochet.
By following these steps and tips, you have the knowledge and skills to join the hexagon crochet successfully.
5 Additional Tips and Tricks
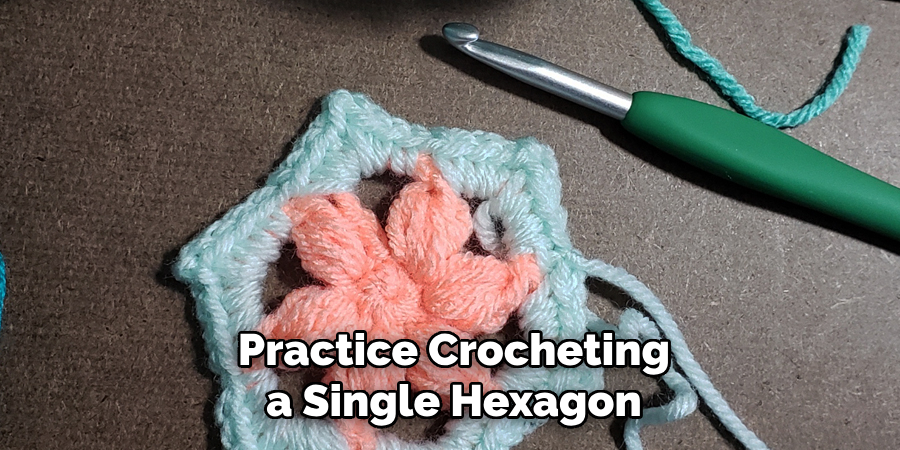
- Mastering the Hexagon Shape: Before joining hexagons, it’s crucial to feel comfortable making them. Practice crocheting a single hexagon multiple times until you’re confident with the shape.
- Choosing the Right Yarn: Always use the same type of yarn for all your hexagons. This ensures consistency in size and texture, making the joining process smoother.
- Planning Your Layout: Before joining, lay out all your hexagons to decide on the final design. This helps prevent any mistakes in the joining process.
- Join-as-you-go Technique: This is a popular method for joining hexagons. As you crochet a hexagon’s last round, you join the others. It can be tricky at first, but with practice, it becomes straightforward.
- Blocking Your Hexagons: Before joining, consider blocking your hexagons. This process involves dampening the crocheted pieces and pinning them into shape. It helps to make the edges straighter and the joining process easier.
With these tips and tricks in mind, you’ll be well on your way to mastering the art of joining hexagon crochet.
5 Things You Should Avoid
- Avoid Rushing: Patience is crucial when joining hexagon crochet. Hurrying through the process often leads to mistakes. Take your time to ensure the hexagons are joined correctly.
- Ignoring Tension: Be mindful of your stitch tension. If your pressure is too tight or loose, it can cause the hexagons to warp or become uneven.
- Skipping Blocking: As tempting as it might be to skip the blocking stage, it’s essential for achieving professional-looking results. Skipping this can lead to distorted hexagons and a less-than-perfect final product.
- Using Different Yarn Thicknesses: Different yarn thicknesses can lead to size discrepancies among your hexagons. Stick to the same type and thickness of yarn for all your hexagons to maintain consistency.
- Not Planning: Jumping into the joining process without a clear plan can lead to a chaotic pattern. Always lay out your design before joining to avoid the misplacement of hexagons.

By avoiding these common mistakes, you’ll be well on your way to creating a beautiful and seamless hexagon crochet project.
5 Different Design Ideas
- Colorful Rainbow: Use various vibrant colors to create a playful and fun rainbow design with your hexagons.
- Floral Fantasy: Incorporate flower motifs into your hexagon crochet project for a whimsical and feminine touch.
- Geometric Patterns: Create attractive geometric designs by arranging different colored hexagons in various shapes and patterns.
- Monochromatic Magic: Use shades of one color to create a visually striking and cohesive design with your hexagons.
- Mix and Match: Combine different textures, yarn types, and colors for a unique and eclectic look. Feel free to mix things up and experiment with different combinations!
These are just a few ideas to get you started, but the possibilities are endless with hexagon crochet.
How Do You Put a Border on a Hexagon Crochet?
Adding a border to your hexagon crochet project can add a polished and finished look. Here’s a simple method for creating a frame on a hexagon:
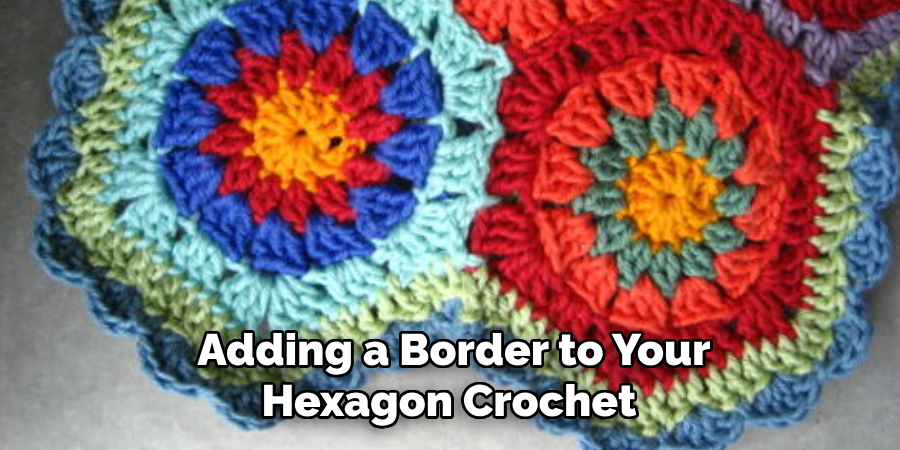
- Start with the Sorrect Stitch: Single crochet is usually the best border choice, creating a neat and sturdy edge.
- Begin at any Corner: Starting at one of the corners, single crochet evenly around the entire hexagon until you reach the starting point.
- Create a Corner: When you reach a corner, work two single crochet stitches into the same stitch to create a sharp corner.
- Joining Row: To join your border, slip stitch into the first single crochet of the round.
- Repeat for Desired Thickness: Continue repeating this border pattern until the desired consistency is achieved, usually 2-3 rounds.
- Final Round: For the final round, add a decorative stitch, such as a picot or shell stitch, for extra detail.
This simple method allows you to add a border to any hexagon crochet project easily. Remember to keep the overall design and color scheme in mind to create a cohesive look.
Conclusion
In conclusion, learning how to join hexagon crochet has endless possibilities and benefits. Not only does it add complexity and dimension to your crochet projects, but it also opens up a whole new world of creativity and design.
There is something for every skill level, from simple joining methods like slip stitching and single crocheting to more advanced techniques like the flat braid join and interlocking form.
Feel free to experiment with different joining methods to find what works best for you and your projects. And remember, practice makes perfect! So take your time, have patience, and enjoy the process of creating beautiful hexagon crochet pieces.
With this newfound skill, you can elevate your crochet game to the next level and impress all your friends with your unique designs. So try it – who knows where this journey will take you! Happy crocheting!

